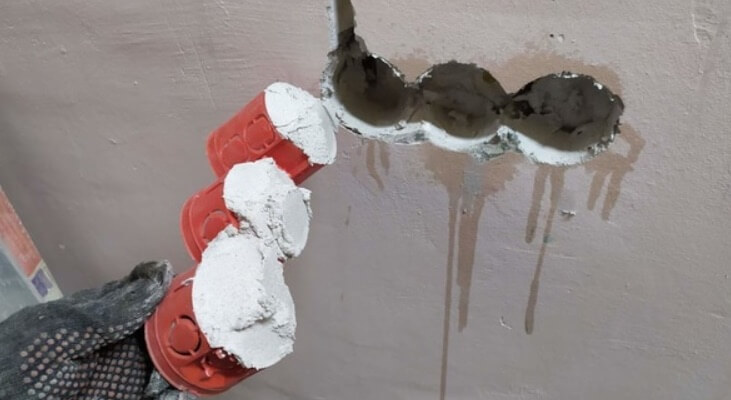
At the final stage of the wiring of electricians, you need to install the sockets in the niches that have prepared in the wall or floor. In order for the socket to hold reliably in the hole, it needs to be smeared – glued to the surface. In the article, we consider how to smear the sockets and how to reliably fix the socket using building mixtures.
Content:
- The better to smile sockets
- Gypsum. He is alabast
- Gypsum plaster
- Tile glue and cement plaster
- How to smile a socket into a wall
What is the best way to smear the sockets?
To smear the socket into the hole, the following materials can be used: gypsum, gypsum plaster, tile glue and cement plaster. Consider each of these compositions separately.
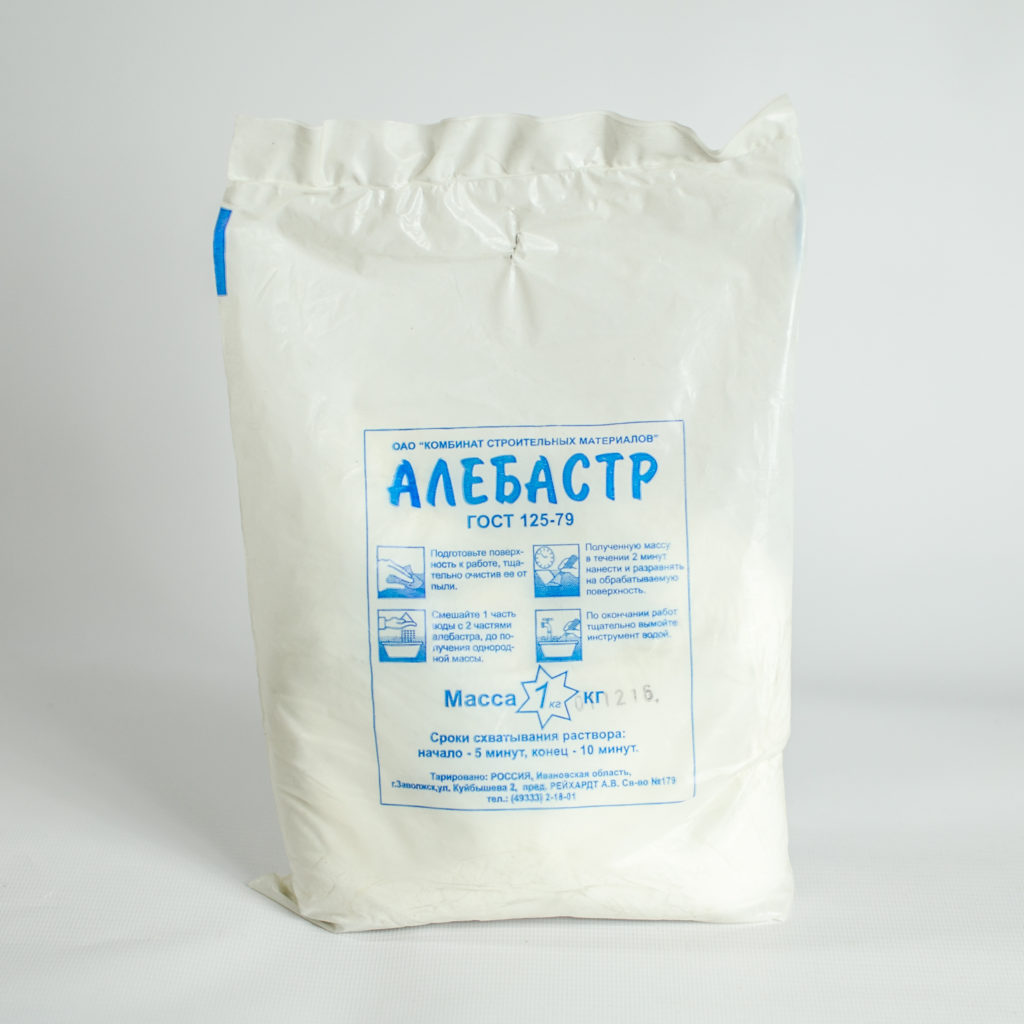
Gypsum. He is alabast
The cheapest material that you can smile a socket. It dries quickly, so you can immediately fix the socket. On the other hand, if you did not have time to put the socket evenly, the gypsum dries and you have to clean it out of the holes and re -apply it. If you smear the sockets with gypsum, then after an hour you can already fix the outlet to it.
Photo: Alabaster – the most affordable material
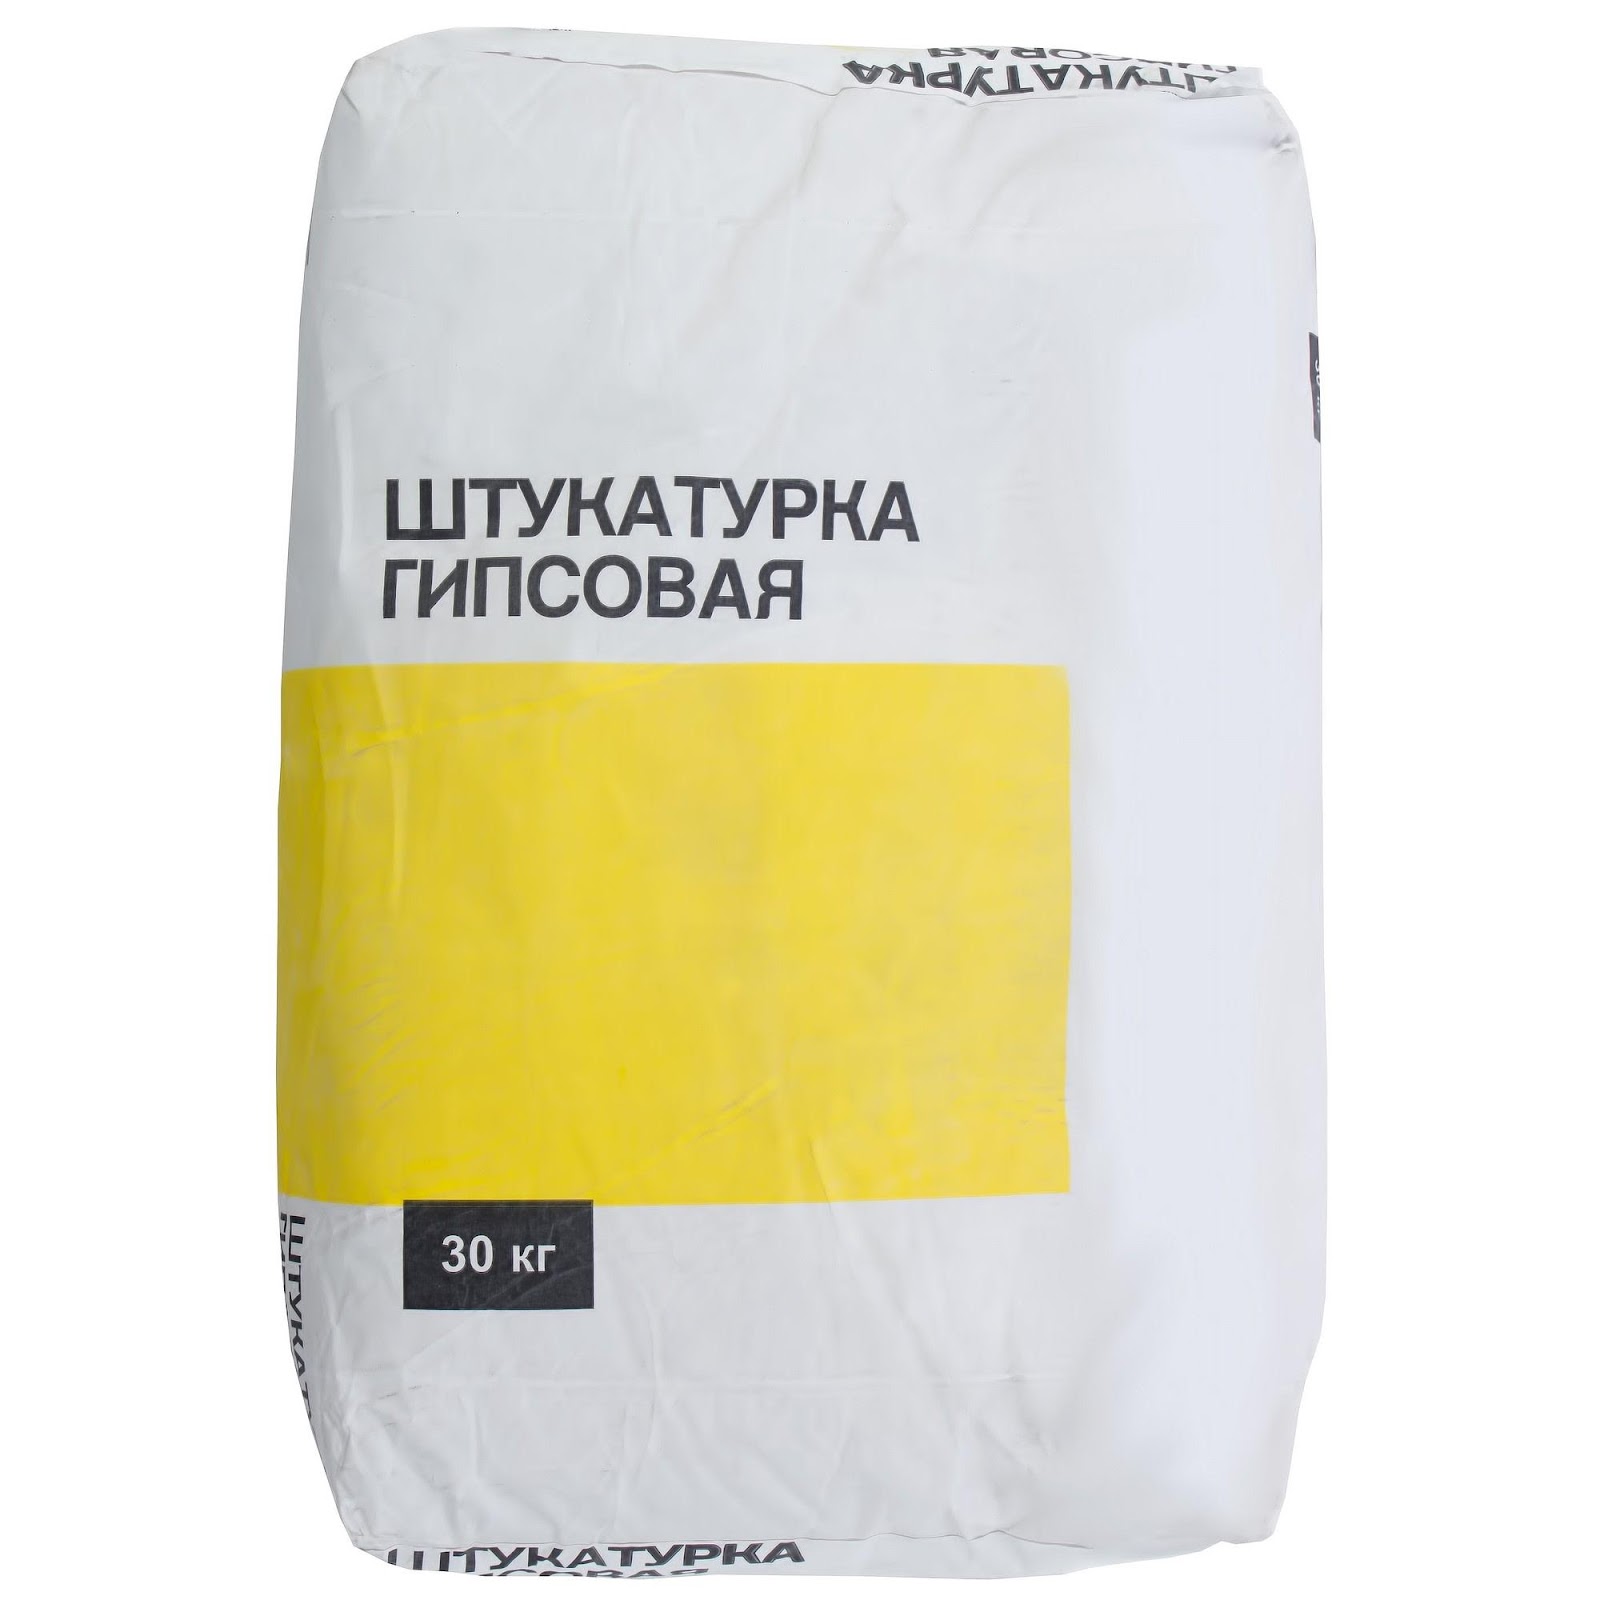
Gypsum plaster
Gypsum plaster is an option that is a little more expensive, but more convenient than gypsum. It dries slower, so there is time to smile and set the socket in level. If you make the solution thoroughly, you can reduce the drying time. You can load the socket after 3-5 hours.
Photo: gypsum plaster
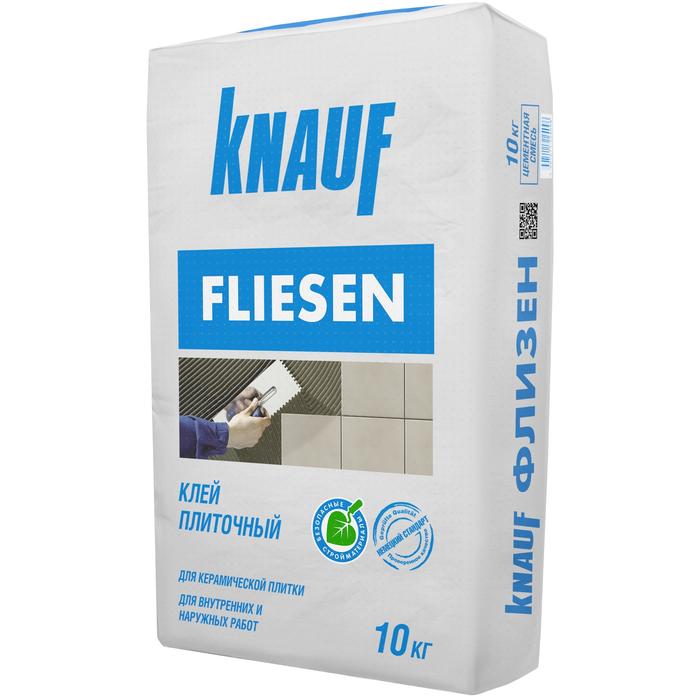
Tile glue and cement plaster
These compositions are mainly used with cement plaster walls. These solutions dry longer than the gypsum, but they firmly fix the socket. You can load the socket and install the outer part of the outlet after 15-30 hours.
Photo: Tile glue gives a strong fixation of the socket to the wall
How to smile a socket into a wall
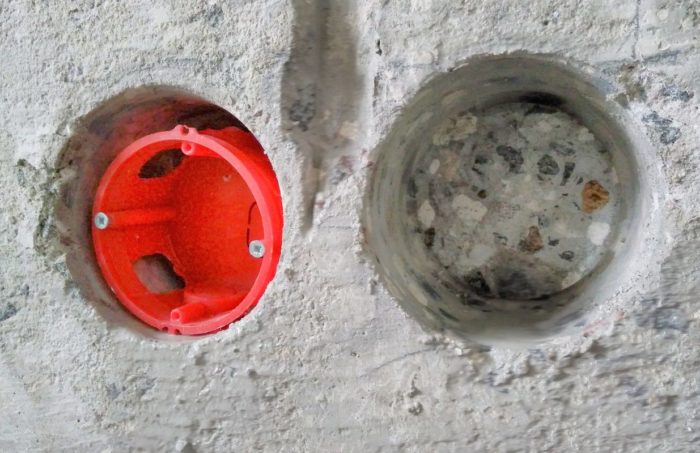
First of all, you need to rinse the hole where the socket will be inserted. This is done so that dust does not remain in the niche, and the solution is tightly glued to the wall.
Photo: You need to clean the socket so that there is no dust left there
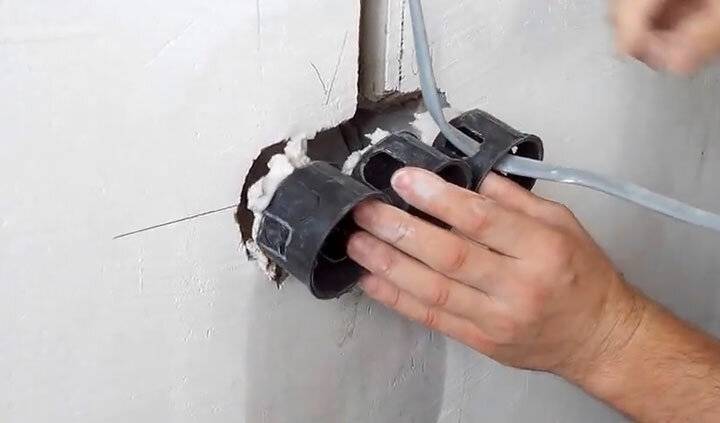
Next, in the socket, holes are made under the wire. There are already ready -made marked holes, they only need to be cut with a clerical knife. If the socket is double or built, then you need to make a hole between the sockets and stretch the wire there.
Photo: holes for the wire in the socket

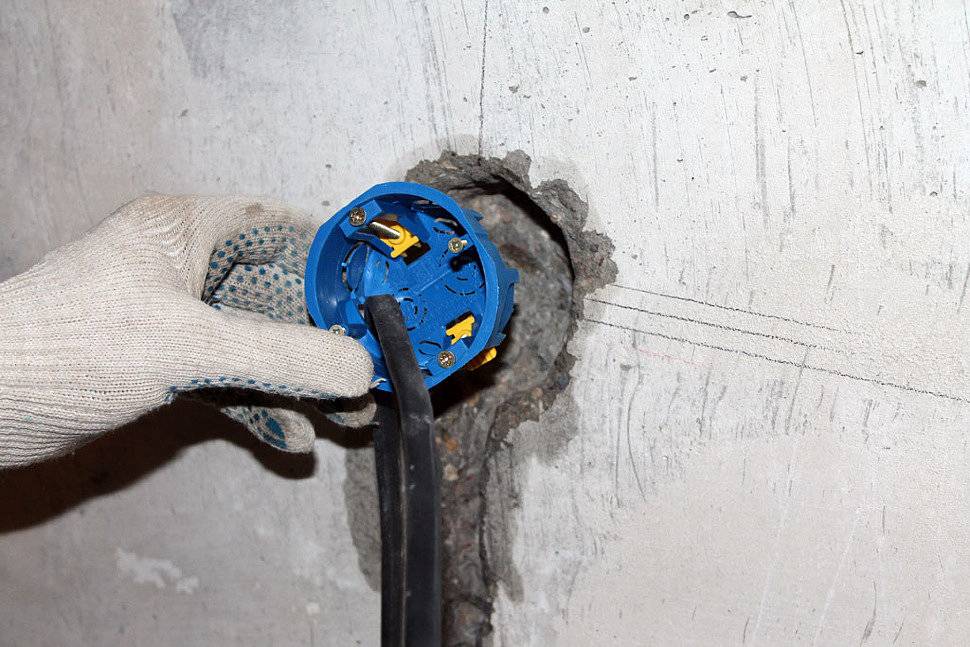
Then the wire is inserted into the socket and put in a hole for fitting. The bare parts of the wires should be wrapped in insulating tape. If the socket is protruding, then the hole is made deeper. When everything was tried, the socket can be pulled out of the hole.
Photo: Before the lipstick, the hole must be checked by a socket with a wire
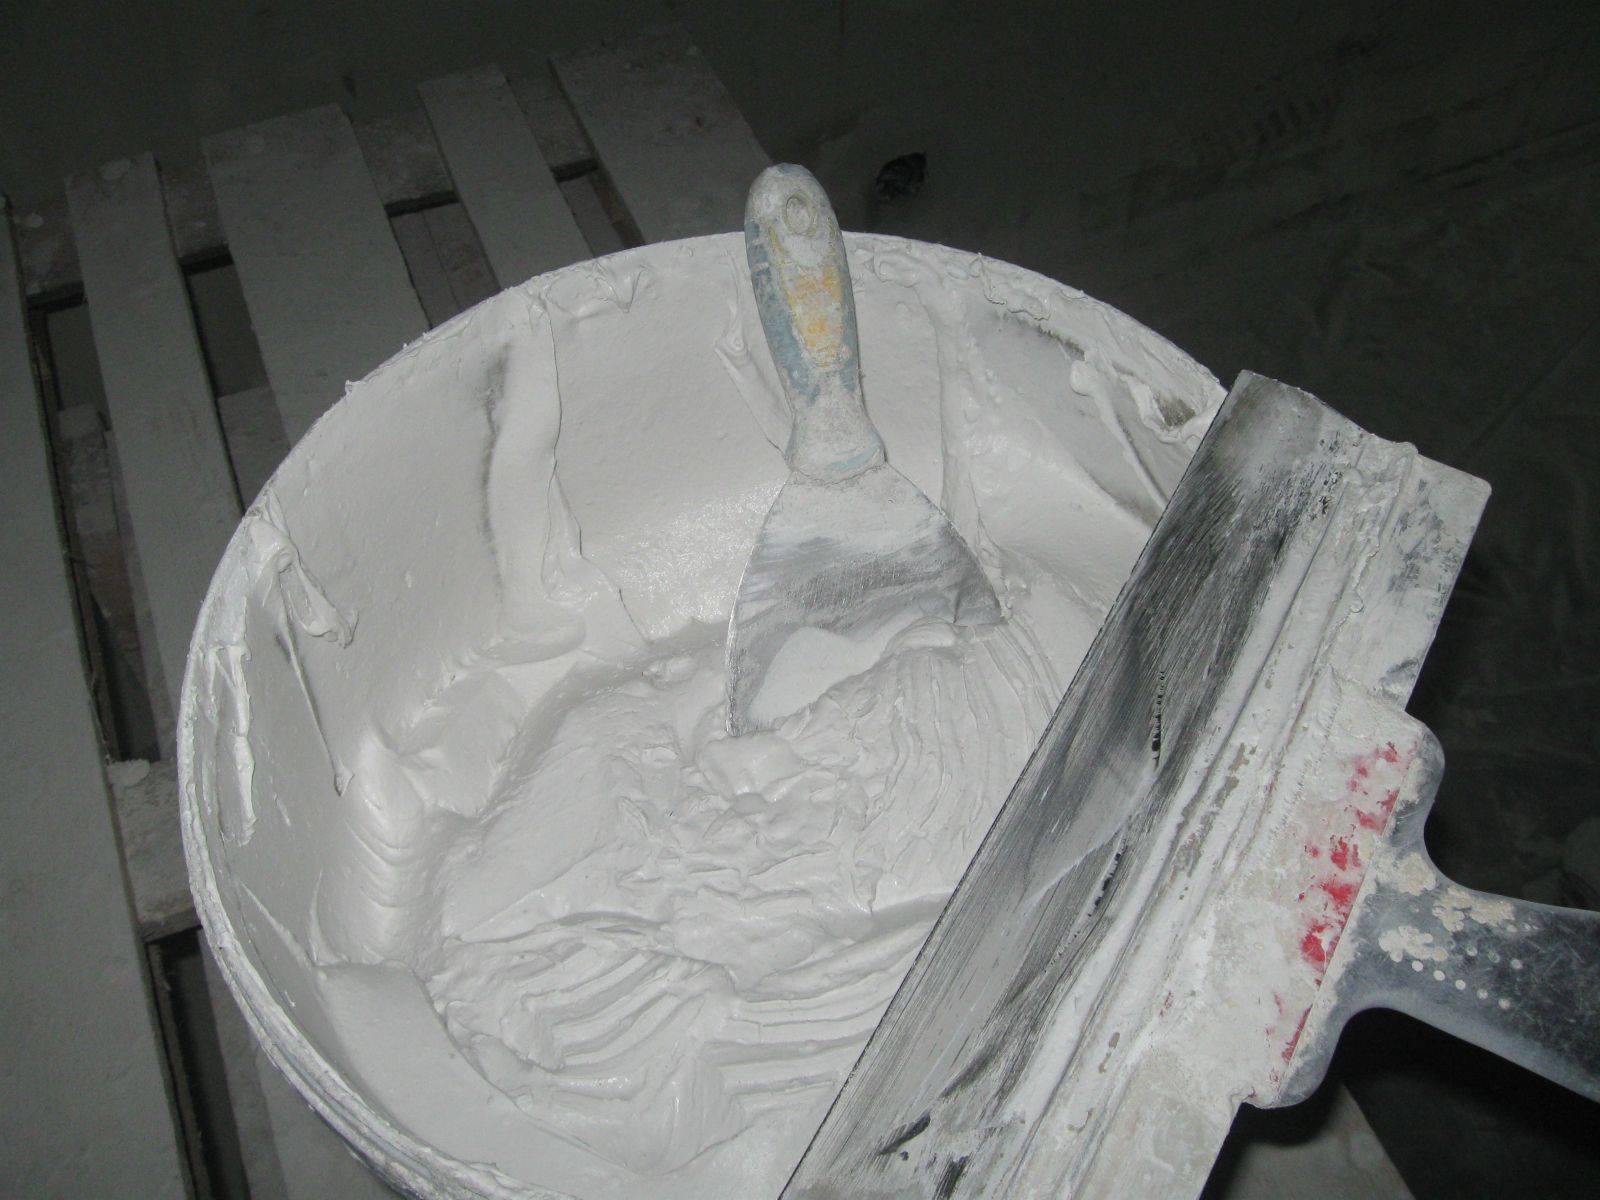
After that, stir the solution. The consistency should be elastic and without lumps.
Photo: gypsum solution for lips of sockets
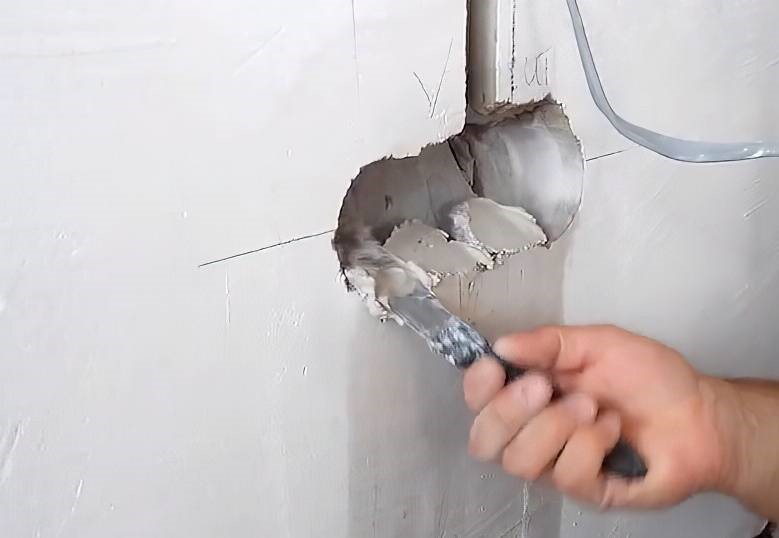
The solution is smeared into the hole with a spatula. The most important thing is to smear the sides, the inside and bottom of the hole.
Photo: the hole is filled with a solution from below and from the side
After that, a socket with a wire is inserted into the niche. It is sank into the solution so that the socket is on the same plane with a wall or deeper than a wall by 1-2 mm.
Photo: you can apply a solution and on a socket
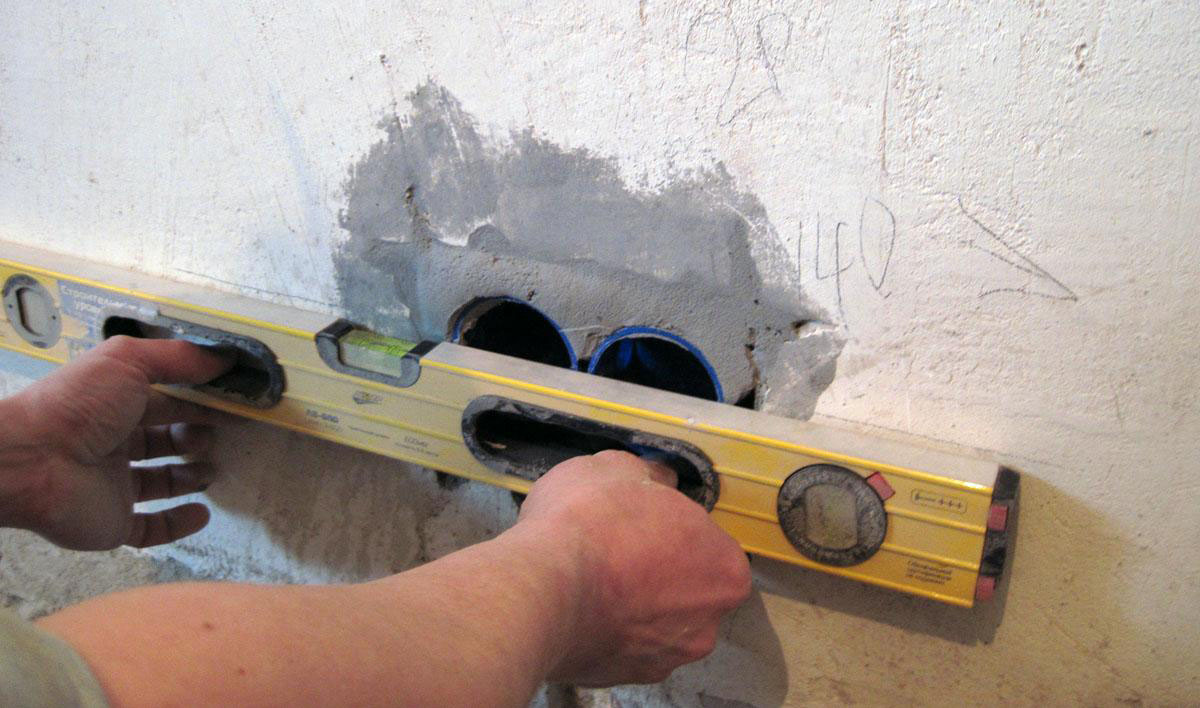
Using a bubble level, you need to check the horizontal position of the socket. The level is placed on fasteners and so set the optimal position of the socket.
Photo: Rove the socket must be used using a bubble level
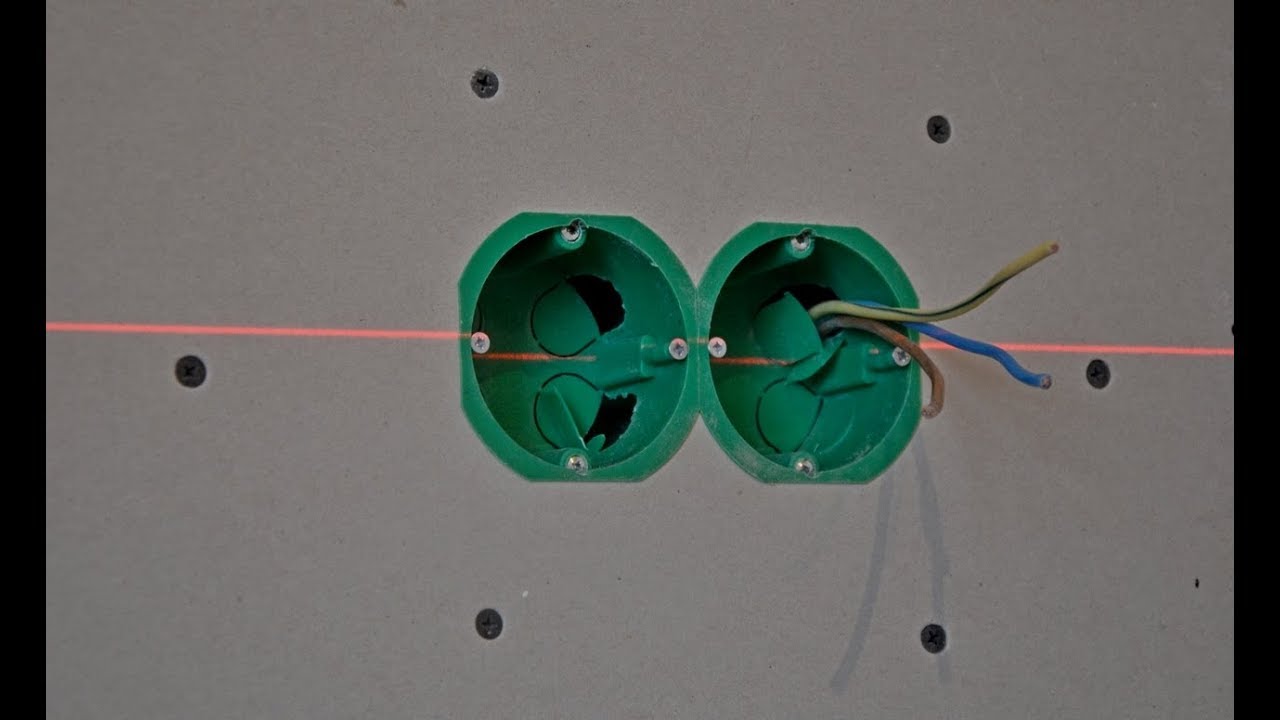
You can install sockets using a laser level. To do this, the beam needs to be passed through the fasteners.
Photo: Installation of a socket using a laser level
With the lifting of the socket, the excess solution will go out. It must be immediately cleaned from the surface. It is important to ensure that the solution does not get inside the socket, otherwise the outlet will not work to install, and the solution will have to be tucked.
By the way: So that the socket is evenly drowned from all sides, it can be crushed by the bubble level.
Conclusion
- To smear the socket into the wall, it is best to use gypsum plaster.
- If the walls are plastered with cement, then tile glue is used.
- The solution should be elastic and without lumps. It is smeared into a hole, and then put a socket.
- You need to adjust the position of the socket using a bubble level.