When laying porcelain stoneware, sometimes small seams are left between the tiles. These seams are filled with a special composition called grout.
The grout not only prevents moisture between the tiles, but also additionally holds them out, and also does not give dust and get the dirt into the seams. In the article, we consider what types of grout are, how they differ, what tool is needed for grouting of the seams and how to make it correctly.
Content:
- Types of seam grout
- So which grout to choose?
- Watching tool
- How to choose the color of grouting for tiles
- How to make a grout of the stitches properly
- Preparatory stage
- Grout of the seams
- Surface cleaning
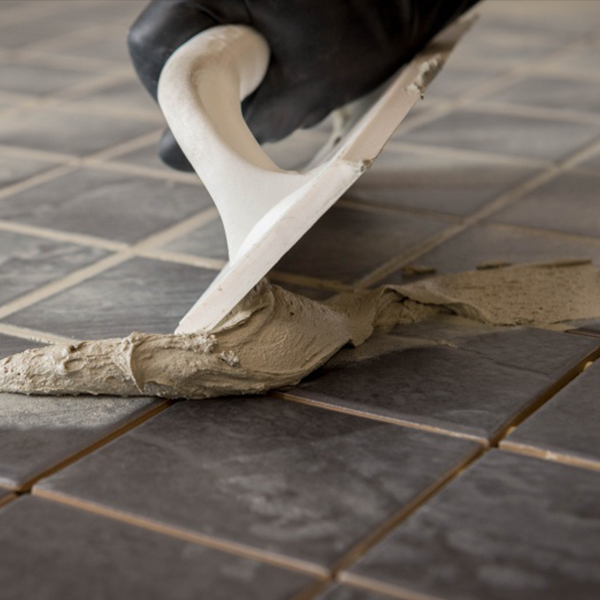
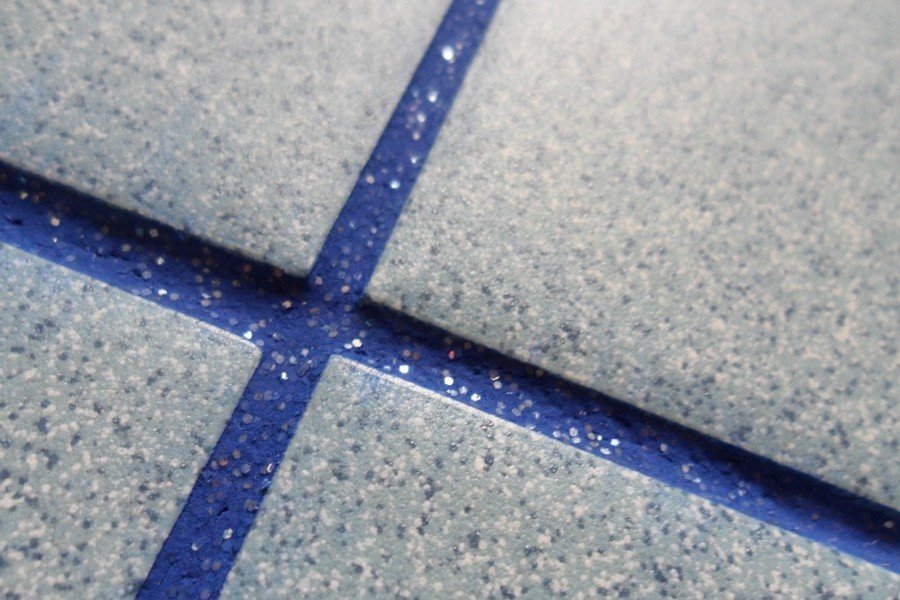
Photo: seams are wiped with a special composition
Types of seam grout
Grout for tiles is chosen based on the conditions where it will be used. It differs in composition: cement, epoxy and silicone.
Cement grout is made of cement and plasticizers. It can be used for both wide and narrow seams. Sand is additionally added to the grout for wide seams. A cement grout costs cheaper than analogues, and it can be used in wet rooms and where the tiles will not experience mechanical loads. Such a grout is a dry mixture that is diluted with water before application.
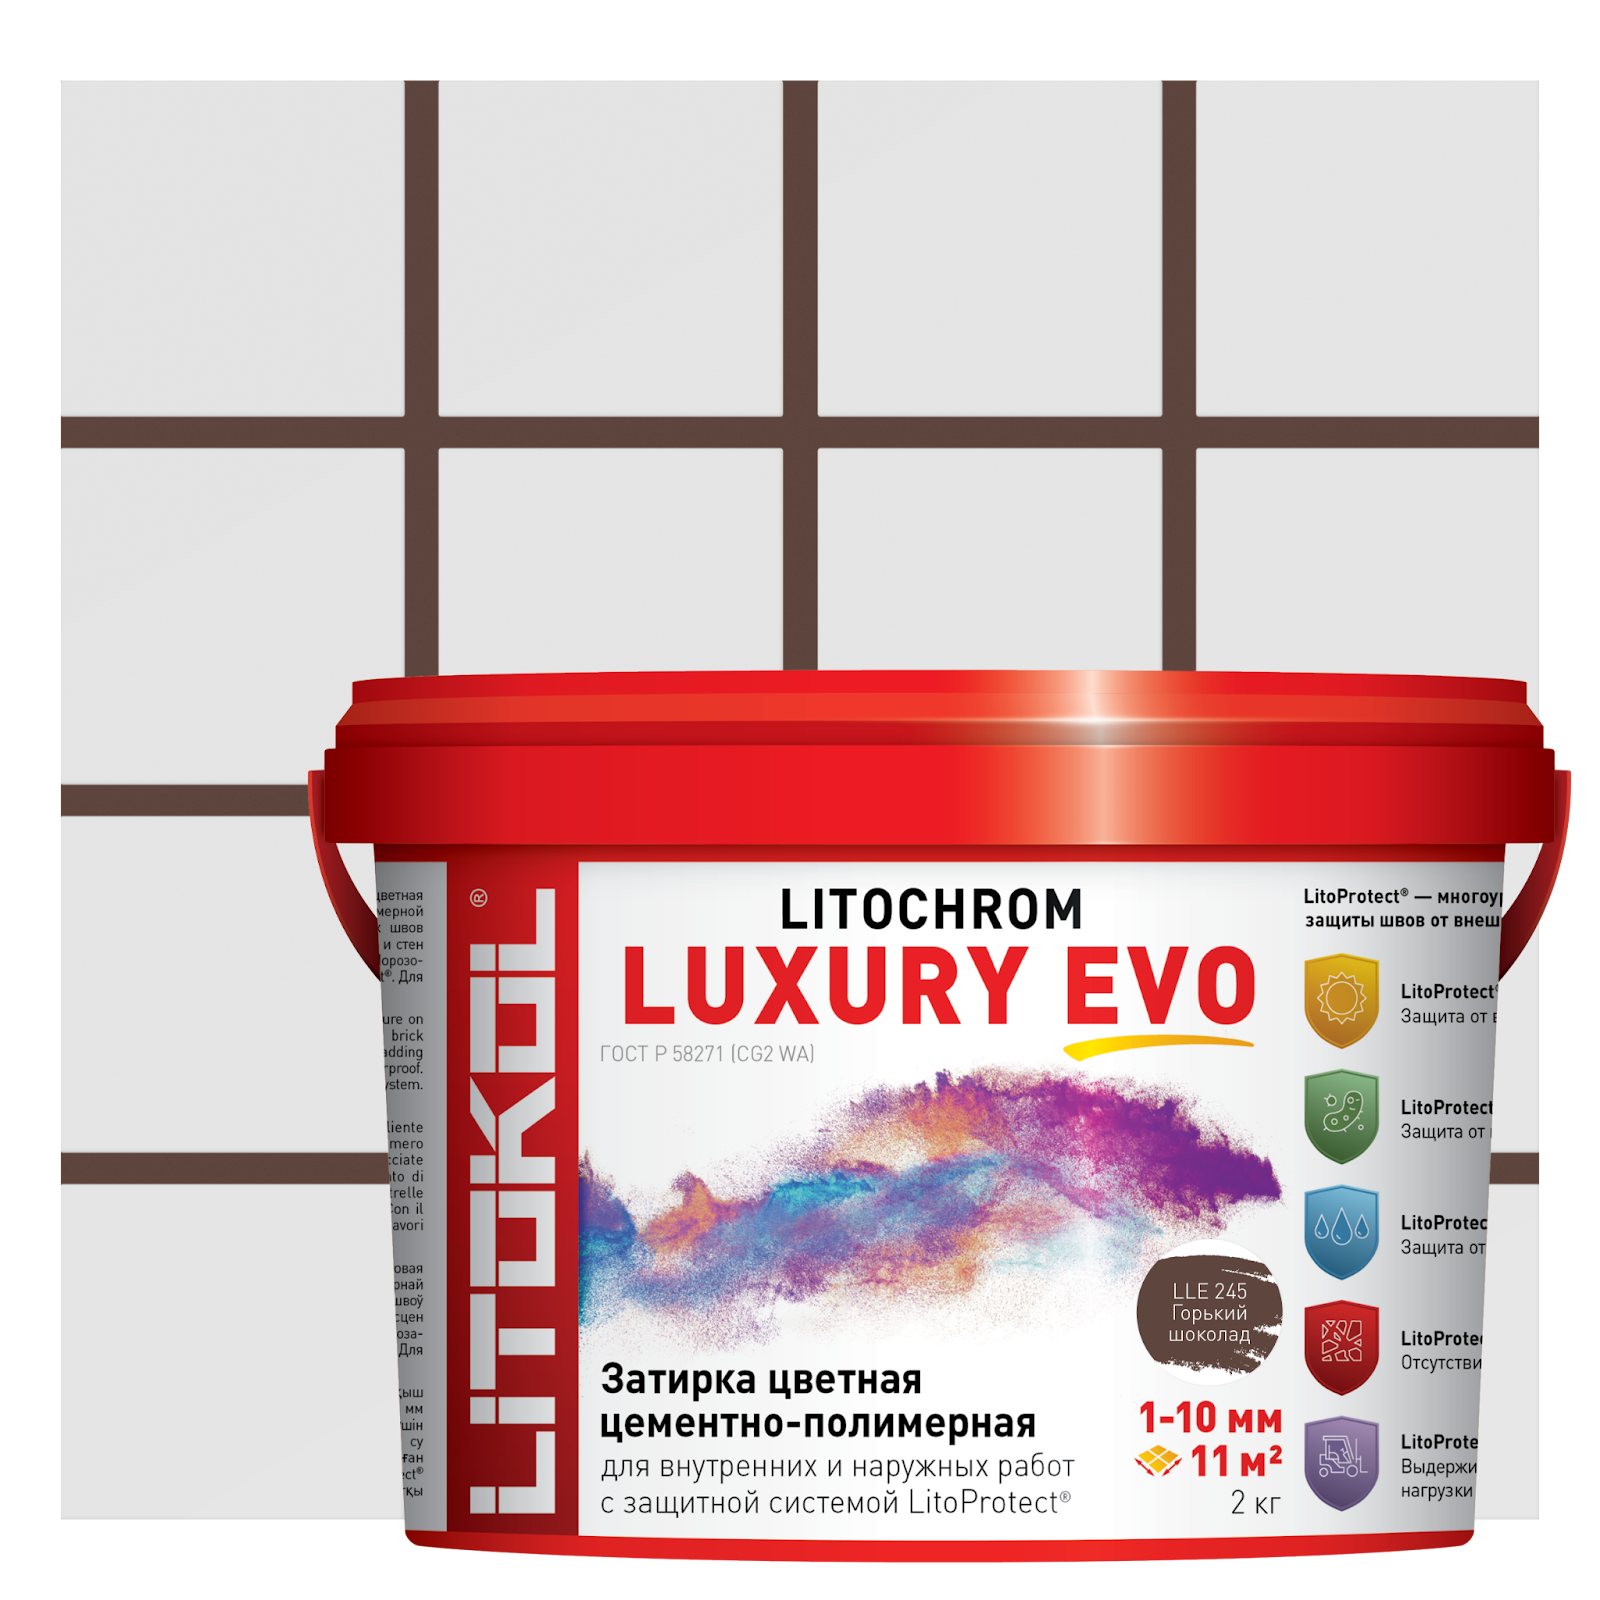
Photo: outwardly, grouts do not differ, only in composition
Epoxy grout is made based on epoxy resins. It costs more than the rest of the compositions. It is more plastic than cement, does not crack over time, is not afraid of moisture and chemical detergents.
Silicone grout is a plastic sealant. It is used for grouting angles, joints between floor and plumbing. Usually it is not used as a full grout, but only in certain areas. Silicone grout is chosen for elasticity and ease of application.
So which grout to choose?
If you need to wipe the seams on the kitchen apron, it is better to use epoxy grout. Such a grout can be cleaned from fat using strong detergents. In the bathroom, you can wipe the seams with a cement moisture -resistant grout, and all the adjoins, the joints between the tiles and plumbing, close the silicone grout.
Photo: grout is selected for operating conditions
Watching tool
For grouting seams on the tile you will need:
- Rubber spatulas of different widths,
- A capacity for the preparation of a grout,
- Painting brush,
- Chancellery knife,
- Soft sponge,
- Ground grater,
- Bucket,
- Gloves,
- Blades,
- Scotch.
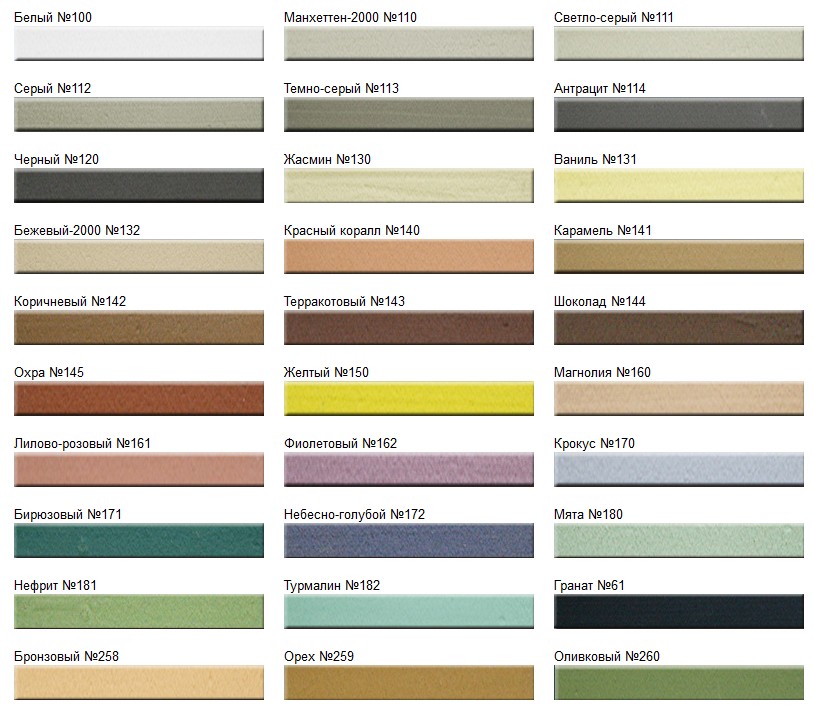
How to choose the color of grouting for tiles
If you need to create a monolithic surface so that the seams between the tiles do not stand out much, the grout should be used in the color of the tile. For example, if the tile under the tree, so that the surface looks as natural as possible, the seams are covered with a grout of a similar shade.
Photo: The color of the grout is selected under the tile
When it is important to highlight each tile in the interior, then they use contrasting shades, for example, white. In this case, it is important to keep in mind that a white grout is blackening over time, so in the future the surface may look a little different.
Photo: grout of a different color highlights each tile
Another option to choose a grout to the color of some element on the tile. For example, if marble tiles with veins, then grout can be taken the same shade as these veins. So, the seams will be combined with tiles.
How to make a grout of the stitches properly
The grout of the seams occurs in 3 stages. The first stage is preparatory, the second is the grout of the seams, the third is the cleaning of the surface from excess.
Preparatory stage
The grout of the seams is made after the glue base of the tile is completely dry. The tile should be securely fixed on the surface. Next, all crosses, dust and the remains of glue with a damp sponge are removed from the seams. If the seams are still filled with glue, then they are cleaned with a stationery knife. All the remaining dust is cleaned with a vacuum cleaner.
Photo: seams cleaned with a knife

By the way: If glue or dirt remain in the seam, the grout between the tiles will turn out to be thin, and over time it can crumble.
Grout of the seams
First of all, the mixture should be diluted. If it is a dry cement grout, it is diluted with water so that the material turns out to be elastic, but not liquid. Epoxy grouts have 2 components, they are also mixed to make the solution thick.
Photo: Consistency of grout
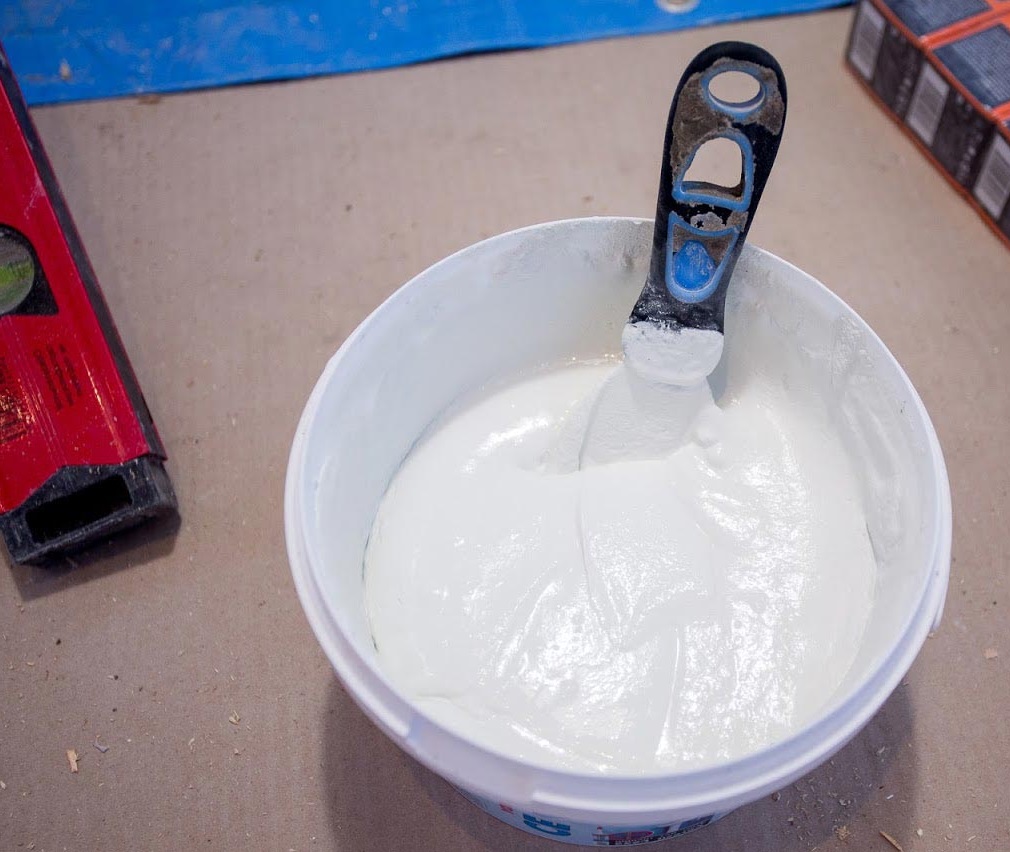
By the way: The consistency should be such that the grout does not slide off the spatula when it is held sideways.
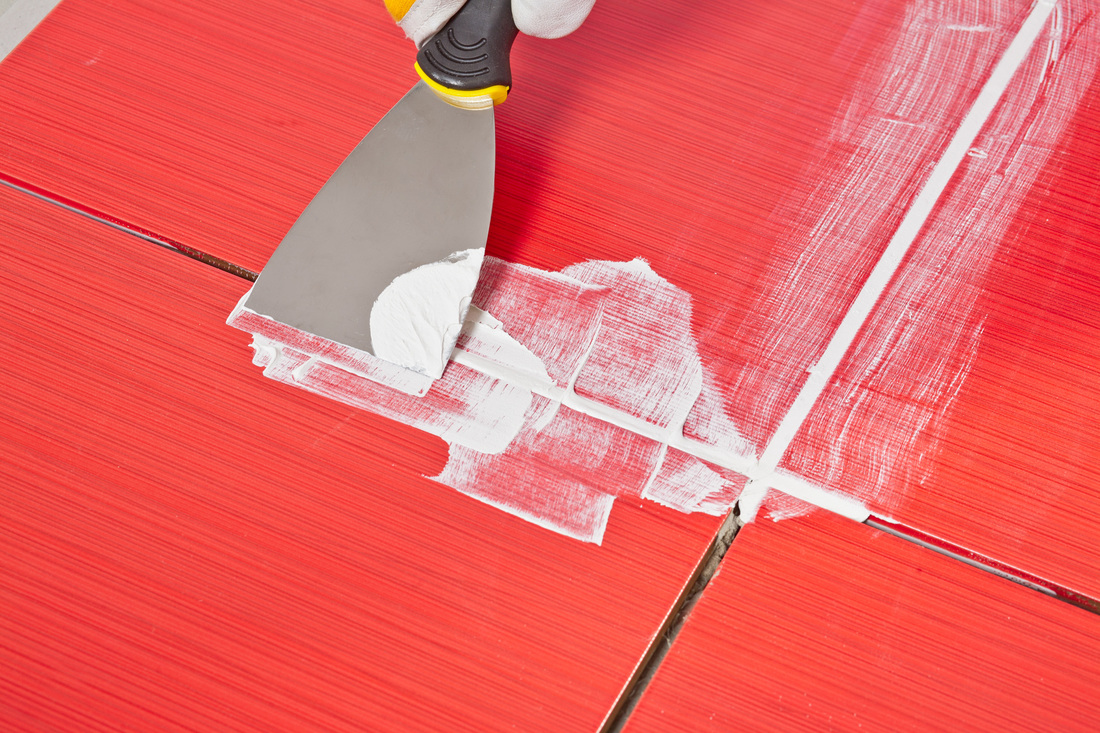
After the grout is ready, it is taken with a spatula and smeared into the seams along and across, so that there are no voids. When the grout dries a little, and this is usually 10–20 minutes, the seams should be smoothed with a sponge or a special grater. It is not necessary to crush the sponge on the seams, the surface is cleaned with circular movements.
Photo: rub the seams with a spatula
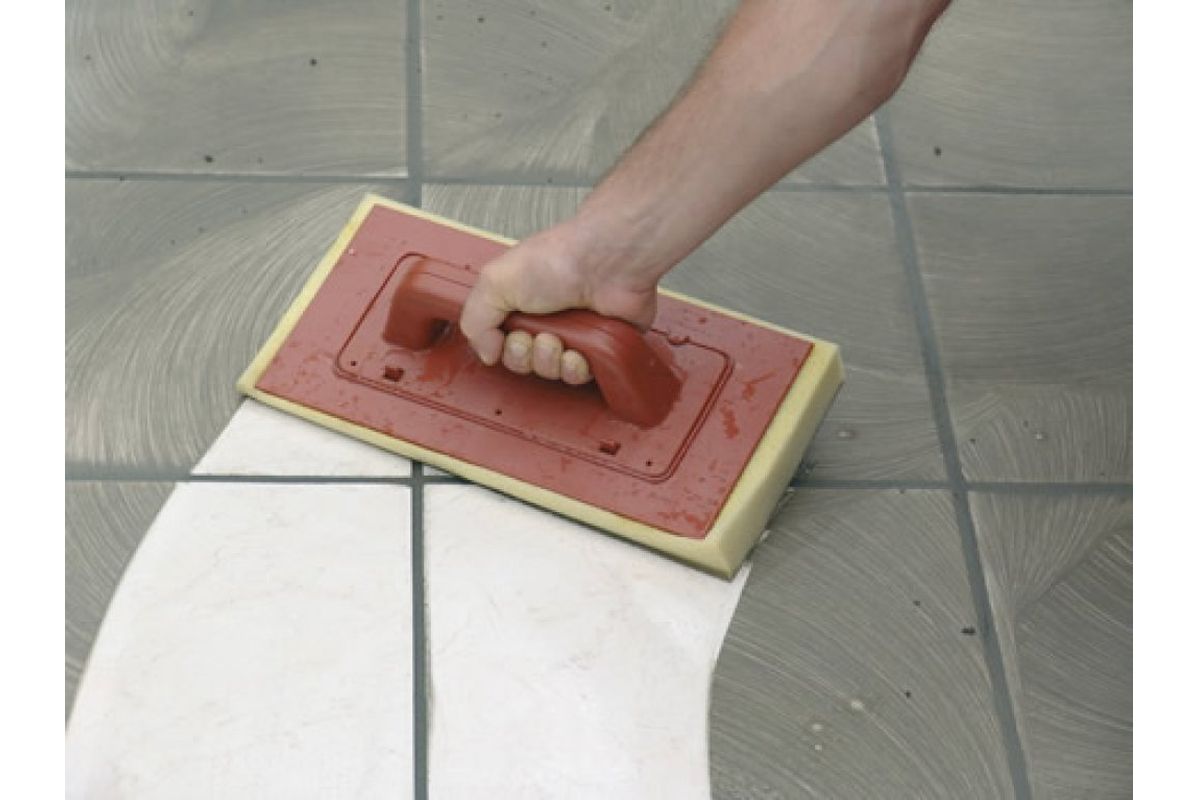
You can use a grater. It should be kept at 30 degrees. The edge of the graters pass along the filled gap 2-3 times, then smooth it. After leveling into the seams where there is not enough solution, you need to add a grout and repeat the process with a sponge.
Photo: Grouting seams with a grater

Important: If the tile stained with grout, it is better to remove it until drying, otherwise then you will have to remove it with a spatula. At this moment, you can damage the tile.
Surface cleaning
After the seams are ready, all the remains of the solution are collected with a rubber spatula, and then the tiles are wiped with a damp sponge. You need to work diagonally relative to the seams. If white stains remain after cleaning, they can be washed off with water soda. You can walk on the tile after applying the grout only after two days.
Photo: tiles after grouting tiles must be cleaned immediately from dirt
Conclusion
- Epoxy grout is considered more durable. She is strong and is not afraid of chemical detergents.
- When you need to create a homogeneous surface, the seams are made thin and make them in the color of the tiles.
- The grout is made using a rubber spatula.
- The seams before this are cleaned with a sponge and a stationery knife.
- The seams themselves should be completely cleaned of dirt and tile glue, otherwise the grout will turn out to be thin and quickly crumble.
- The grout is made with a rubber spatula along and across the seam.
- If a grout hit the tile, it needs to be cleaned until it has hardened.