The bathroom has a large number of pipes, cranes and other important plumbing elements. To make access to them always, all the main nodes are made in one place – this is a hidden hatch under the tile. In the article, we consider what the revision hatch is and how to correctly install it under the tile.
Content:
- What is a hidden hatch for tiles
- How to install a hidden hatch under a tile in a gypsum cardboard box
- Tool
- Materials
- How to check the quality of the invisible hatch
What is a hidden hatch for tiles
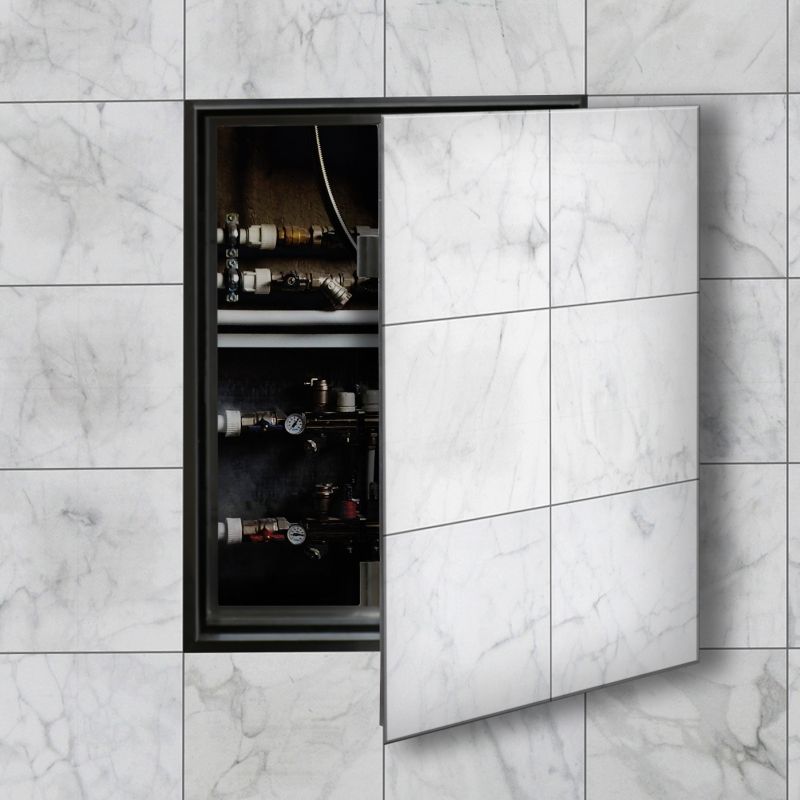
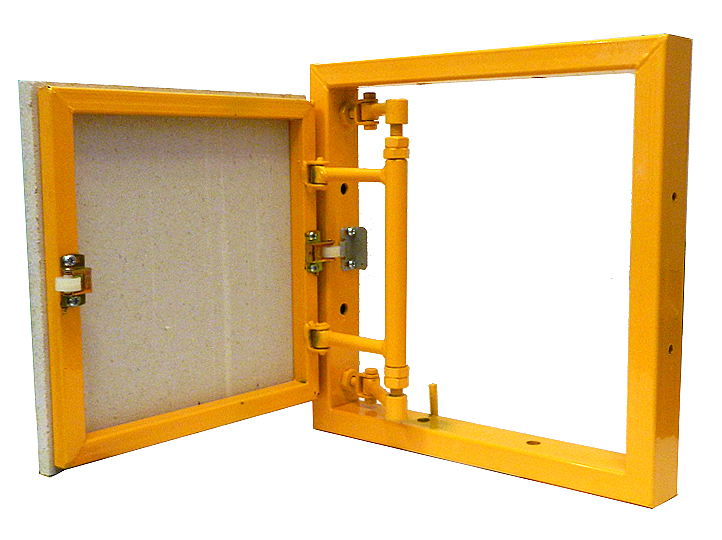
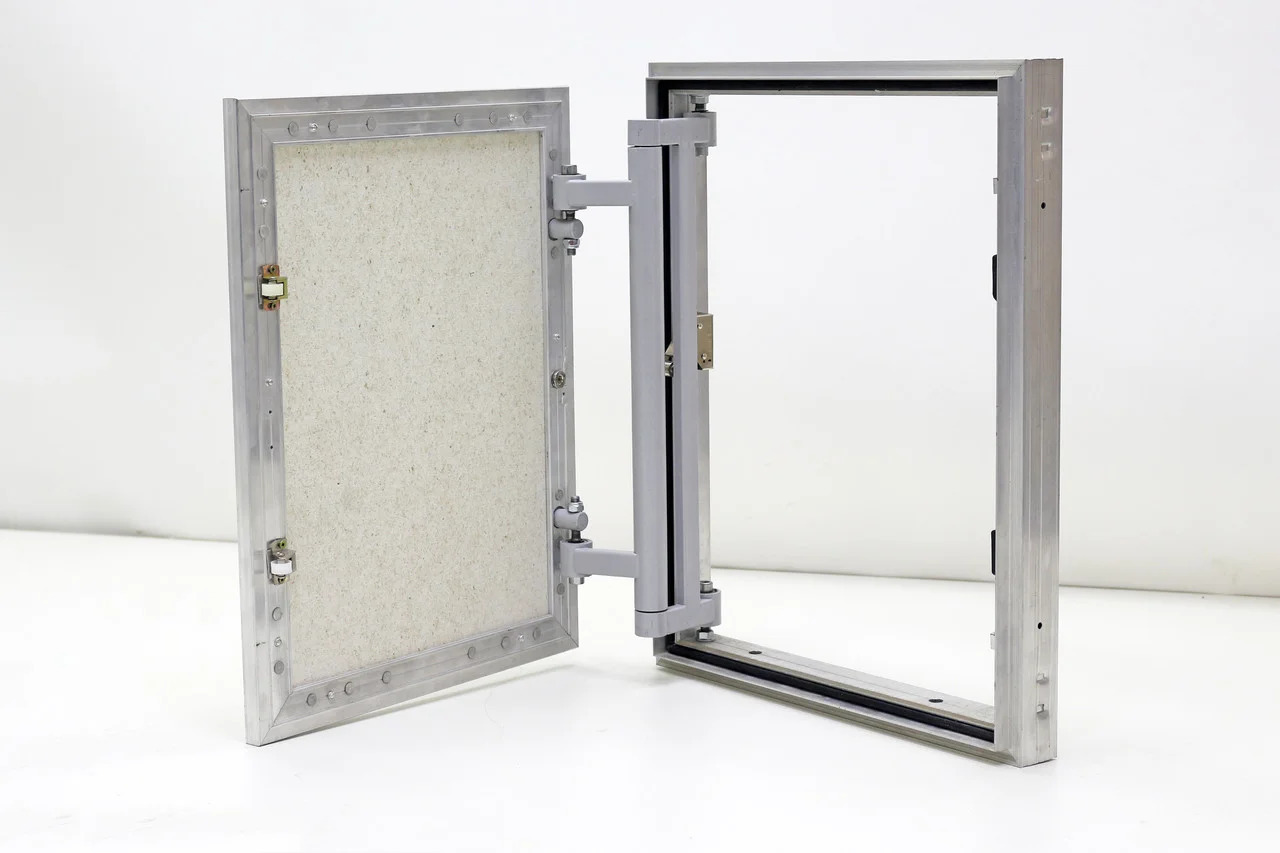
A hidden or revision hatch consists of a frame and a door. He is put in a niche with communications. Tiles are glued on top of the door so that it does not stand out against the background of the finish.
Photo: Hidden hatch for tiles has a massive structure
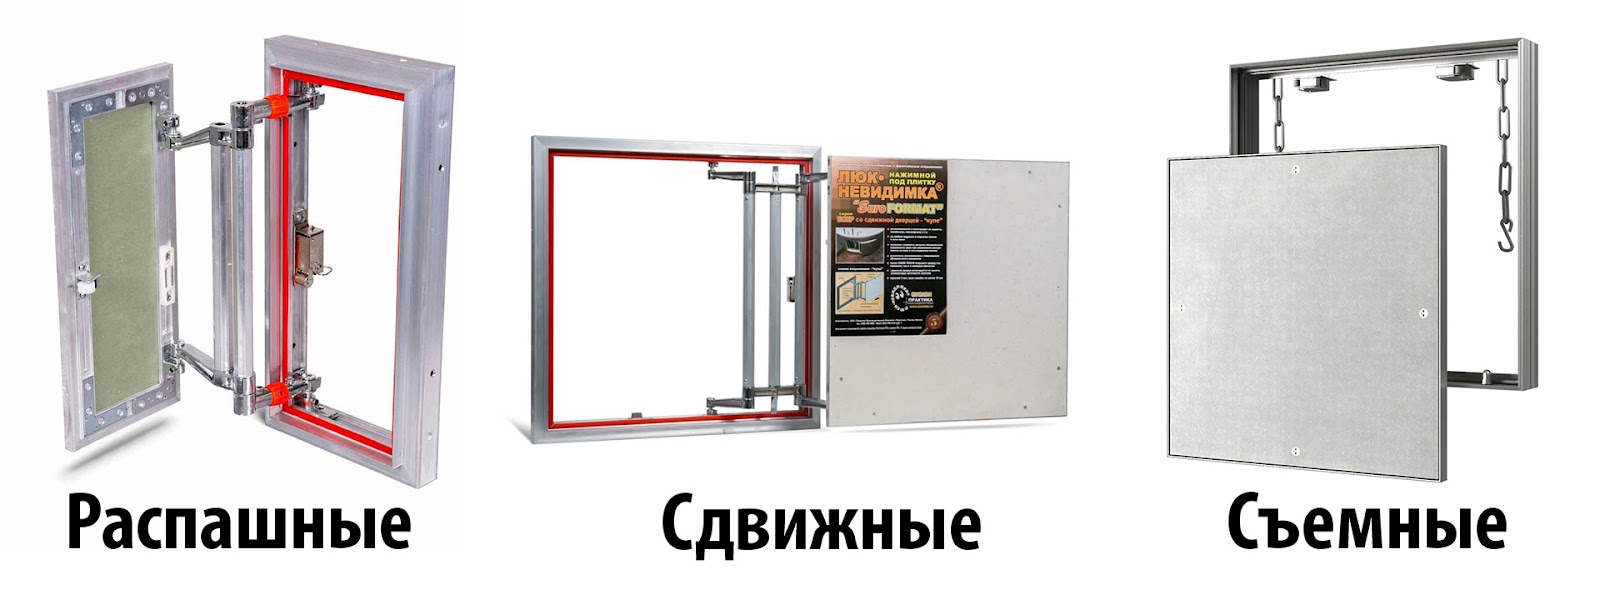
Hidden hatches differ in the method of opening the door. They are swinging, sliding and removable.
Photo: Types of hidden hatches
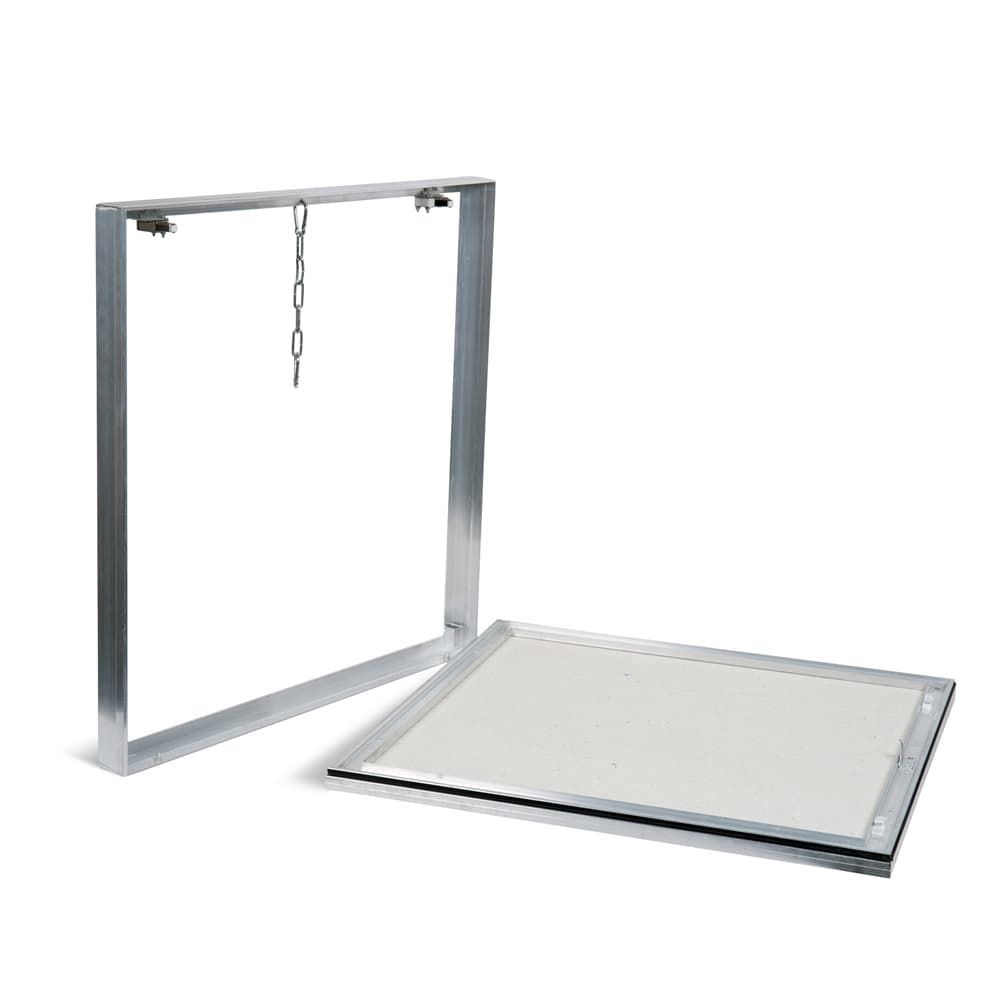
Hidden hatches with removable doors are the most affordable in price. In this case, the door has no loops, it holds in the frame thanks to magnets or chains.
Photo: Removable hatch
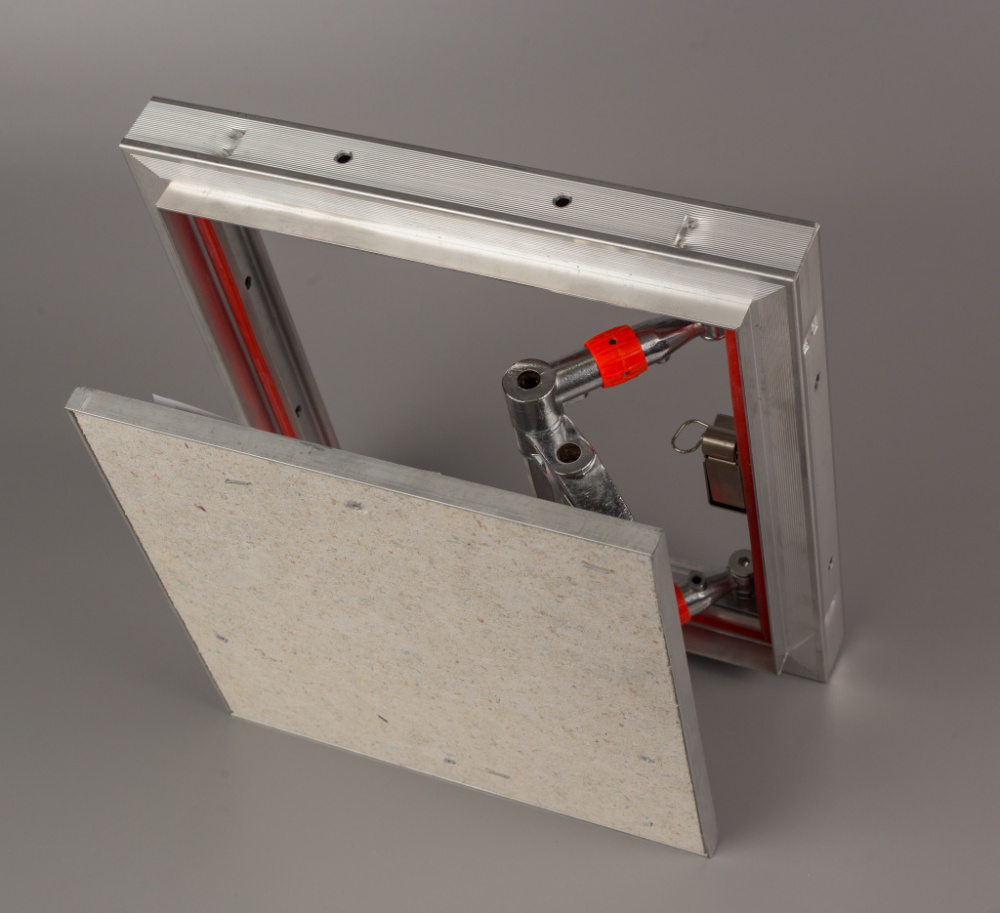
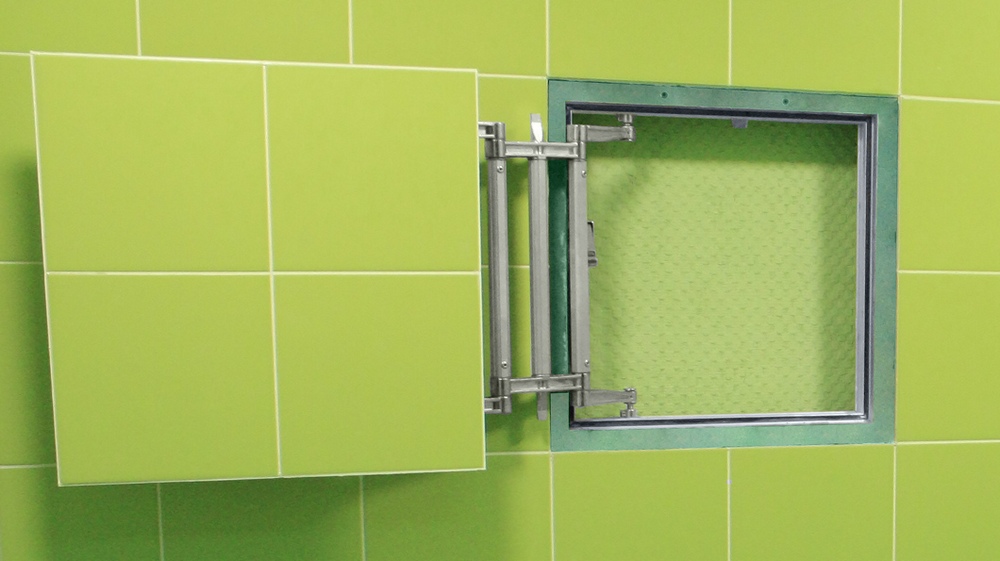
The swing hatches have special loops in their design, thanks to which the door first opens parallel to the wall, and then goes sideways. Thus, the door does not interfere with access to communications.
Photo: swing hatch
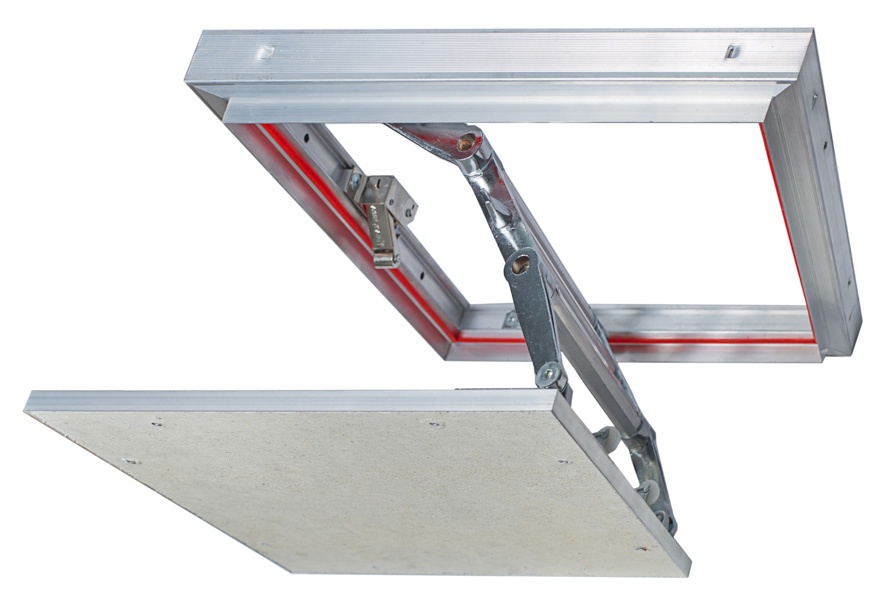
Drilling hatches during the opening also go sideways, only along a different path. They are used if there is no place to install a swing hatch.
Photo: Lift hatch
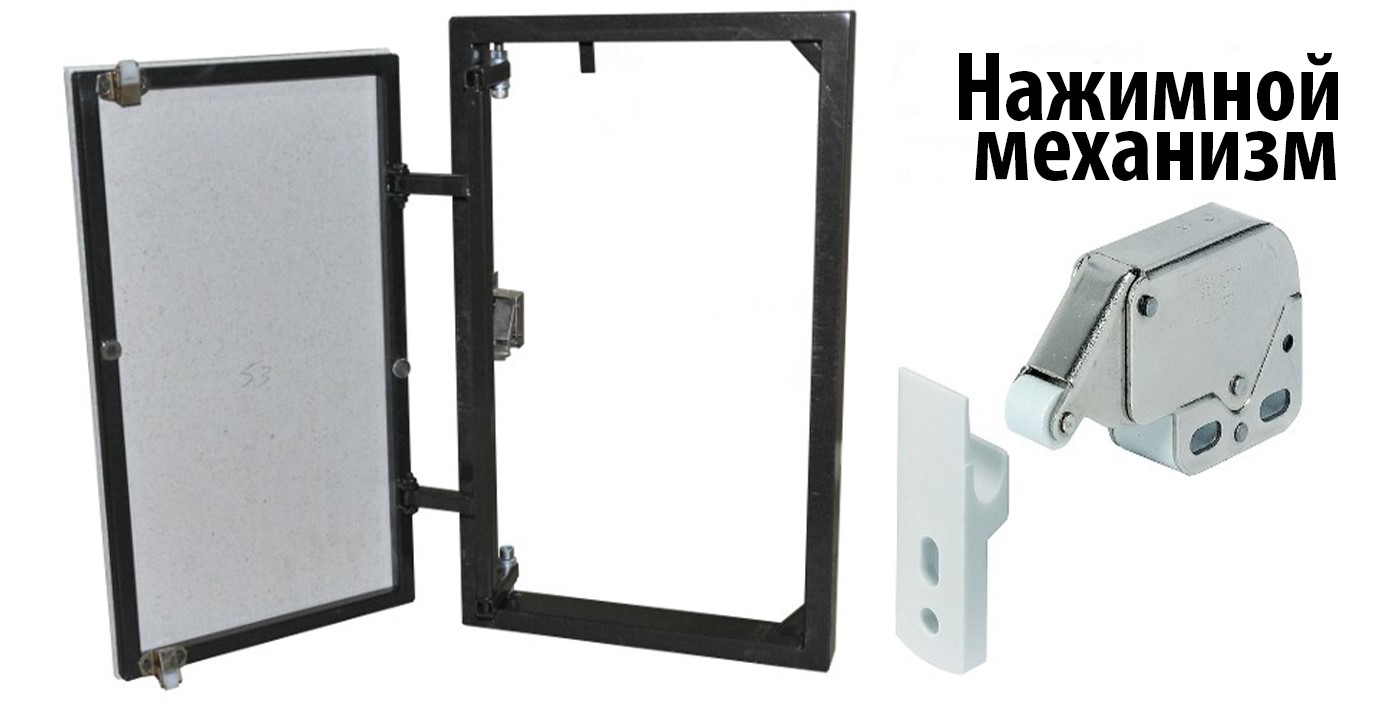
Invisible hatches with pressure doors are also sold. There, the design uses a special castle, which, when pressed, opens the door. There are both swing and sliding hatches with pressure.
Photo: a pressure hidden hatch has a special castle
The design of the hidden invisible hatch is selected based on its location. The size can be 40×40 cm or more under the tile. The hatch should be so size that two hands can fit in it and there is still a little space with a margin. It is better to make the hatch more than less.
Photo: hidden hatch for tiles 40 by 40 cm
How to install a hidden hatch under a tile in a gypsum cardboard box
To work with a plumbing hatch for tiles, the following tools and materials will be needed:
Tool
- Scurgery.
- Bit pH (pz) – 2.
- Pistol for sealant.
- The knife is painted.
- Level.
Materials
- Luke-invisible.
- Self-tapping screws with a press shame (the length should be larger than the thickness of the hatch frame by 10–20 mm).
- Drill.
- Sealant.
- Olfa blades.
The audit hatch for tiles is most often installed in a gypsum plastic box.
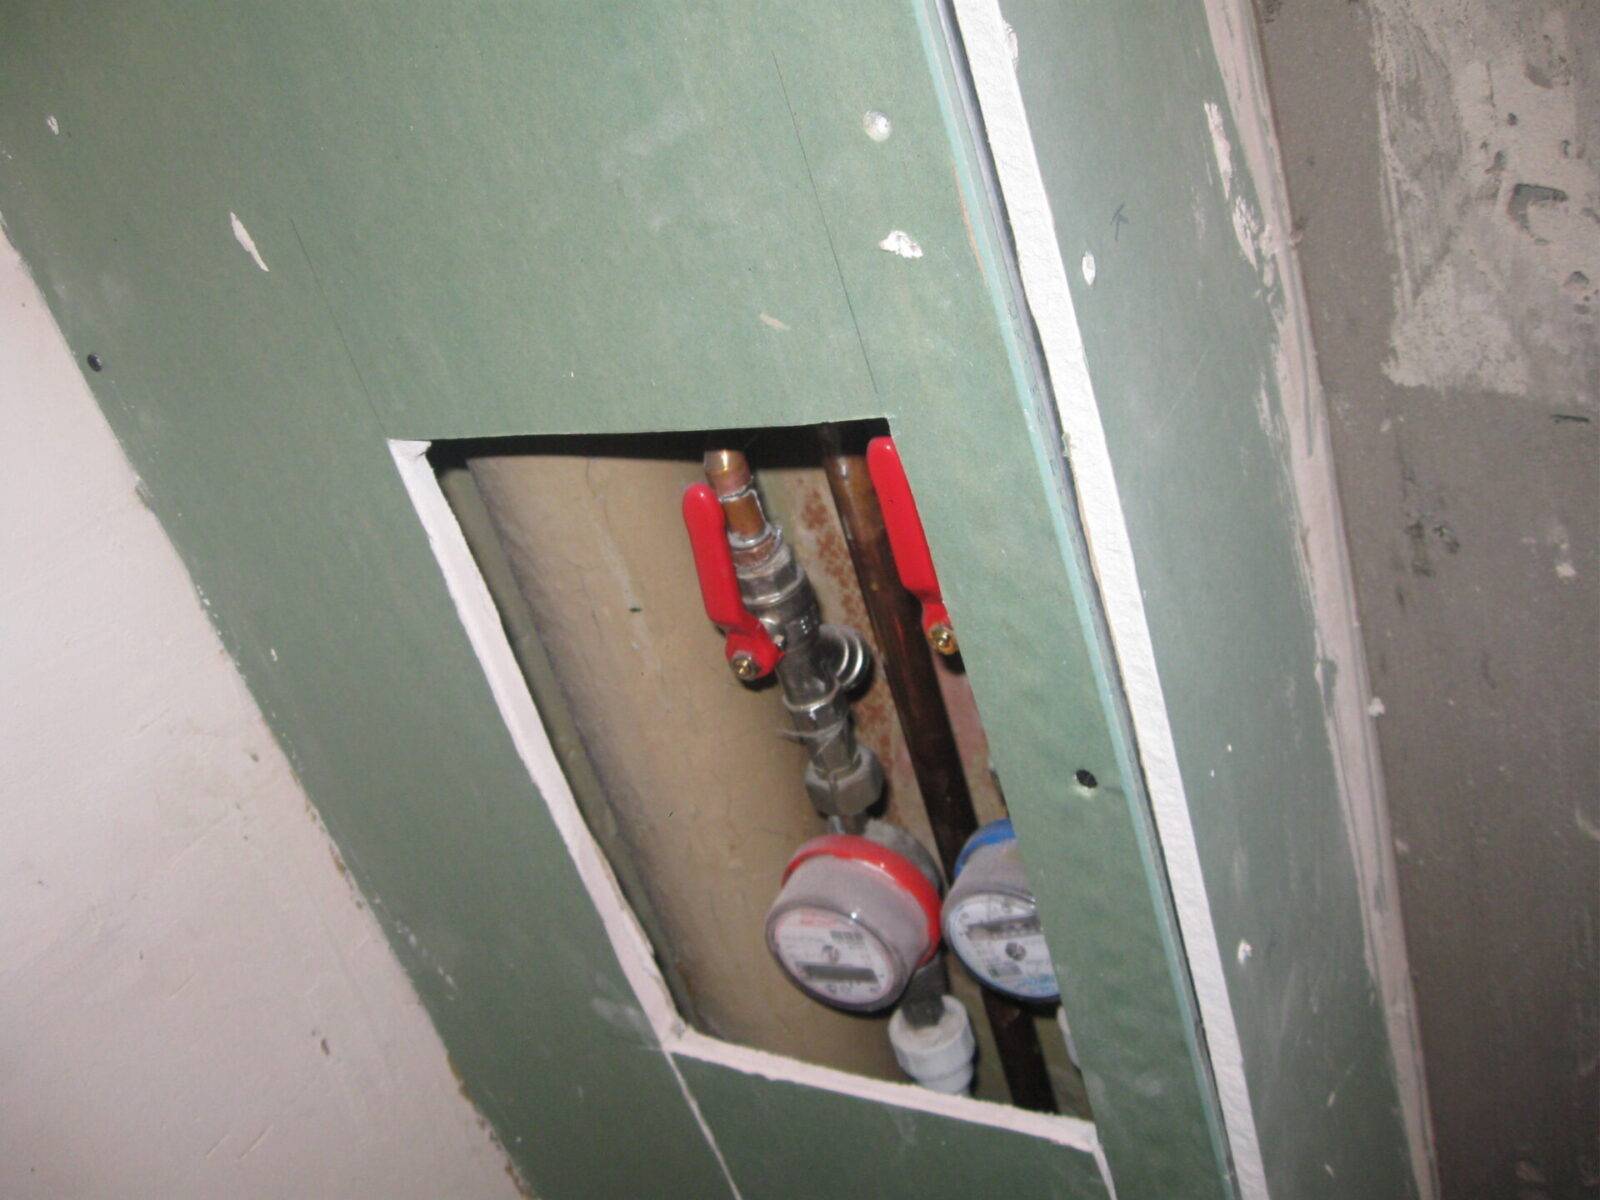
In this case, a special niche is prepared under the size of the hatch.
Photo: Niche under a hidden hatch
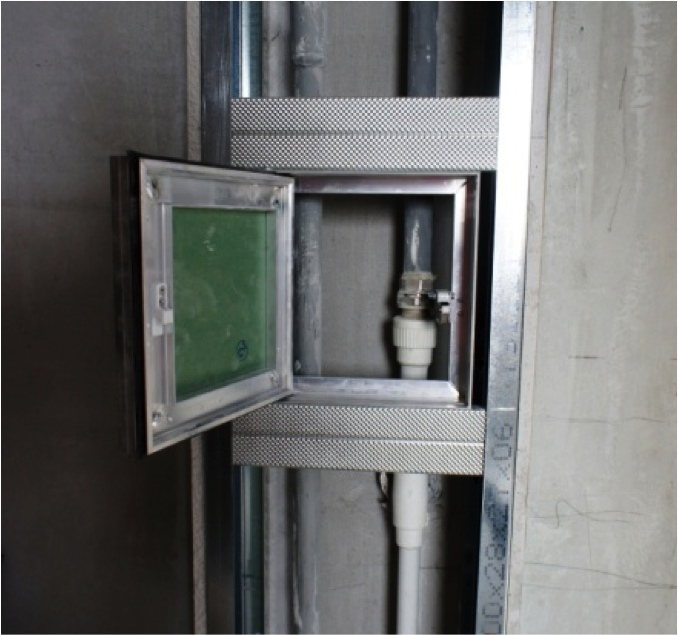
The construction of the box itself is amplified by metal profiles and wooden bars from below, from above and on the sides. To do this, wooden bars are placed inside the iron frame. This is necessary so that in the design you can hardly fix the invisible hatch under the tile.
Photo: It is recommended to integrate the hatch into the frame from the 50th profile, since the width of the hatch frame is 50 mm
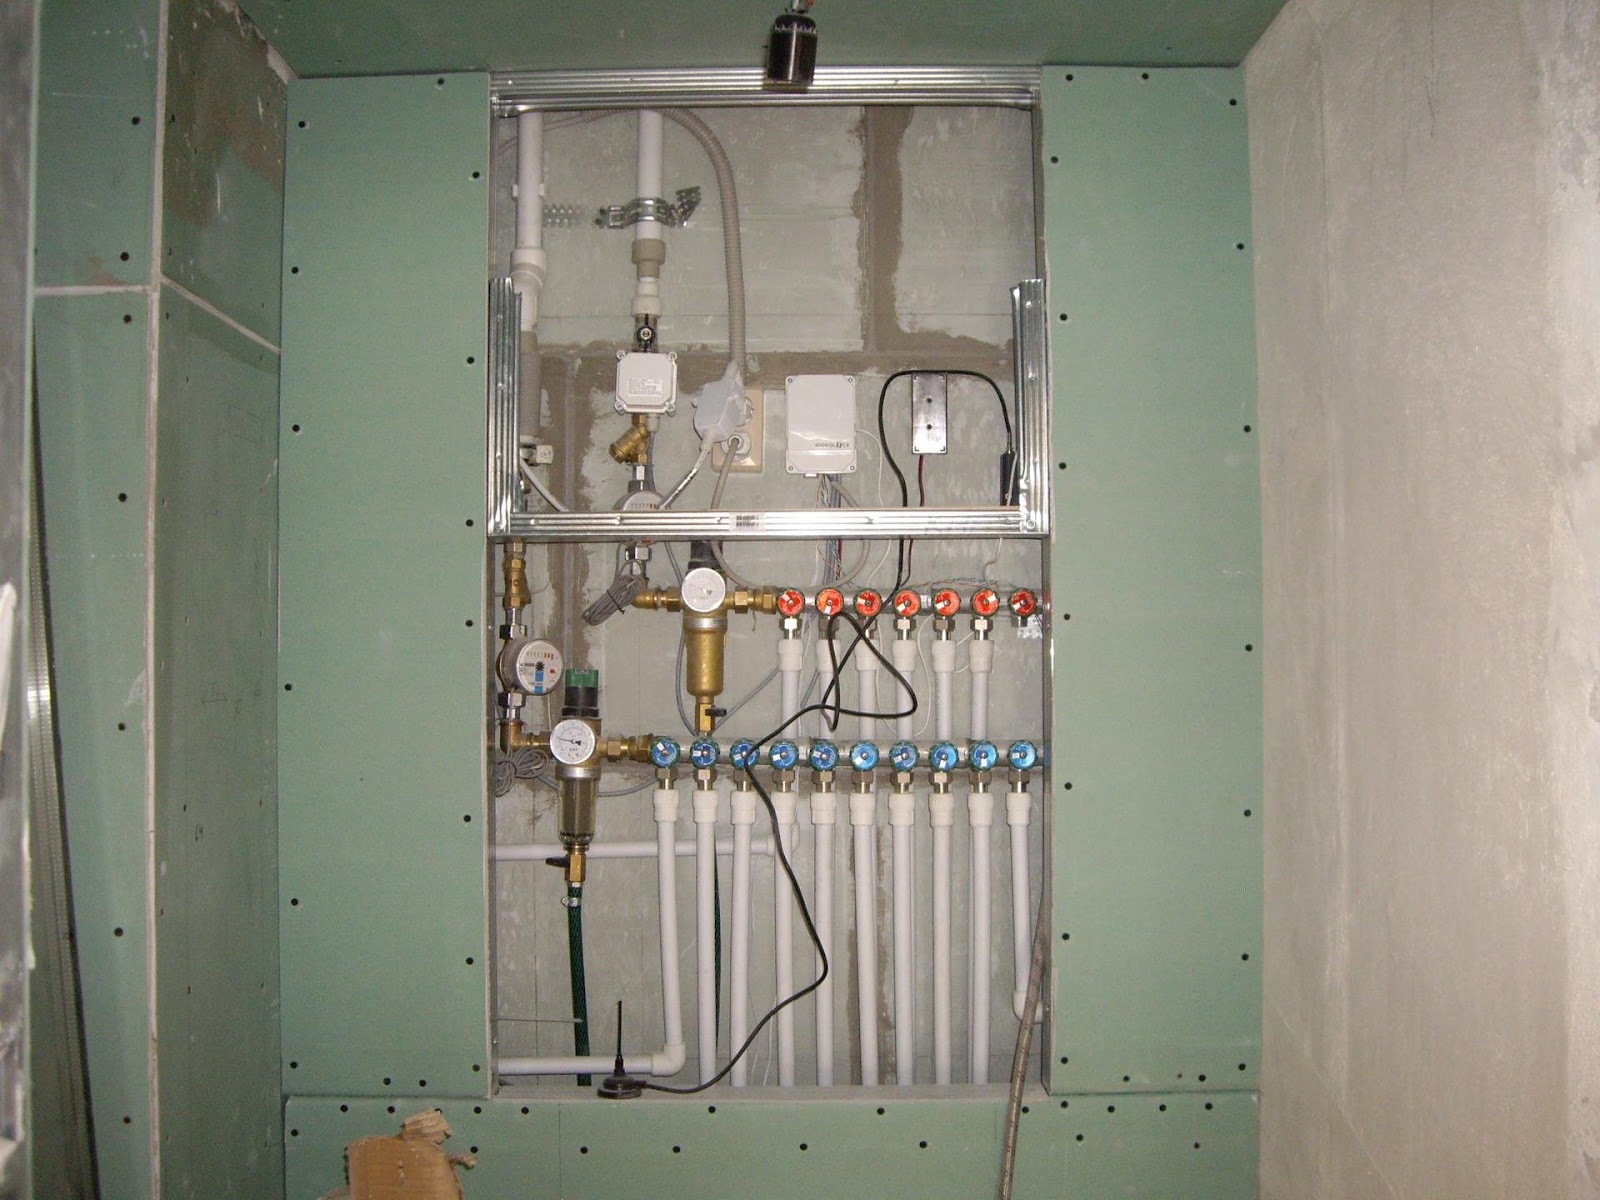
The niche itself should turn out a little more than the hatch, because there should be a technological gap of a few mm between the frame and the door.
Photo: Niche under a hidden hatch
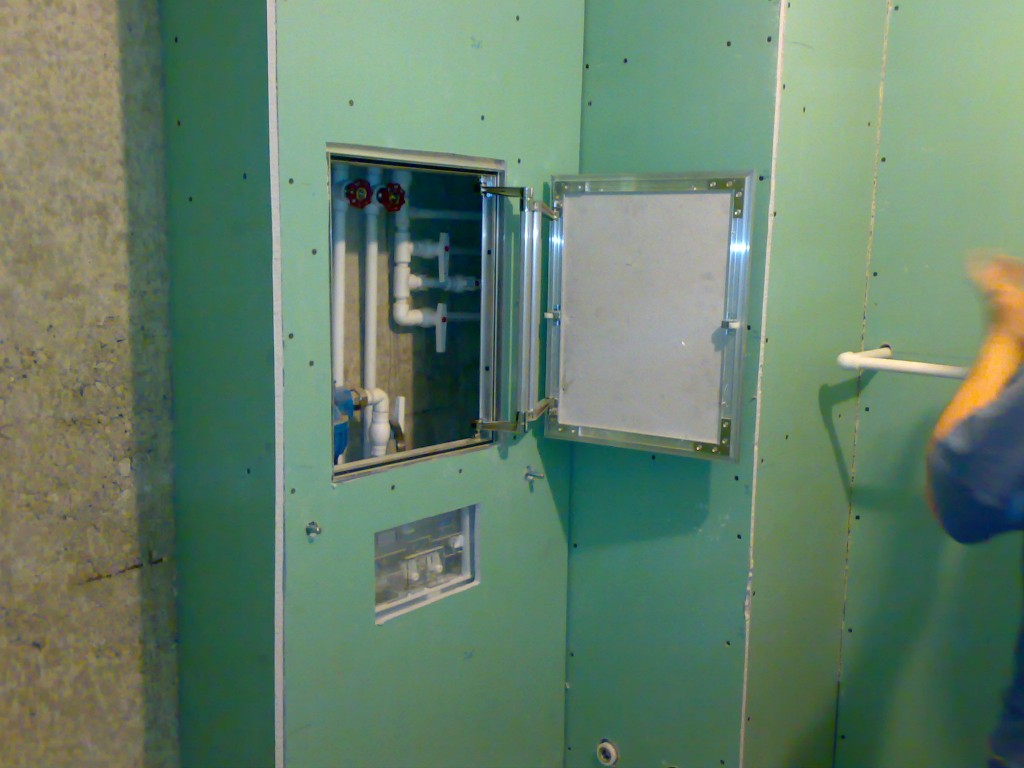
Important: When choosing an invisible invisibility hatch, you need to think about how it will open so that the door does not interfere, for example, a wall, plumbing, a heated towel rail or other items. If it is not possible to install a swing or sliding hatch, then you need to make a removable on magnets.
Photo: Before installing the hatch, you need to determine which way the door will open
When the niche is ready, a lucas-invisible hatch is installed in the frame. To do this, apply a sealant on the frame and put the hatch in level so that the door is on the same plane with drywall. After that, the hatch’s frame is screwed to the frame using self -tapping screws. Black is better not to use. If, after installing an invisible, the door sags the door, then the loops should be adjusted.
Photo: Before installing the hatch, you need to stretch all the adjusting screws
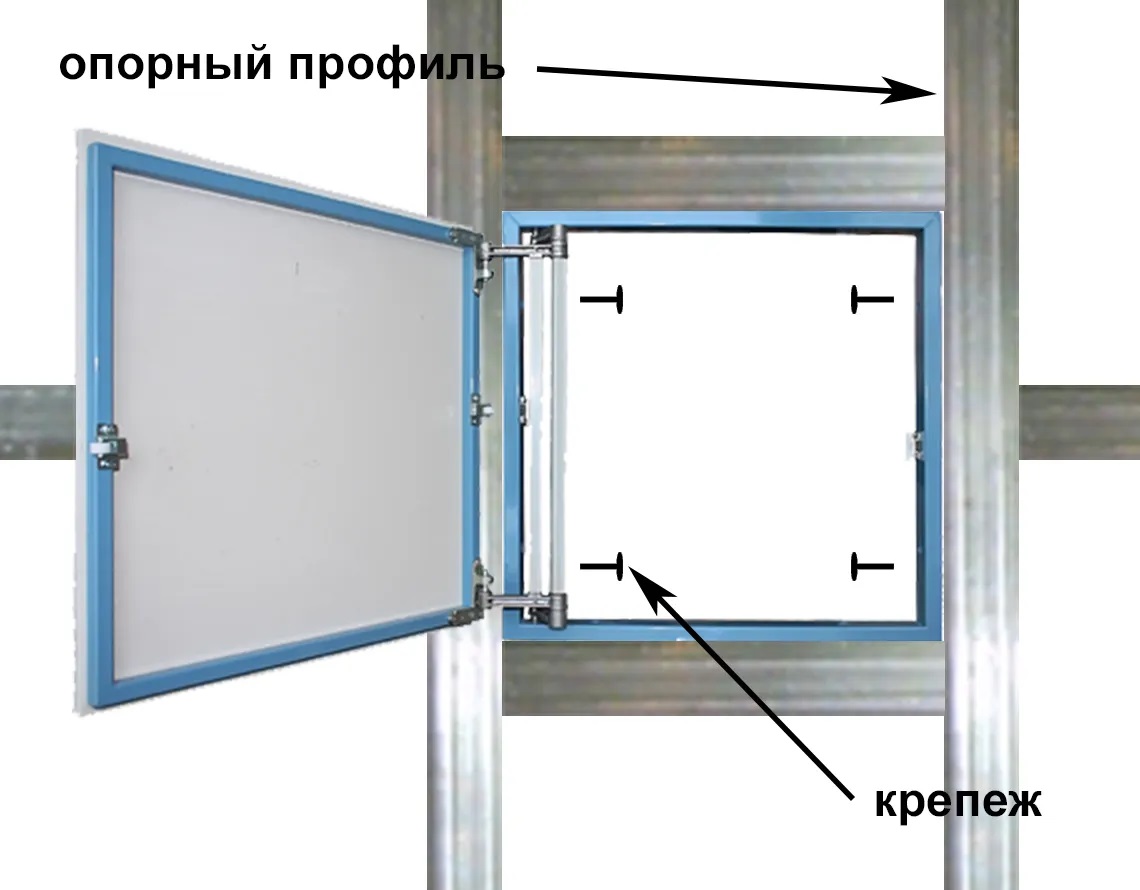
Photo: If there are no holes in the hatch frame, they need to be drilled before installation
Then tiles are attached to the box. So that the hatch door does not stand out, it must be made in size of the tiles, and the borders of the hatch should coincide with the seams between the rows of tiles.
When laying tiles on the door, it is important to ensure that the glue does not fall into the gap between the door and drywall. If this happens, the glue will dry out, and the door will be difficult to open.
Photo: Luke’s boundaries can go along the seam of tiles
How to check the quality of the invisible hatch
- The door should be installed on the same plane as plasterboard slabs or walls.
- The gap between the door and the frame should be the same from all sides. If there is a difference somewhere, then you need to adjust the loops.
- After installation, the door should easily open without unnecessary efforts and extraneous sounds.
- Visually, the hatch should not stand out against the background of tiles.