In this article, we will consider how to make a high -quality partition from gypsum plates and analyze the assembly technology by stages.
Content:
- What is a gypsum groove?
- How to choose a plaster plate for a partition?
- Installation of partitions from PGP
- Preparation
- Installation of gypsum plates
- Installation of the following rows
- Installation of the opening in the partition
- Laying the final row of plates
- Working with corners
- Sneps of cracks
- Checking the result
- What materials are needed to make a partition from the PGP?
- What tools are needed for installation of PGP partitions?
What is a gypsum groove?
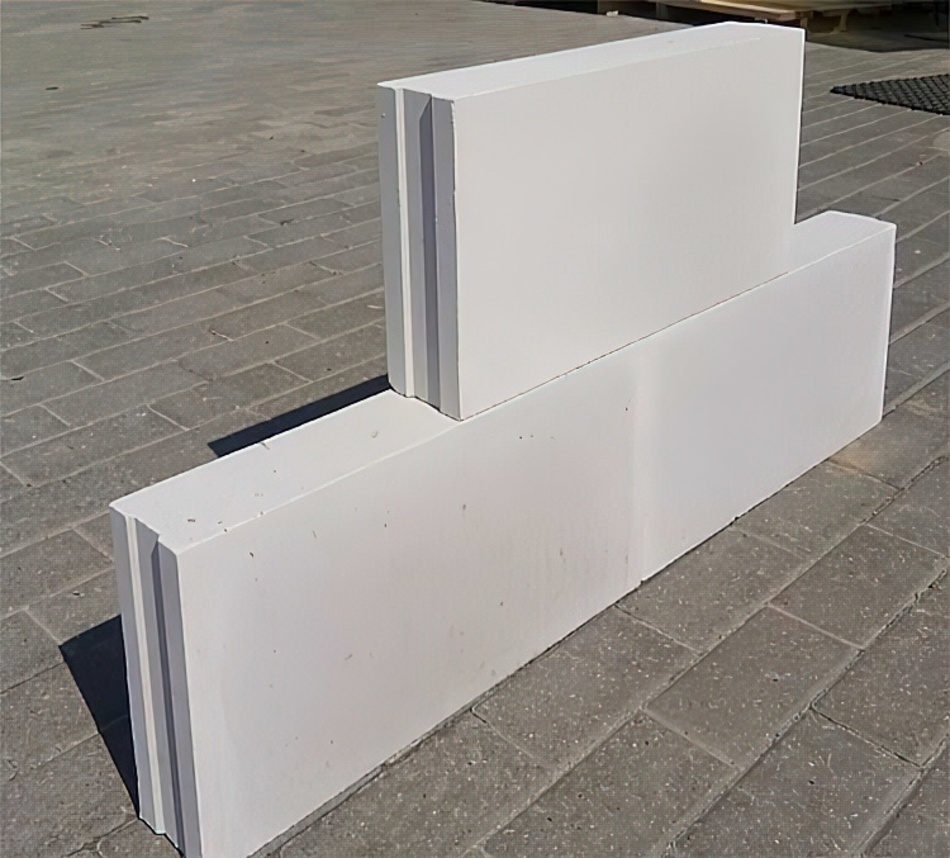
Pasogroble gypsum plate, abbreviated PGP – this is a material for the construction of walls inside the building. Thanks to special grooves and ridges, the slabs are easily and quickly interconnected and form a monolithic wall.
Photo: PAZs simplify the process of building walls
Gypsum slabs are full and hollow.
Photo: Types of gypsum plates
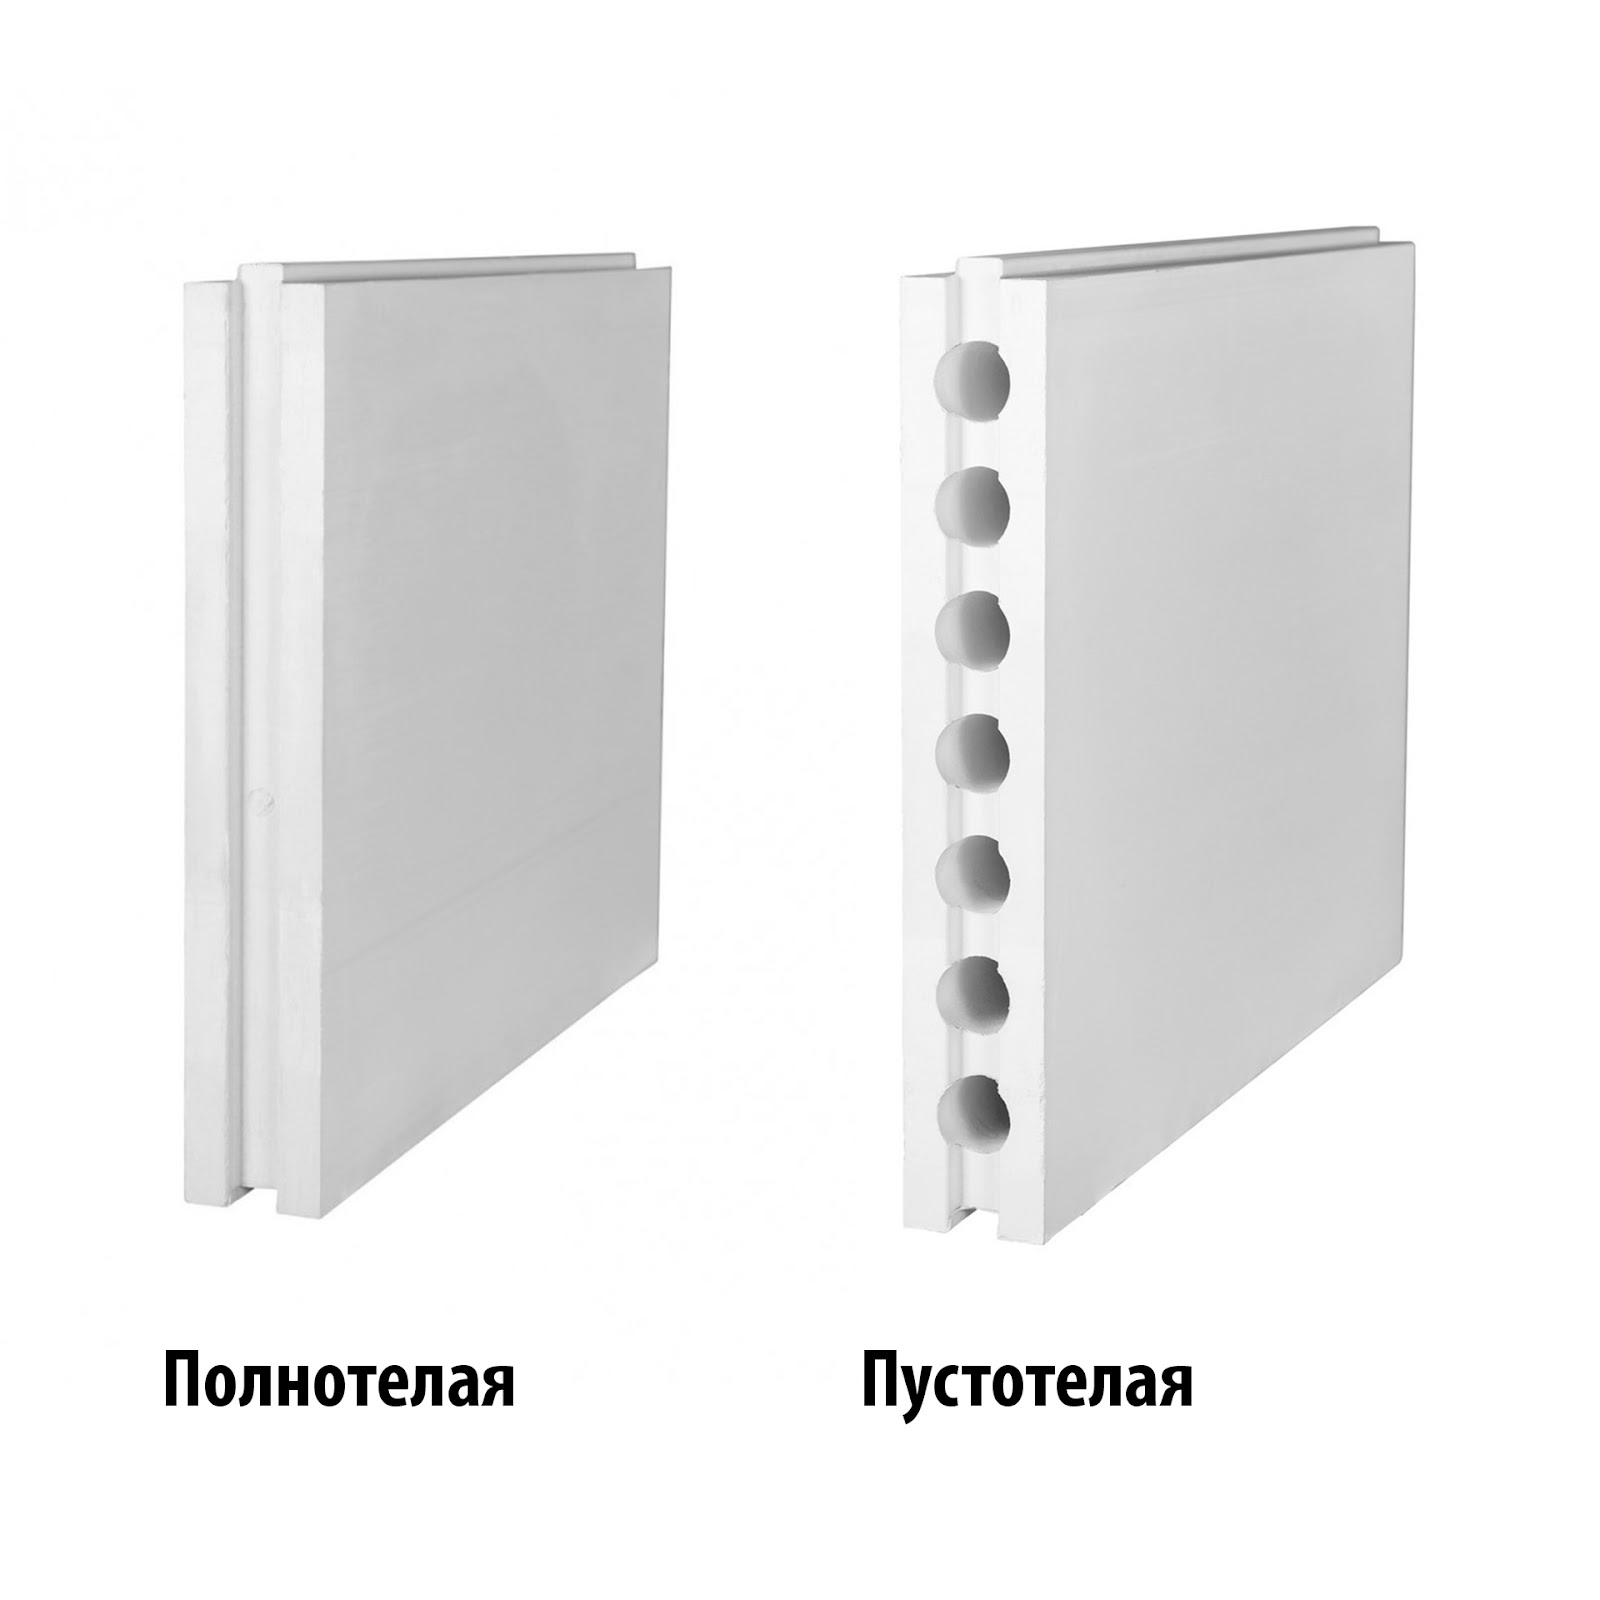
Full -bodies have a monolithic structure. Hollow slabs are flooded in such a way that there are special empty channels inside them. This allows you to make hollow slabs much easier than full -bodied ones.
Gypsum plates have a rectangular shape in size 667x500x80 mm. To make 1 m2 walls, you need 3 plates.
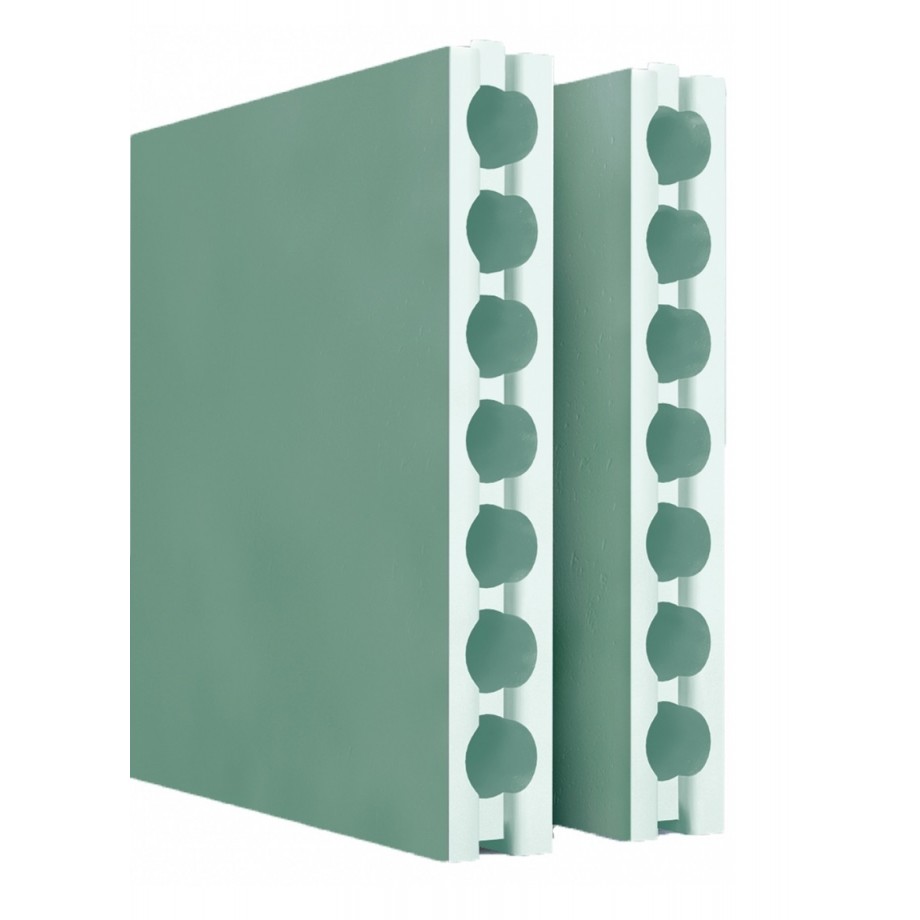
Gypsum plates consist of gypsum, special plasticizer and reinforcing fiber, so the partitions are hard and dense. In moisture resistant plates, hydrophobic modifiers are additionally added, which do not allow moisture to absorb into the stove.
Photo: moisture -resistant hollow plate
How to choose a plaster plate for a partition?
If you need to save the budget, then it is better to make the wall out of hollow plates, because they are cheaper than full -bodied ones. But it must be borne in mind that such partitions pass sound and shock noises well.
Full -bodied slabs are stronger and do not “ring” from shock noise. It is easier to fix furniture and other items on them, since the unit does not contain voids.
If you need to make a partition in the bathroom, it is better to use moisture -resistant slabs.
Installation of partitions from PGP
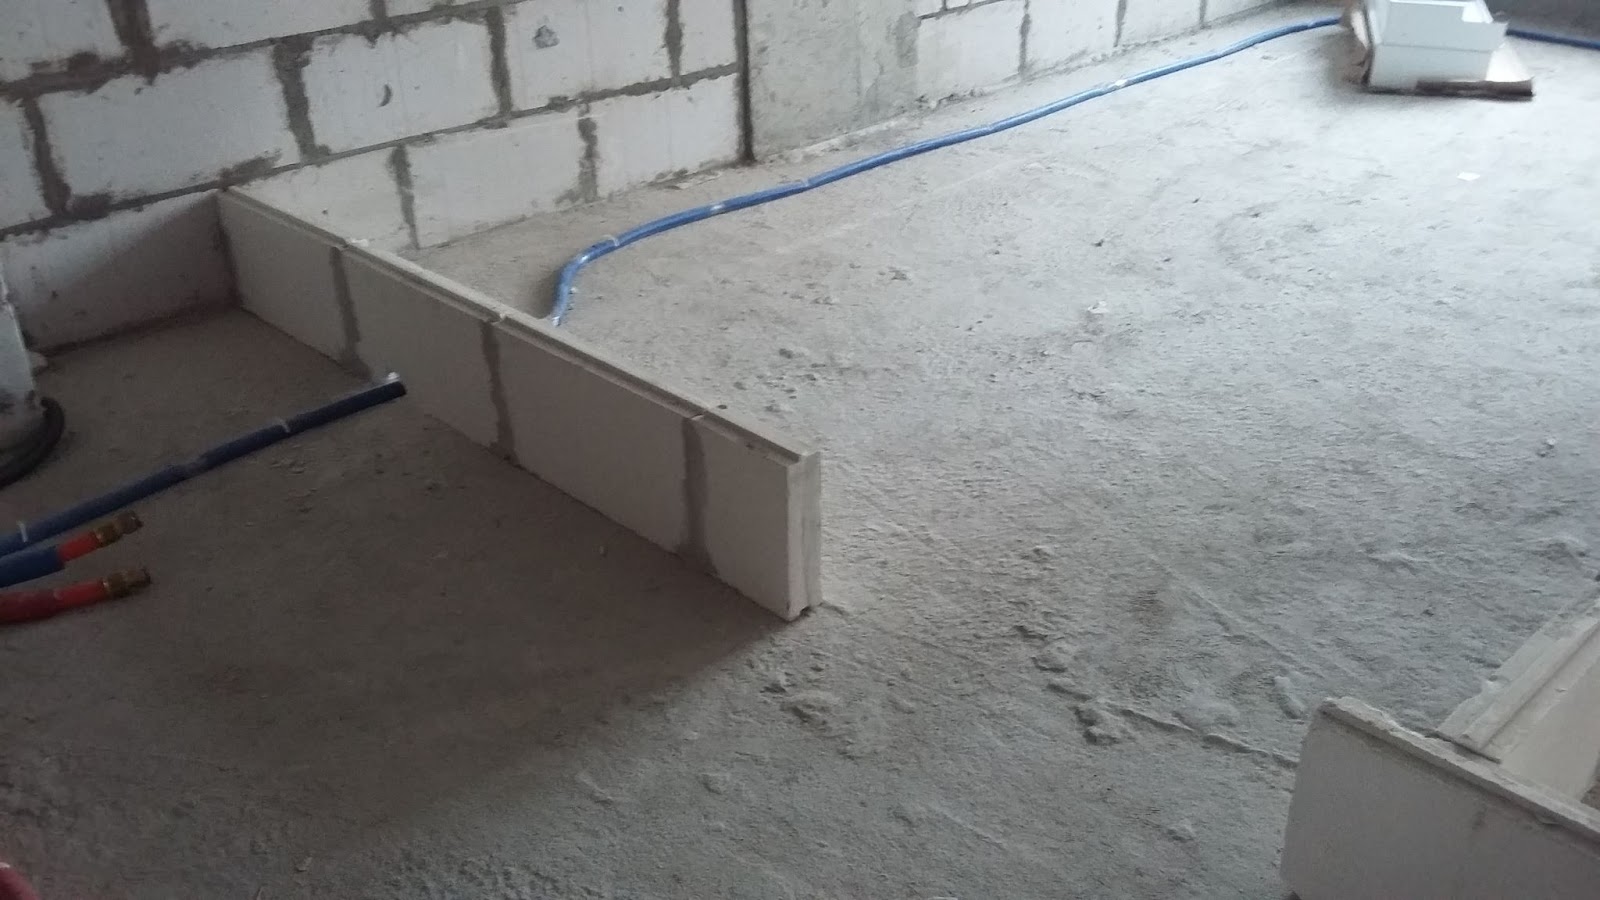
Installation of partitions from gypsum plates is carried out at the very beginning of the repair, at the stage of draft work, when the screed has not yet been flooded. The plates themselves must first dry in the room. Installation of the partition consists of 8 stages. We will analyze each of them separately.
Photo: The place where the partition will be, should be cleaned of dust
Preparation
Before installing the partition, the base of the floor from dust and dirt should be cleaned. Next, make the marking of the partition on the floor using fishing line or laser levels. On the floor, it is also necessary to note the location of the opening, if it is planned. Sometimes, for convenience, a beacon rail is installed along the wall and the wall is equal to it.
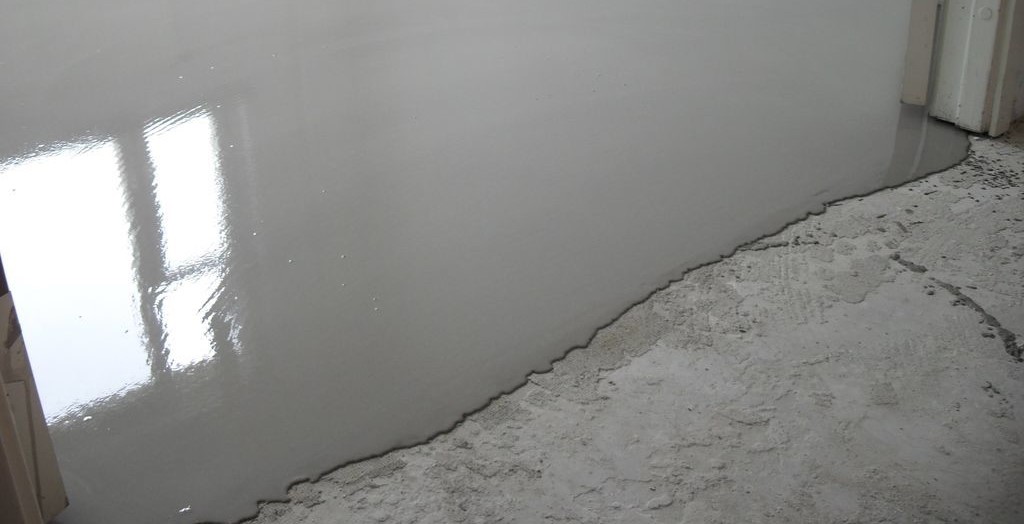
If the base of the floor is uneven, then it should be adjusted using a leveling layer of cement. The solution is poured with a thin layer on the floor and with a spatula. After the solution freezes, it should turn out to be horizontally even surface with a deviation of not more than 2 mm per line meter.
Photo: an uneven floor must be poured with an additional layer of screed
Further on the floor and walls that will be adjacent to the partition, a special seal of 8 cm from felt or cork wood is glued. This is done so that the surfaces are as smooth as possible.
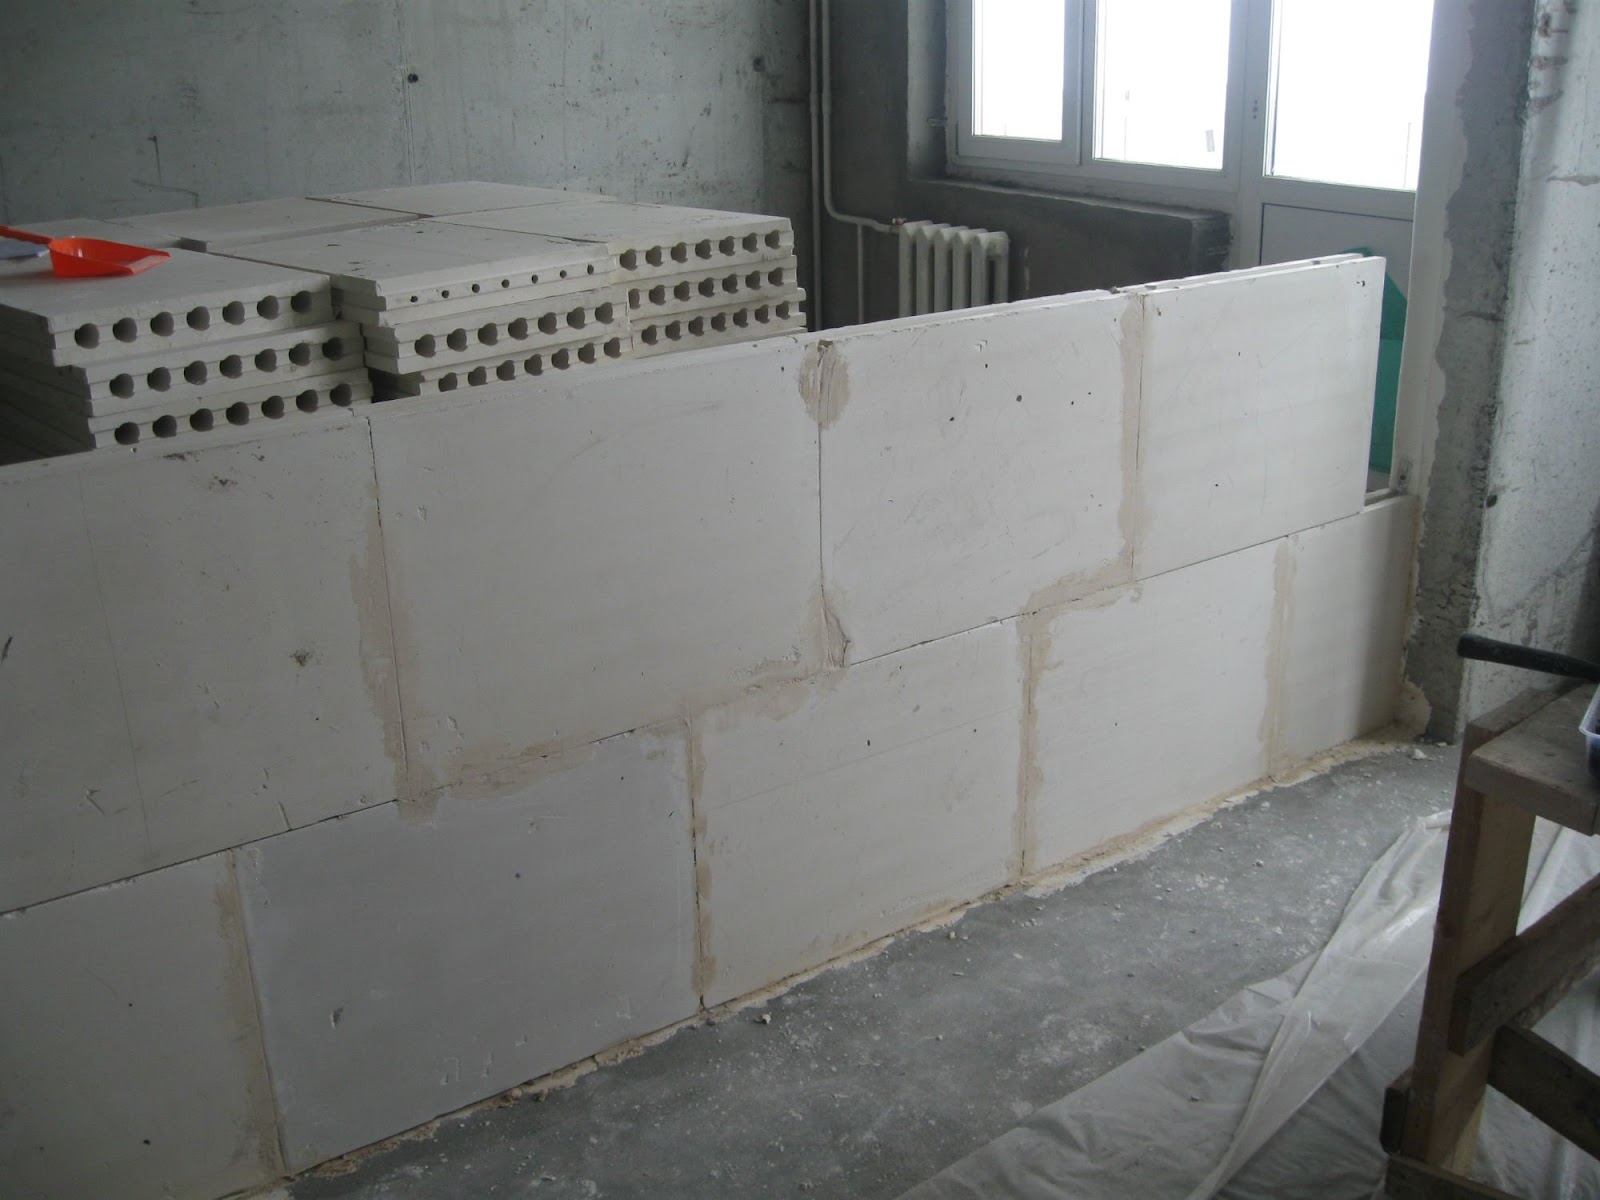
Installation of gypsum plates
To make the first row of slabs, you need to cut down the lower crests. So the stove will have an even base.
Photo: gypsum slabs can be sawed with a regular hacksaw

Next, tile glue is applied to the seal. Then put the first block. It is equal to the level. Turning the plate under the level occurs due to the rubber hammer. They hit the plate on top and side.
Photo: rubber hammer does not destroy the plate
The first plate must be installed with special care, since the rest of the plates will be used on it. The first row must be laid so that vertical and horizontal seams do not exceed 2 mm. To do this, the glue is applied to the side crests and grooves of plates in a thin layer, and all the excess is removed with a spatula.
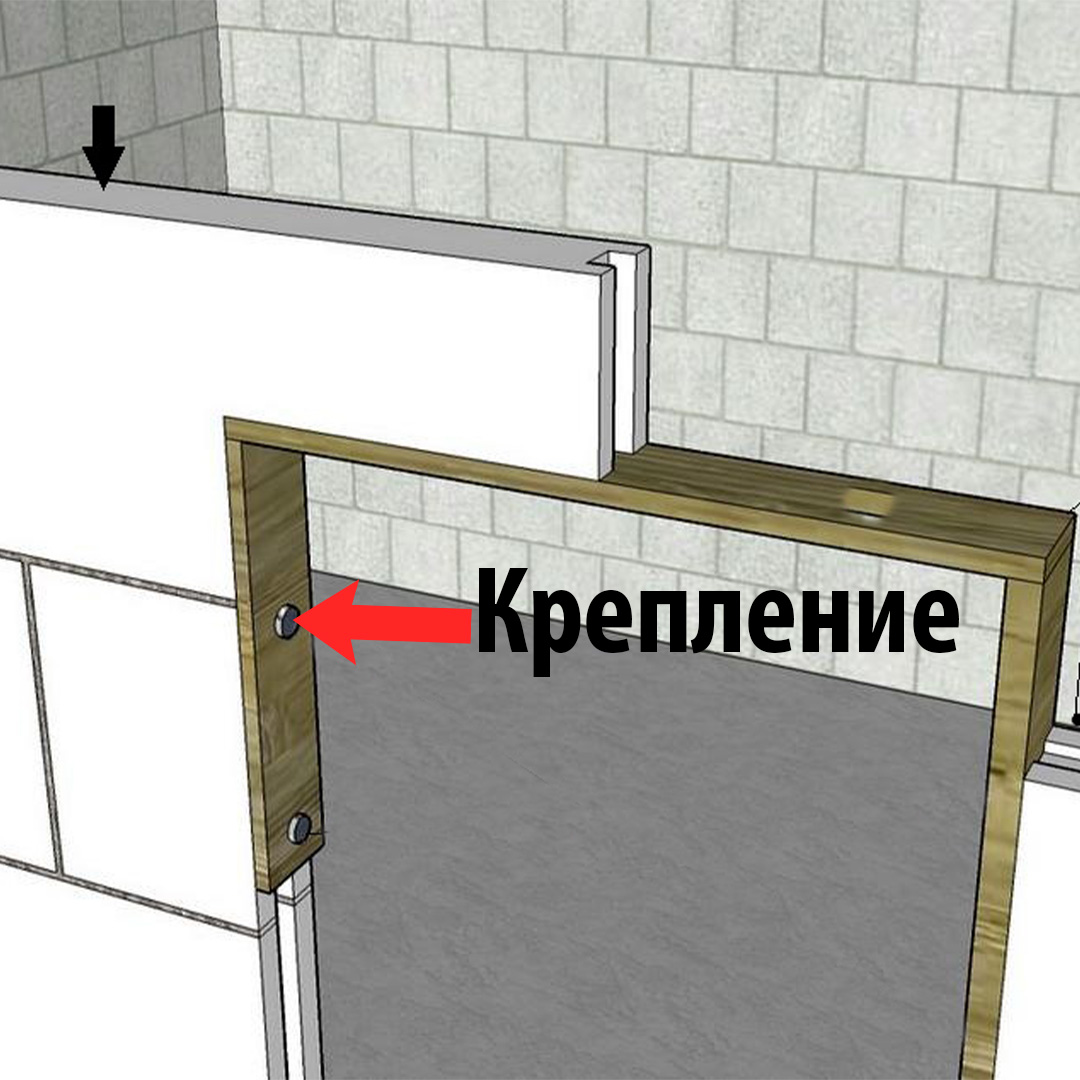
After the first row has finished, it must be fixed to the wall. To do this, the first and last plate in the row is fixed to the wall using brackets. They provide hard fixation and serve as an additional increase for the design. To do this, one part of the bracket is inserted into the groove of the slabs, and the other part is screwed with self -tapping screws to the wall. After that, you can put the second row of plates.
Installation of the following rows
The installation of the second and subsequent row can be proceeded when the glue between the slabs dried in the previous row.
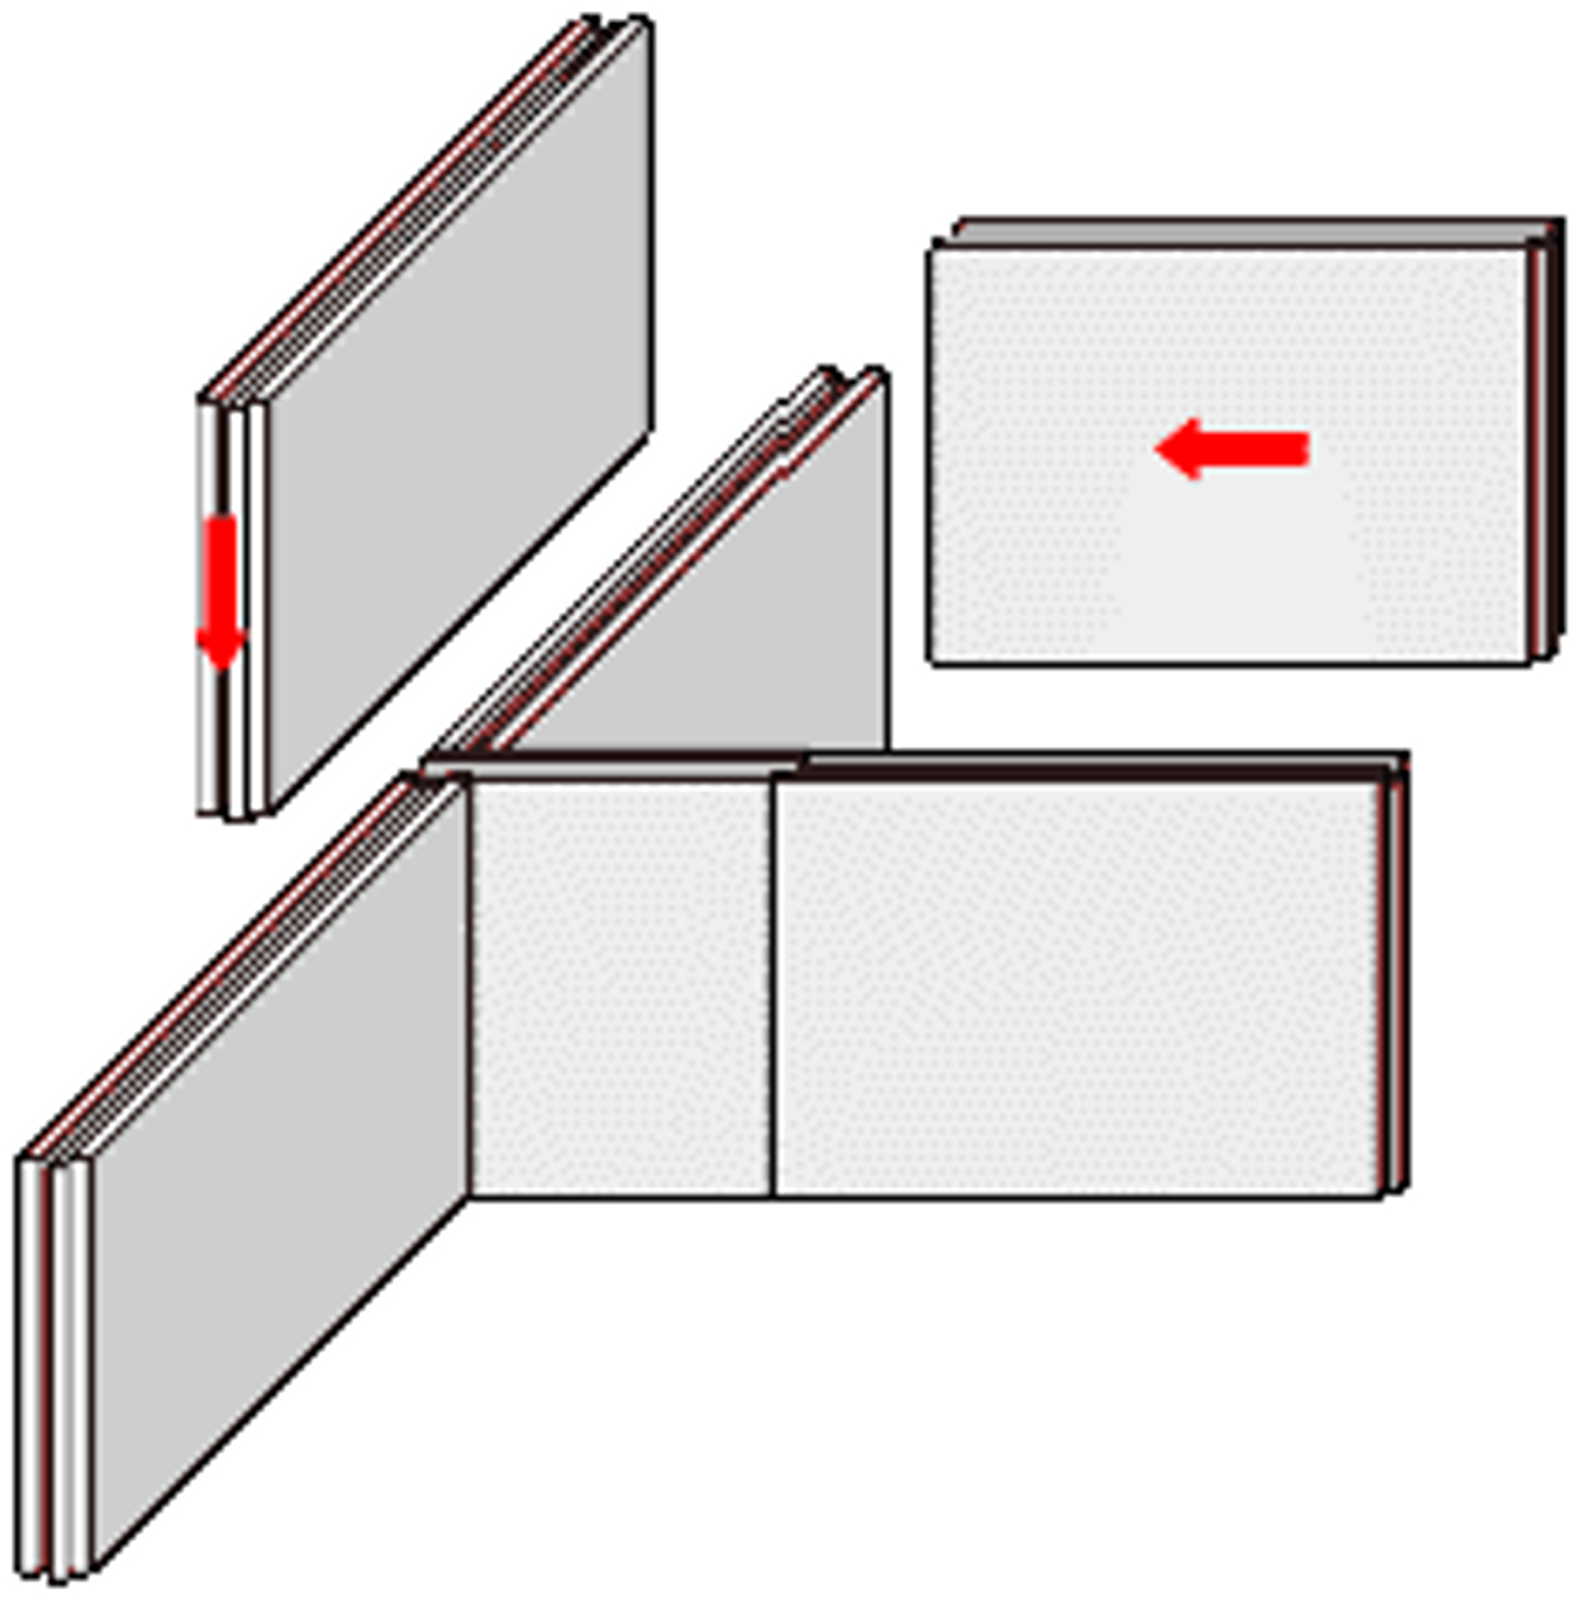
The second row must be mounted with the displacement of seams in relation to the first row. This is done so that the seams do not move from one row to another, and the wall does not crack. So that the seams do not intersect, the second row does not begin with the whole, but with half the stove. To do this, the plate is cut with a hacksaw into two parts. At the beginning and end of the row, the slab is attached to the wall with brackets. The next row is made after setting the second.
Photo: seams should not form a continuous line
Installation of the opening in the partition
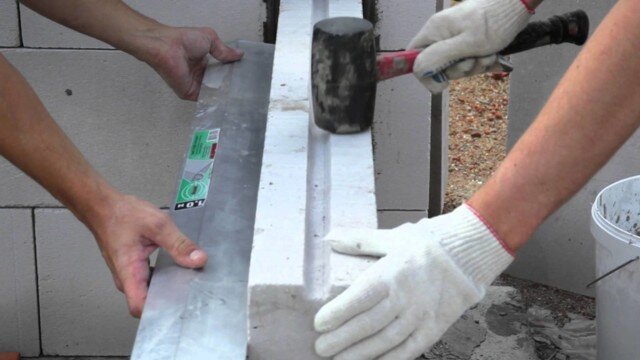
If the partition is planned with a door or window opening, then the slabs should be laid in a special way. If the opening is more than 80 cm and there are several rows of plates above it, then it will be necessary to put a steel channel or a wooden beam with a width of 8 cm. The channel is placed in the opening and screwed it to the septum with self -tapping screws. Next, tile glue is placed on the channel and a new row of plates begin to put on top.
Photo: the beam better strengthens the opening
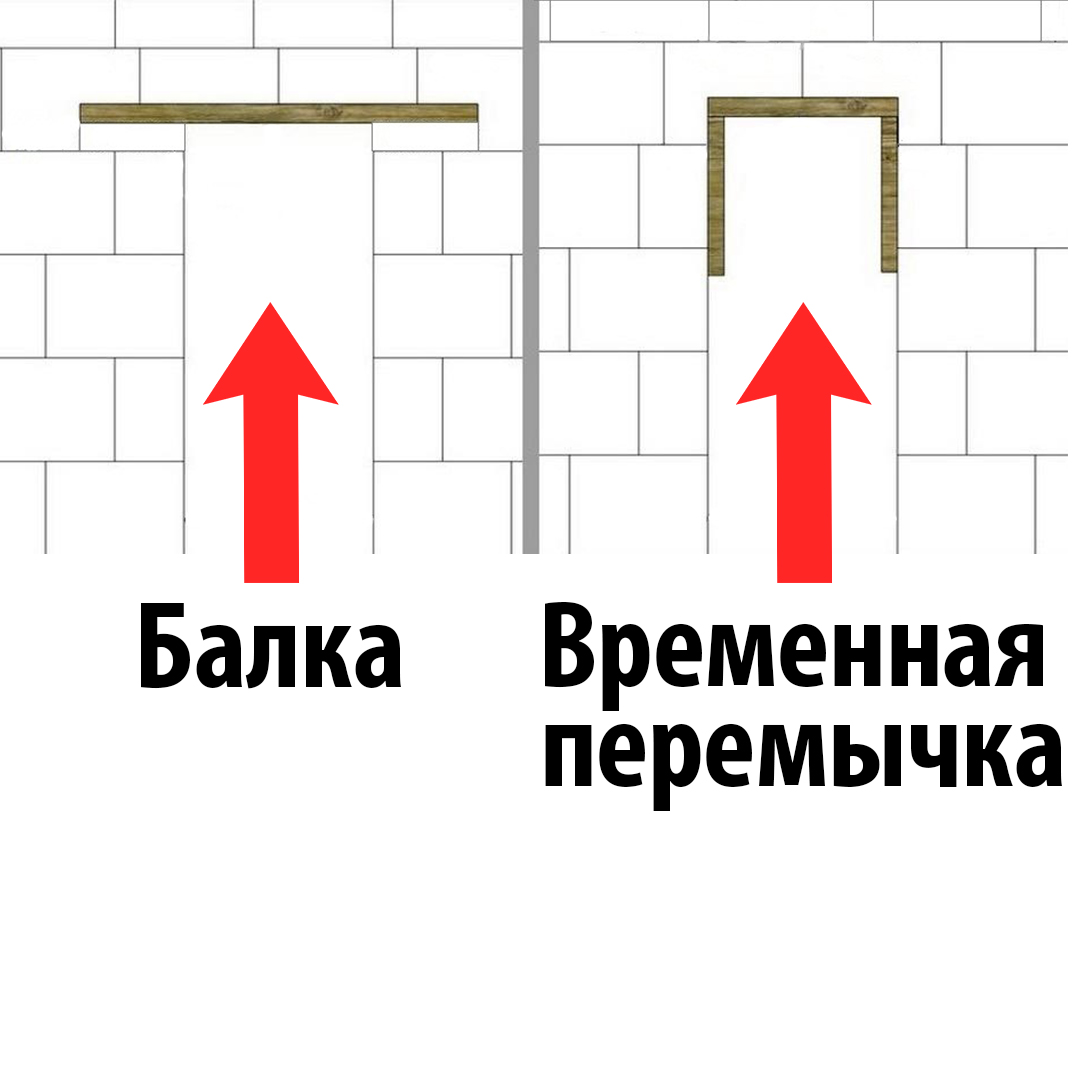
If the opening is less than 80 cm and there will be only a number of plates above it, they make a wooden temporary jumper. It is attached to the partition with self -tapping screws and put a row with slabs on top. The plates are cut out to the opening so that they turn out to be a M-shaped. After the glue freezes, the temporary wooden jumper is removed.
Photo: A temporary beam after hardening the glue is removed
Laying the final row of plates
To strengthen the design of the partition, the mowed edges are made in the plates of the last row. This is necessary in order to fill the place between the ceiling and plates of the last row in the end with tile glue. So glue will be better to stay on the stoves.
Working with corners
When you need to make several crossing partitions from gypsum plates, special attention should be paid to the corners. Plates at the intersection of partitions should be laid so that they overlap the joints of the lower rows.
Photo: The plate should cross the lower seam
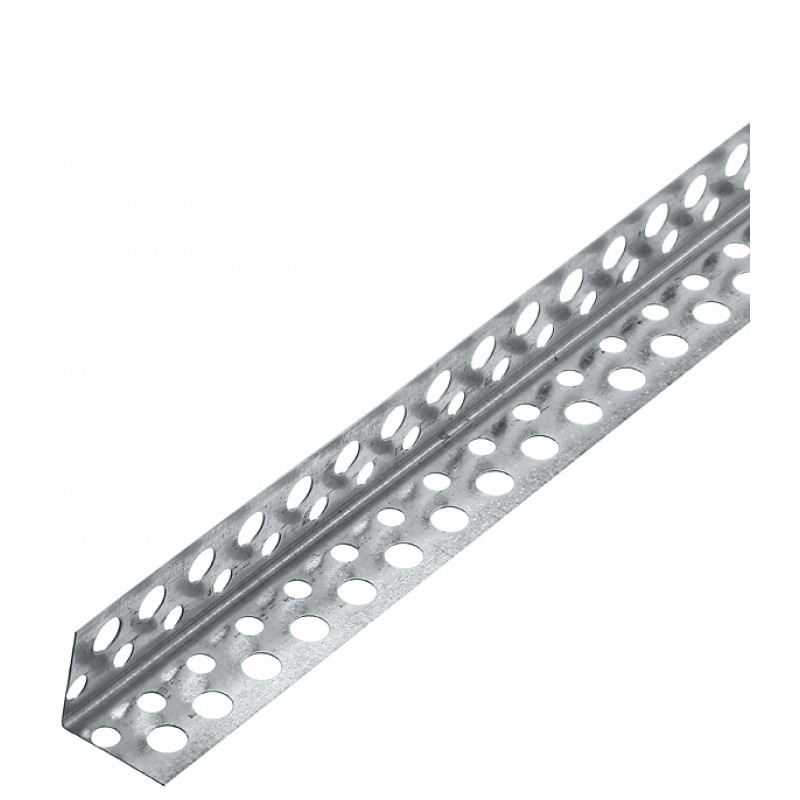
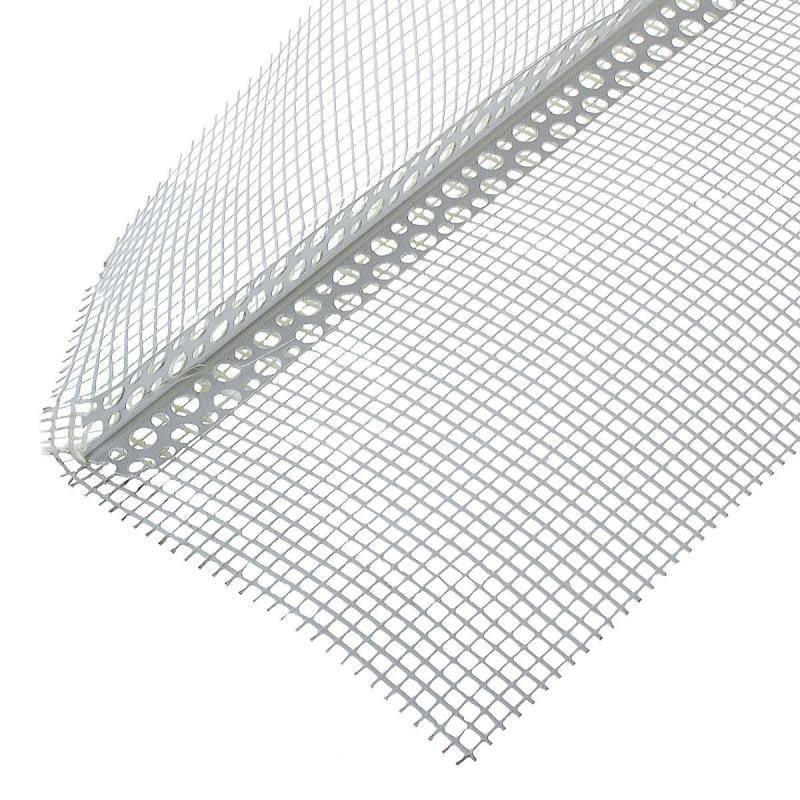
All external angles of the partitions are strengthened using a perforated profile. This is usually PU 31/31.
Photo: perforated profile
It is pressed into the putty, which was previously applied to the corner. After that, they pass through the profile with a special spatula.
Photo: Spatula for internal and external angles
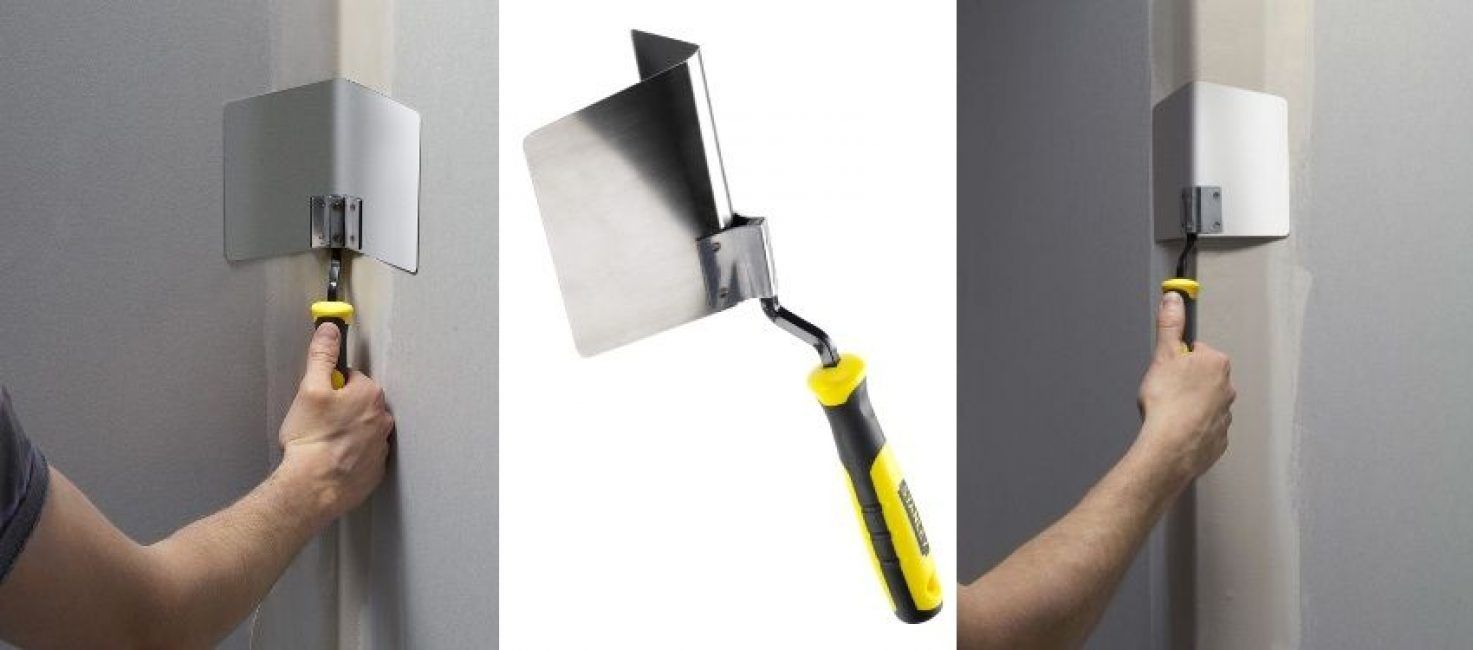
The internal angles are enhanced using a reinforcing grid. It is glued to putty. Here use a spatula for the inner corners.
Photo: grid for internal corners
Sneps of cracks
Since the gypsum plate already has a prepared surface, it no longer needs to put it down. Only joints and defects that appeared after masonry are putty. After the putty has dried up, the wall is polished.
Checking the result
After all the work has completed, the partitions must have a flat and smooth surface without chips, empty seams and formations from dried glue. Vertical deviations should not exceed 1 mm per 1 meter of the height of the partition or not more than 6 mm over the entire height of the partition. Horizontal deviations are considered acceptable if they are no more than 2 mm per meter of wall.
What materials are needed to make a partition from the PGP?
In order to make a wall of gypsum plates, there must be plates themselves, tile glue, damping gasket, putty, corners, perforated profile, putty, wedge and screws.
What tools are needed for installation of PGP partitions?
For the installation of the partitions, a construction mixer, a rubber hammer, a hacksaw, level, plumb, rule, a conventional spatula and a spatula for internal and external angles are required.
Conclusion
Gypsum grooves are full and hollow. Hollow are lighter, and full -bodied more firm and worse pass the sound. Moisture -resistant gypsum plates have special additives, and they can be used in wet rooms. The quality of the partition from gypsum plates largely depends on how the first row of the wall is laid. With the help of perforated brackets, the slabs can be fixed to the adjacent wall. The last row of gypsum plates should not be adjacent to the ceiling.