The gas block is a universal material for the construction of internal partitions in the apartment. It is chosen for lightweight, strength, convenience in work and an affordable price. In this article we will consider what a gas block is, what should be the thickness of the gas block brand, and how to put a partition from aerated concrete blocks in stages.
Content:
- How to choose a gas block for partitions
- Types of aerated concrete blocks
- Dimensions of gas blocks for partitions
- Tools and materials for the installation of aerated concrete partitions
- How to make a partition from aerated concrete blocks
- Partition marking
- Laying the first row
- The laying of the second row
- Laying the remaining rows
- Installation of the opening
- Laying the last row and completion of work
How to choose a gas block for partitions
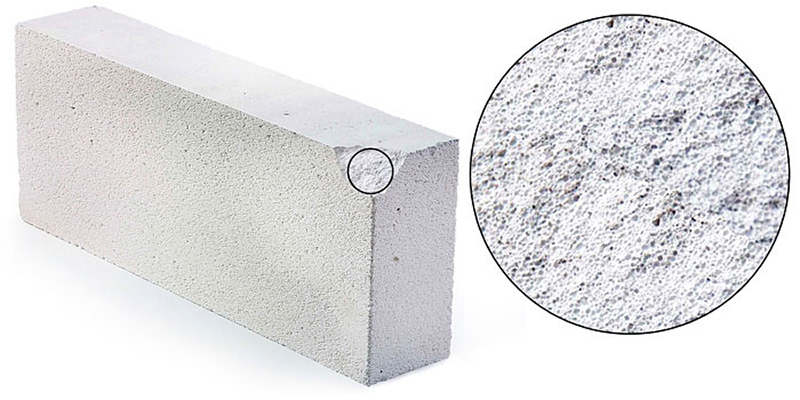
The gas concrete block consists of cement, sand, sodium sulfate, caustic soda and aluminum powder. Thanks to this composition, concrete becomes porous, this makes the blocks voluminous and light, but at the same time strong.
Photo: The gas block has a porous structure
A gas concrete partition can be built faster than a brick partition. Aerated concrete blocks have a convenient size for masonry, and they can be sawn with a hand hacksaw. In a wall of aerated concrete, you can easily make strokes and niches for sockets and pipes.
Types of aerated concrete blocks
Aerated concrete blocks differ in density. The higher the density of aerated concrete, the less in the block of air bubbles. Accordingly, it becomes harder, harder and more expensive.
The most common are aerated concrete blocks of brands D300, D400, D500 and D600. Among them are the cheapest and lightest – D300. He is the most fragile. Such blocks can be used for internal partitions, but it will be difficult to attach or hang something on such a wall. In addition, the gas block of such a brand is well carried out by sound and shock noise. If you need to hang something on the wall or fix the cabinet, then you should choose the D600 brand gas block. He also draws less noise compared to D300.

Photo: gas block brand can be determined by weight
By the way: Gas blocks of different brands do not differ much in weight. For example, a 600 × 300 × 100 D600 brand weighs 11 kg, while the same Block of the D300 brand is 8 kg.
Dimensions of gas blocks for partitions
To create interior partitions, aerated concrete blocks of a special size are used. Their parameters allow you to quickly build the walls, while they do not take excess space. For partitions, use gas concrete blocks with a size of 600 × 300 × 100 mm.
By the way: If the partition is in length and height of more than 3 meters, it is recommended to use the same gas block, but with a thickness of 120-150 mm. So the wall will be more stable.
Tools and materials for the installation of aerated concrete partitions
To work with the gas block, you will need:
- Hand saw or jigsaw.
- Strobores.
- Trowel.
- Grater for a gas block.
- Kiyanka.
- Level.
- Laser level.
- Field.
- The square.
Materials:
- Gas block.
- Cement.
- Tile glue.
- Perforated metal tape.
- Installation foam.
- Mineral wool.
How to make a partition from aerated concrete blocks
Installation of a gas concrete partition can be divided into several stages. Each of which has its own characteristics.
Stage 1. Partial marking
Before starting laying gas blocks, it is necessary to accurately note the size and location of the partition in accordance with the project. Then you need to clean and align the floor base in the place where the partition will be, removing all the irregularities. After that, using a laser level, you should pull the fishing line between the walls where the partition will be located. You can start laying gas blocks from this fishing line.
By the way: If the partition is more than 5 meters, then the block is installed in the middle and the fishing line is attached to it. This method does not allow the cord to sag, preventing errors. To exclude deviations in the masonry, you can attach the rails as guides to the wall.
Stage 2. Laying the first row
The first row begins with the laying of the block in each corner of the room. The first to put the block in the highest corner of space. The height is determined using the level. This is done so that it is easier to fit the rest of the blocks under it. The first block is placed at a distance of 1-5 mm from the bearing wall. This gap between the wall and the partition at the end of the styling is filled with mounting foam.
Photo: Compensation gap does not allow the partition to crack under the influence of a house shrinkage

The gas block is placed on cement and beaten it with a rubber hammer under the level. It is necessary to monitor the horizontal and vertical position of the block, as well as check the angle between the partition and the wall. It should be exactly 90 degrees.
After the first gas block, the second is installed in the opposite corner of the partition. Next, laying the remaining gas blocks of the row. To make the second row, you need to wait about a day while the cement hardens.
Stage 3. Laying the second row
The second and subsequent rows are laid on tile glue. It allows you to get a thin and strong seam between blocks. The second row should not start with a whole block, but with half. This is done so that the seams between the rows do not intersect. The block can be cut with a jigsaw or manual hacksaw. If, after cutting, furrows appeared on the block, they can be leveled with a grater.
Glue is applied to the base using a cell or a gear spatula. The thickness of the layer should not exceed 3-5 mm. Each block is checked using the level, and its position is adjusted using a kiyanka. It should also be noted that the end of the row should not be completed by a whole block, but by its half.
After that, it is necessary to wait for 2-3 hours, while the solution froze, and then level the surface of a row from aerated concrete blocks with a grater. This operation should be carried out after laying each row.
Stage 4. Laying the remaining rows
The third row also fits in level and fishing line. After laying each row, the cord should be moved. In order for the partition to be strong, a perforated steel strip is laid in the seam every three rows.
Photo: Steel strip
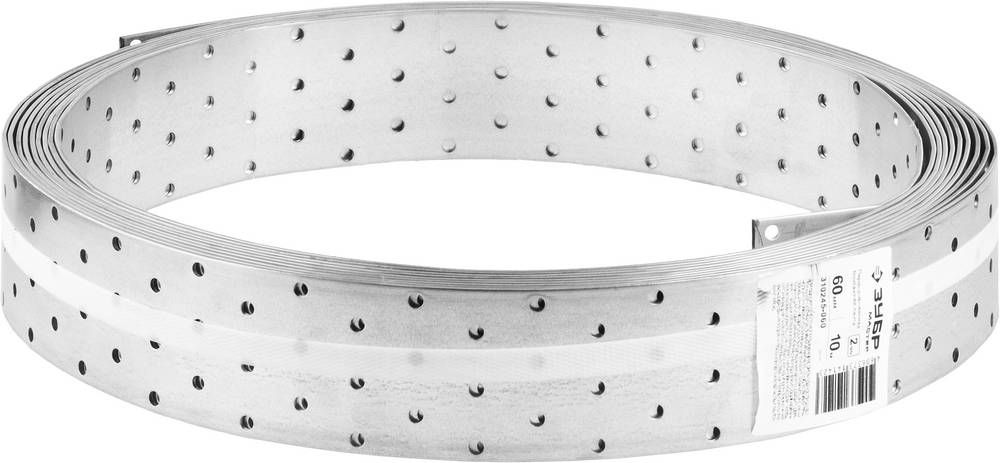
It passes throughout the row and is attached to the supporting walls using dowels or anchors.
A simpler option is to use perforated metal plates. With their help, the first and last blocks in the row are fixed to the supporting walls.
If the partition is more than 5 meters, then it is desirable to reinforce it. To do this, make a bar in the middle of a row with a width of 10 mm and a depth of 25 mm. Next, reinforcement with a diameter of 6–8 mm is laid in this groove. After that, the strob is covered with glue and the next row is laid on top. Reinforcement is done every 3 rows.
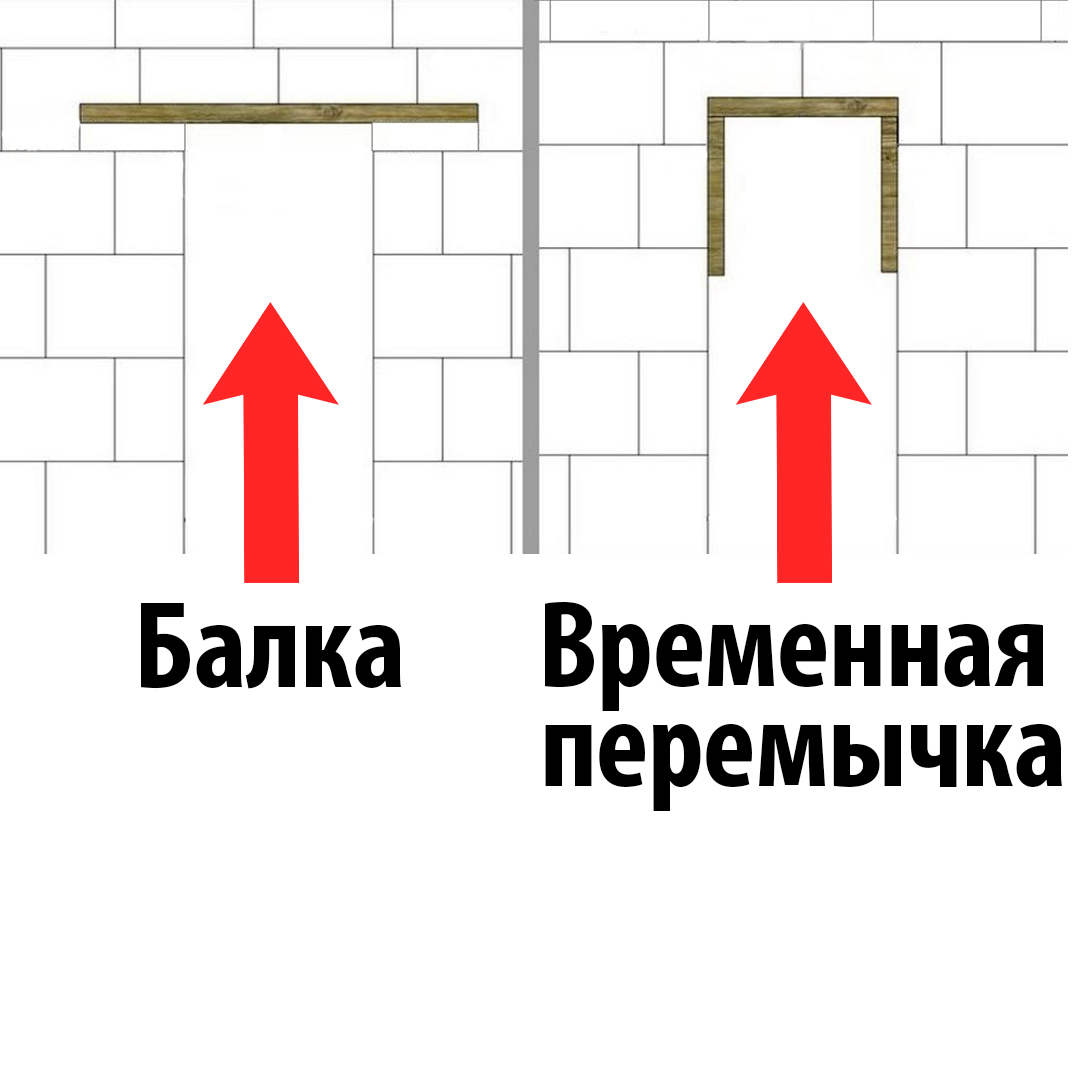
Stage 5. Installation of the opening
The height and width of the opening should be noted at the initial stage of laying the partition from gas blocks. If the width of the opening is less than 80 cm, then make a temporary jumper. It is made to the opening, and then attached to the partition using self -tapping screws. Next, aerated concrete blocks are cut to the openings and laid on a jumper. After a day, the jumper can be removed.
When the opening needs to be made wider than 80 cm, a reinforced concrete or steel channel with a width of 100 mm is placed on the partition. He must go to the partition 25 cm on each side. The channel is placed in the opening and screwed to gas blocks with self -tapping screws. Next, tile glue is placed on the channel and a row of gas blocks begin to put on top.
Photo: The difference between a temporary jumper and beam
Stage 6. Statement of the last row and completion of work
The last row is made in such a way that it does not adjoin the ceiling. The distance between the ceiling and aerated concrete blocks should be about 20–25 mm. Stone cotton wool is laid in this gap. It gives additional sound insulation and reduces the transmission of shock noises from the ceiling to the partition. After that, the remaining gap is blown by mounting foam. The same thing is done with the gaps between the partition and the supporting walls.
Conclusion
- Aerated concrete partitions are an excellent alternative to a brick wall.
- The gas block has a light weight, it is strong, and from it you can quickly make the wall.
- For partitions, it is better to use the D600 brand gas block with a size of 600*300*100 mm.
- The first row of partitions from aerated concrete blocks is placed on cement. The subsequent rows are fastened together with a tile layer of 3 mm thick.
- Every 3 rows in the seam between gas blocks put a perforated steel strip to strengthen the structure.
- If there is an opening of more than 80 cm in the partition, you need to use a steel or reinforced concrete channel as a jumper.
- The compensation gap between the carrier wall and the partition is sealed with mounting foam.
- The partition should not touch the ceiling. There should also be a gap that is sealed with mineral wool and foam.