Castle quartzvinyl is a modern and affordable material for floor decoration. Laying castle quartzvinil does not require special skills and can be performed independently if you know all the subtleties of installation. In this article, we will consider what a castle quartzvinyl is and how to properly lay it on the floor.
Content:
- What is a castle quartzvinyl
- Materials for the installation of quartzvinyl floor
- Office for laying quartzvinil
- How to put quartzvinyl
- Checking and preparing the floor base
- Laying castle quartzvinil on the floor
- Checking the quartzvinil floor
What is a castle quartzvinyl
Castle quartzvinyl is a flooring, which consists mainly of polyvinyl chloride (PVC) and quartz sand (SPC).
Photo: The composition of the quartzvinil castle
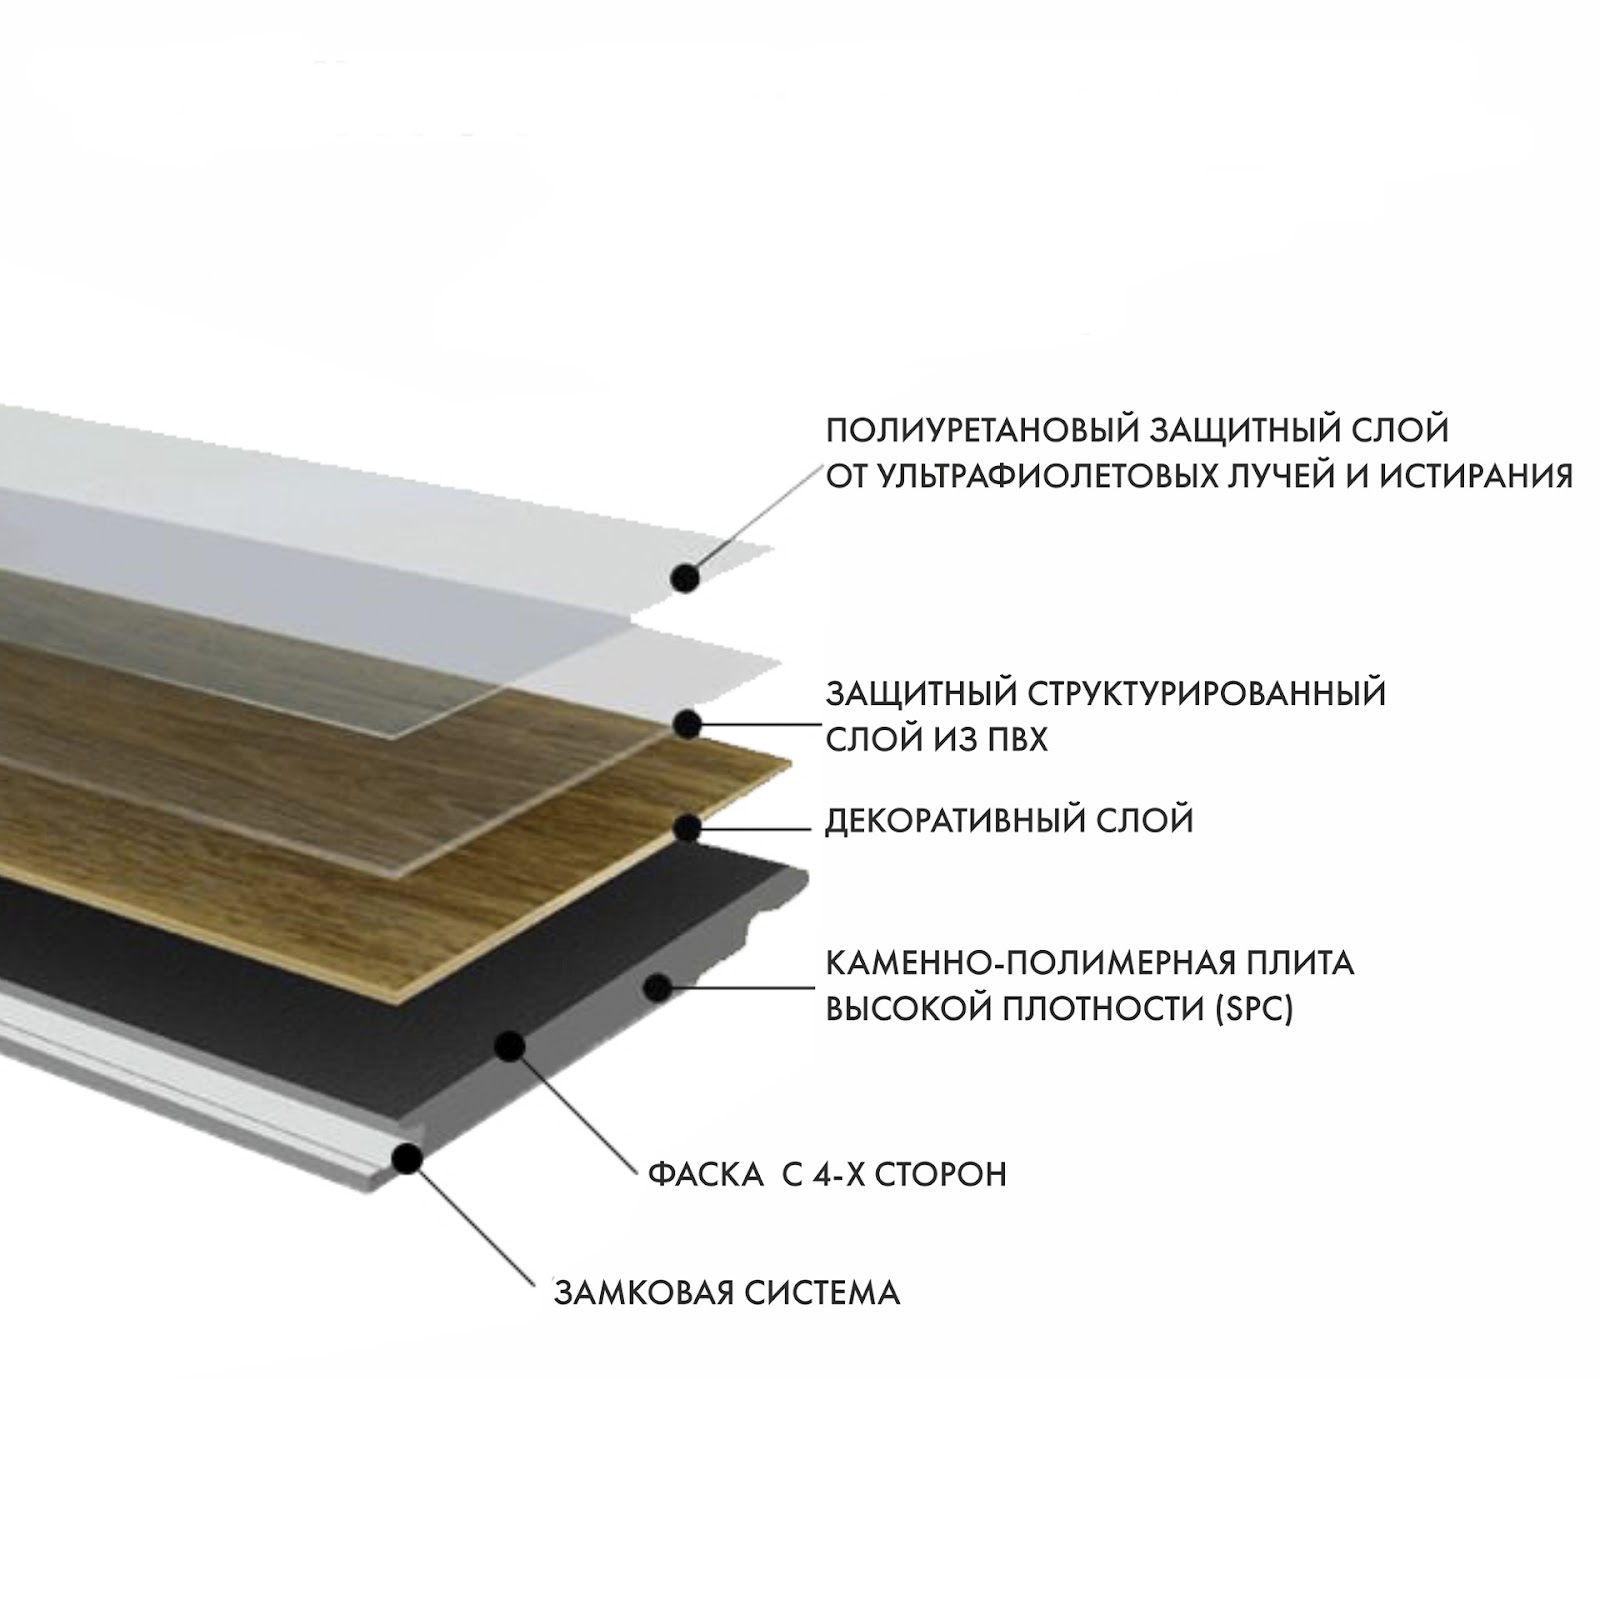
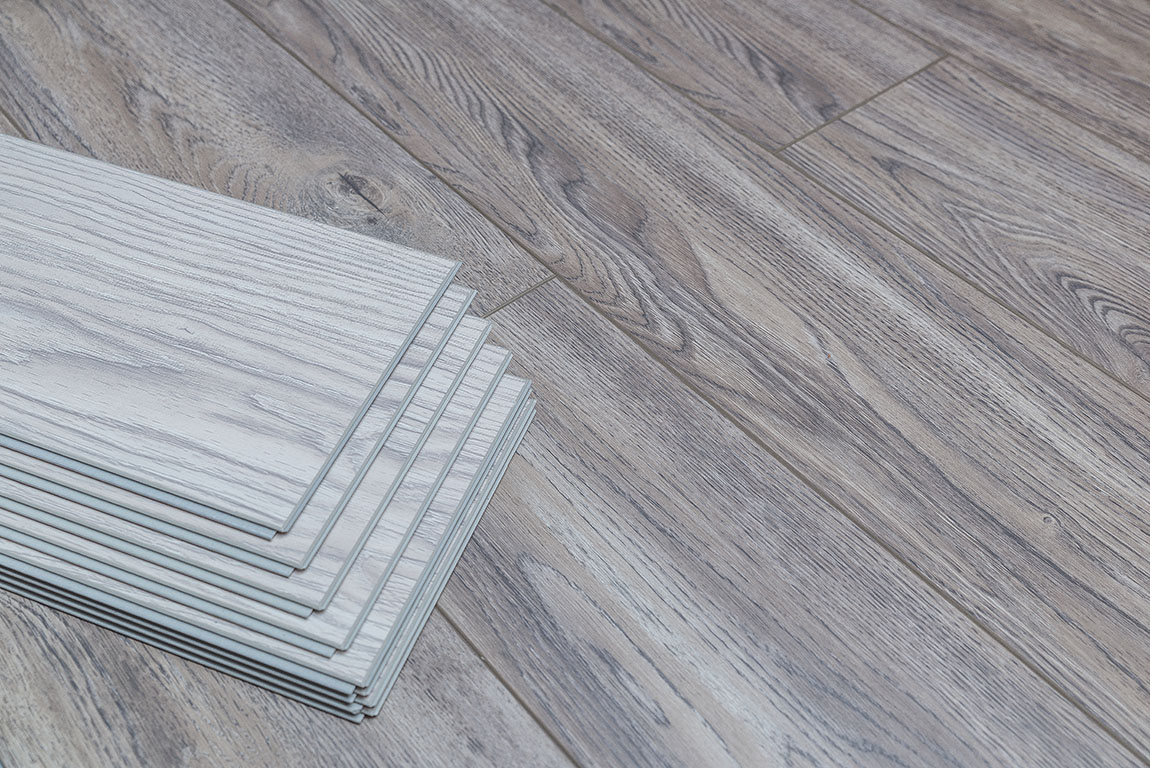
Castle quartzvinyl is flexible tiles that are interconnected by locks. For reliability, they can also be glued to the floor. The castle quartzvinin fits perfectly into the modern design of the interior of the apartment, giving the room a stylish and comfortable look due to its realistic imitation of the texture of natural wood.
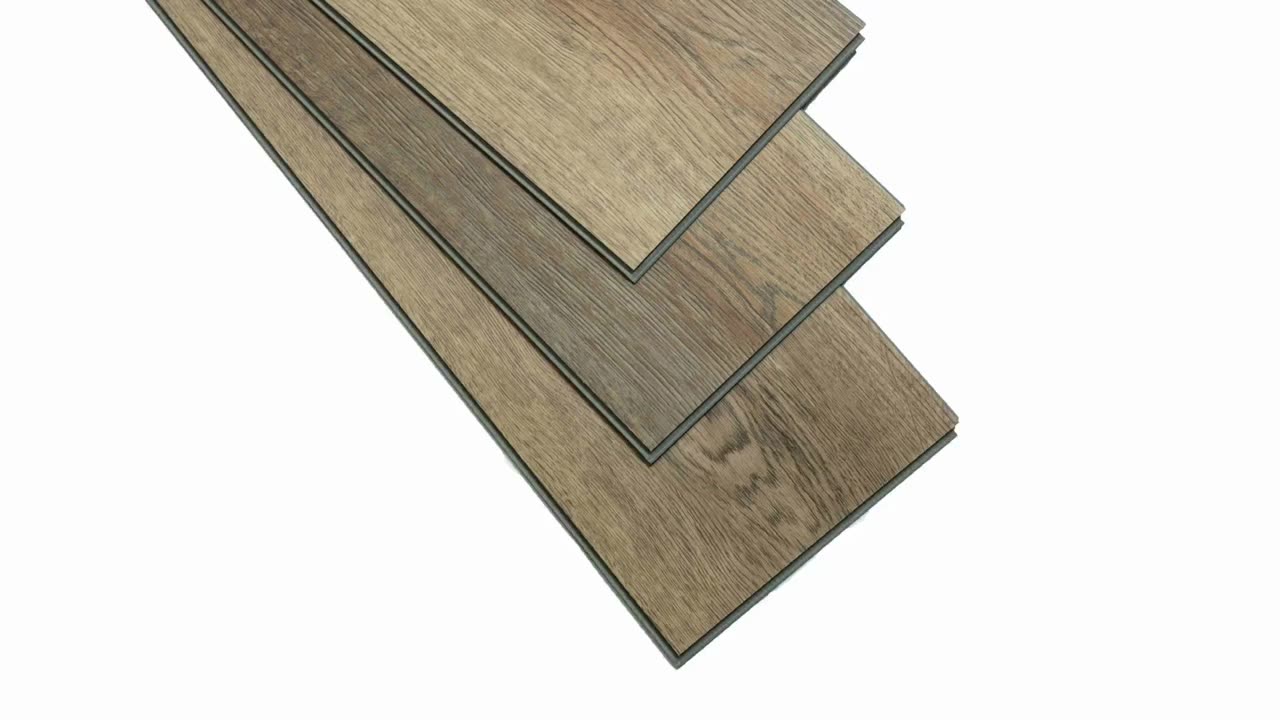
Photo: quartzvinyl can be chosen under an oak, maple and other natural tree
By the way: Unlike laminate, quartzvinyl is not afraid of moisture, and it can be used with a warm floor. Outwardly, these flooring are similar, but these are 2 fundamentally different material.
Materials for the installation of quartzvinyl floor
- Castle quartzvinyl.
- ARLOK 39 or similar glue adhesive.
- EUROCOL 026 Euroblock Multi or similar.
- Richthoi plates.
Office for laying quartzvinil
- Rubber kiyanka
- Roller
- Spatula
- Chancellery knife
How to put quartzvinyl
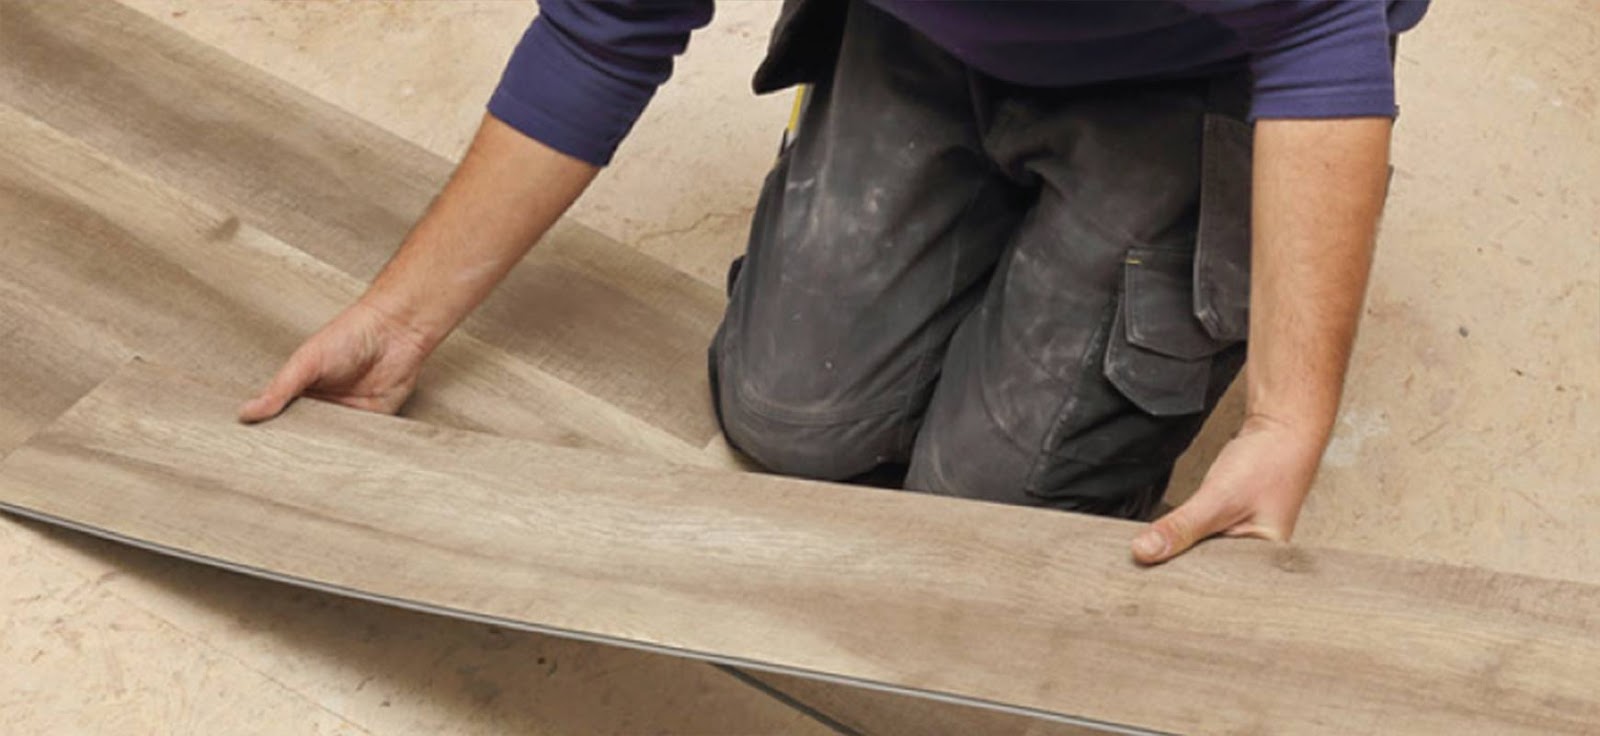
The installation of quartzvinil can be divided into several stages.
Photo: installation of quartzvinil
Stage 1. Checking and preparing the floor base
Quartzvinyl is laid on a screed or a bulk floor. Before installation, the surface should be checked for the presence of irregularities, tubercles and roughnesses. It is better to check the base under the side light using Losev lamp. She will show even small errors.
Photo: such a lamp can be checked not only the walls, but also the base of the floor
If there are flaws, they must be removed with a spatula, sandpaper or a grinding machine.
Photo: roughness is removed or grinded
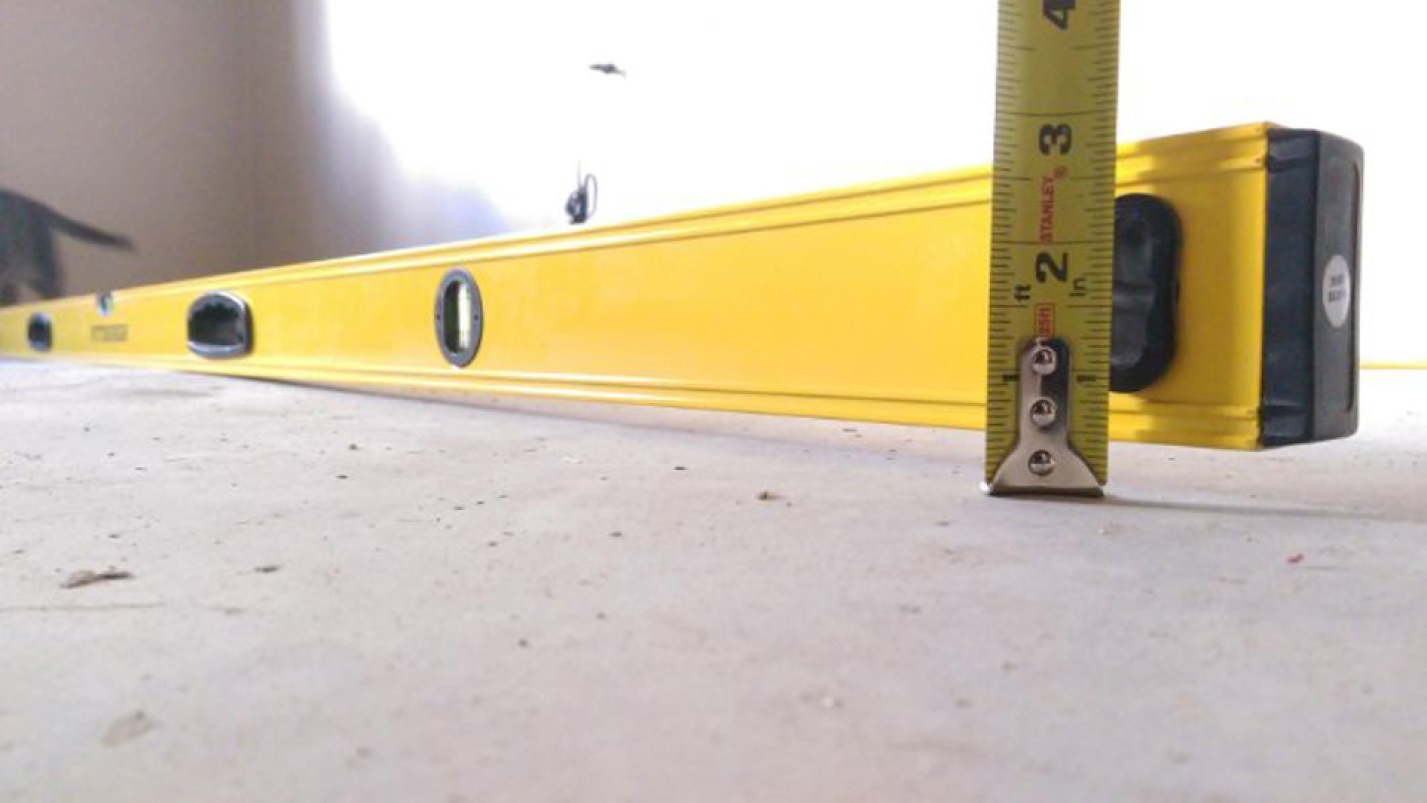
The difference of the screed or bulk floor should not exceed 2 mm per 1 m of the surface.
Photo: The difference is measured using the level
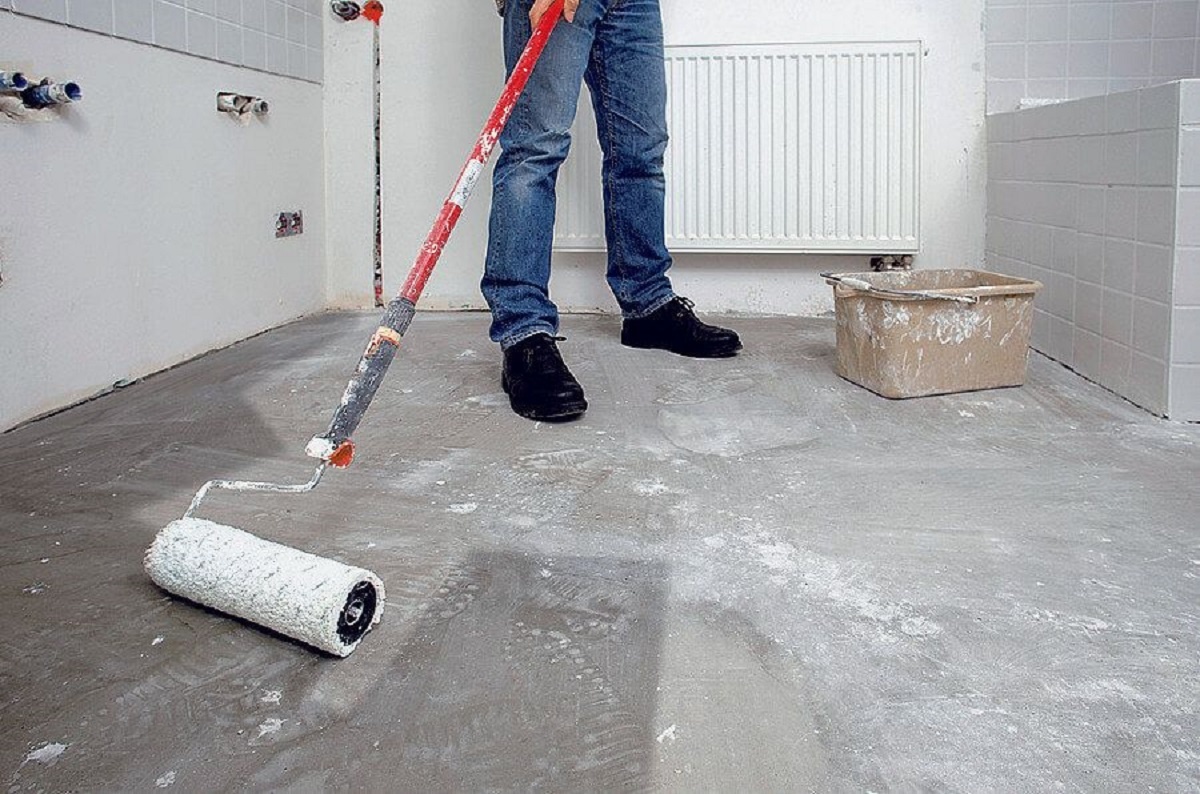
If quartzvinyl is laid on a screed, it should be cleaned of dust and primed.
Photo: the floor of the floor is primed before the installation of quartzvinil
The bulk floor is smooth, and it does not need to be primed, just wipe it from dust.
By the way: When laying quartzvinil, it is not necessary to use the substrate.
Stage 2. Laying of castle quartzvinil on the floor
Before laying quartzvinil, it is necessary to give him time so that he adapts to room temperature. To do this, leave packs with material in a horizontal position for 24 hours, folding them in small piles. This will allow quartzvinil to achieve room temperature. If the quartzvinel must be laid on the warm floor, you should turn off the heating system a day before the start of work. This is necessary so that the base is the same temperature as the material itself.
Photo: quartzvinyl should be at room temperature before installation
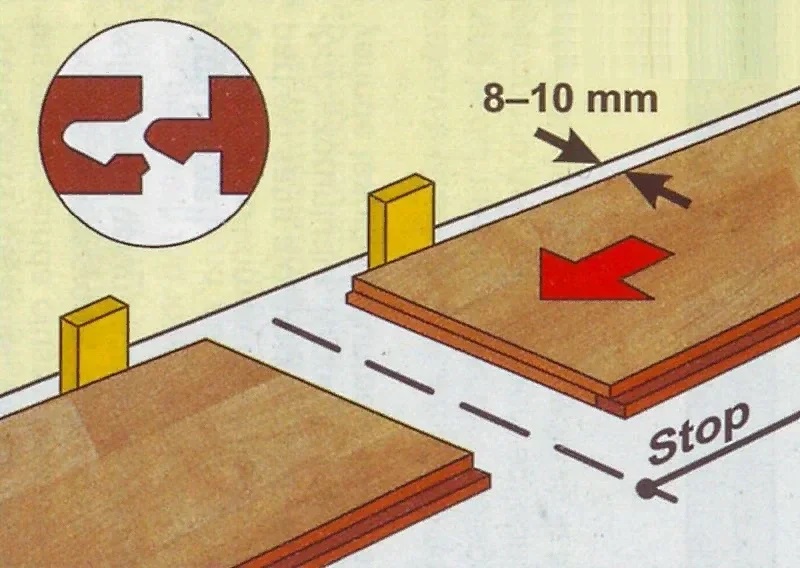
In order for quartzvinyl to deform after laying, a gap of 5 to 10 mm should be made around the perimeter.
Photo: The gap allows the quartzvinil floor to expand slightly after installing
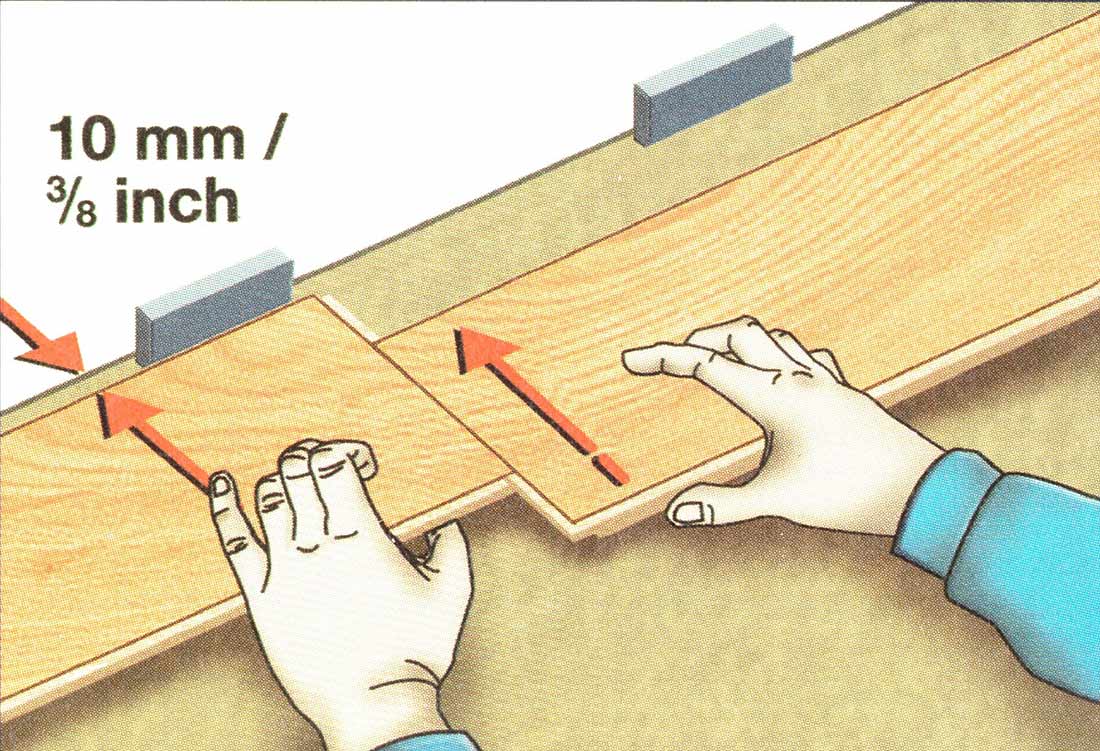
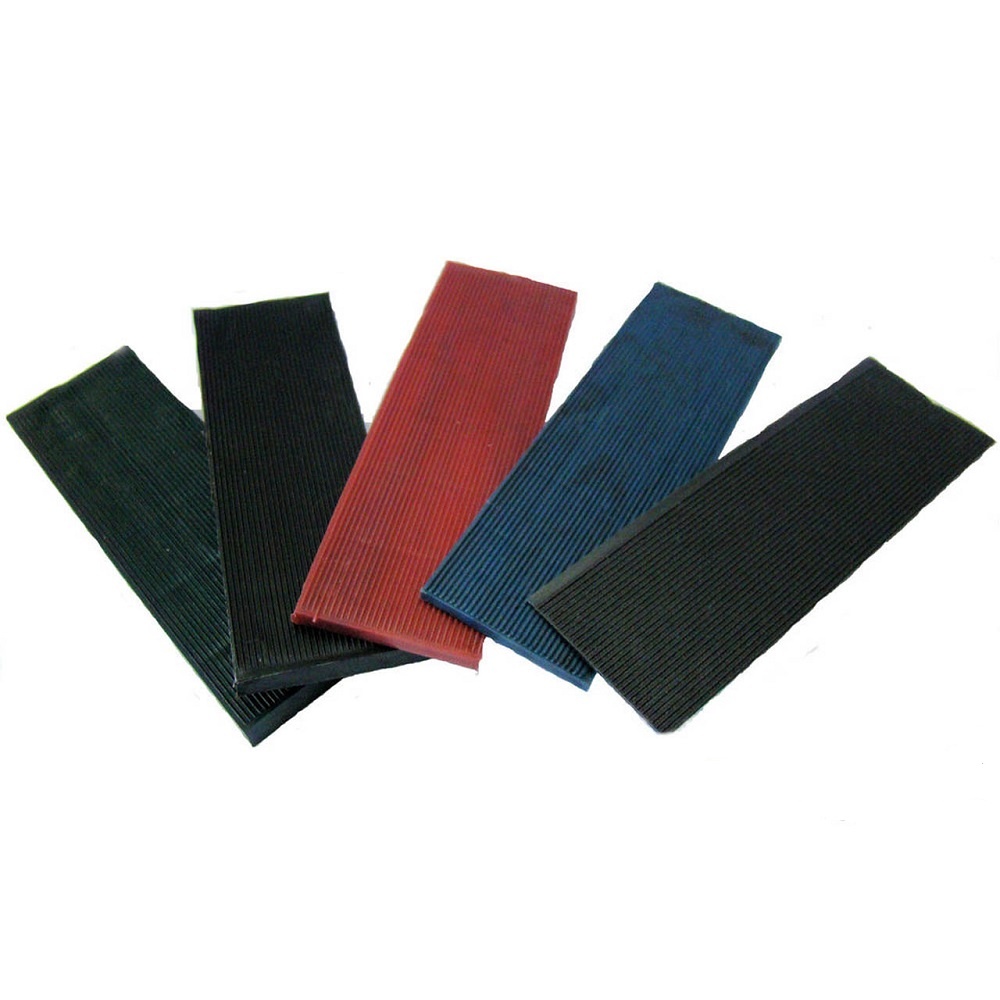
To do this, put on the perimeter, rickets plates are placed. They have the same thickness and are ideal for creating a gap.
Photo: Richthoi plates
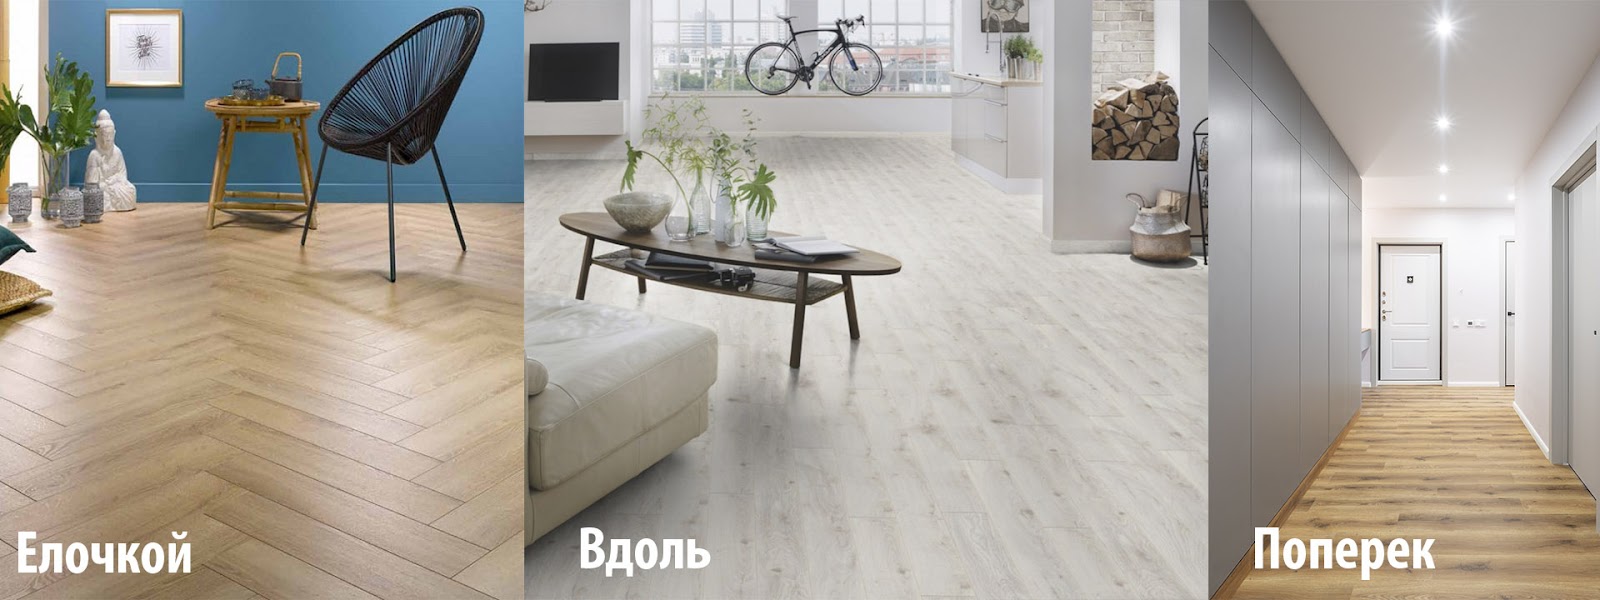
Quartzvinyl tiles can be laid along, across and a Christmas tree.
Photo: Ways to lay castle quartzvinyl
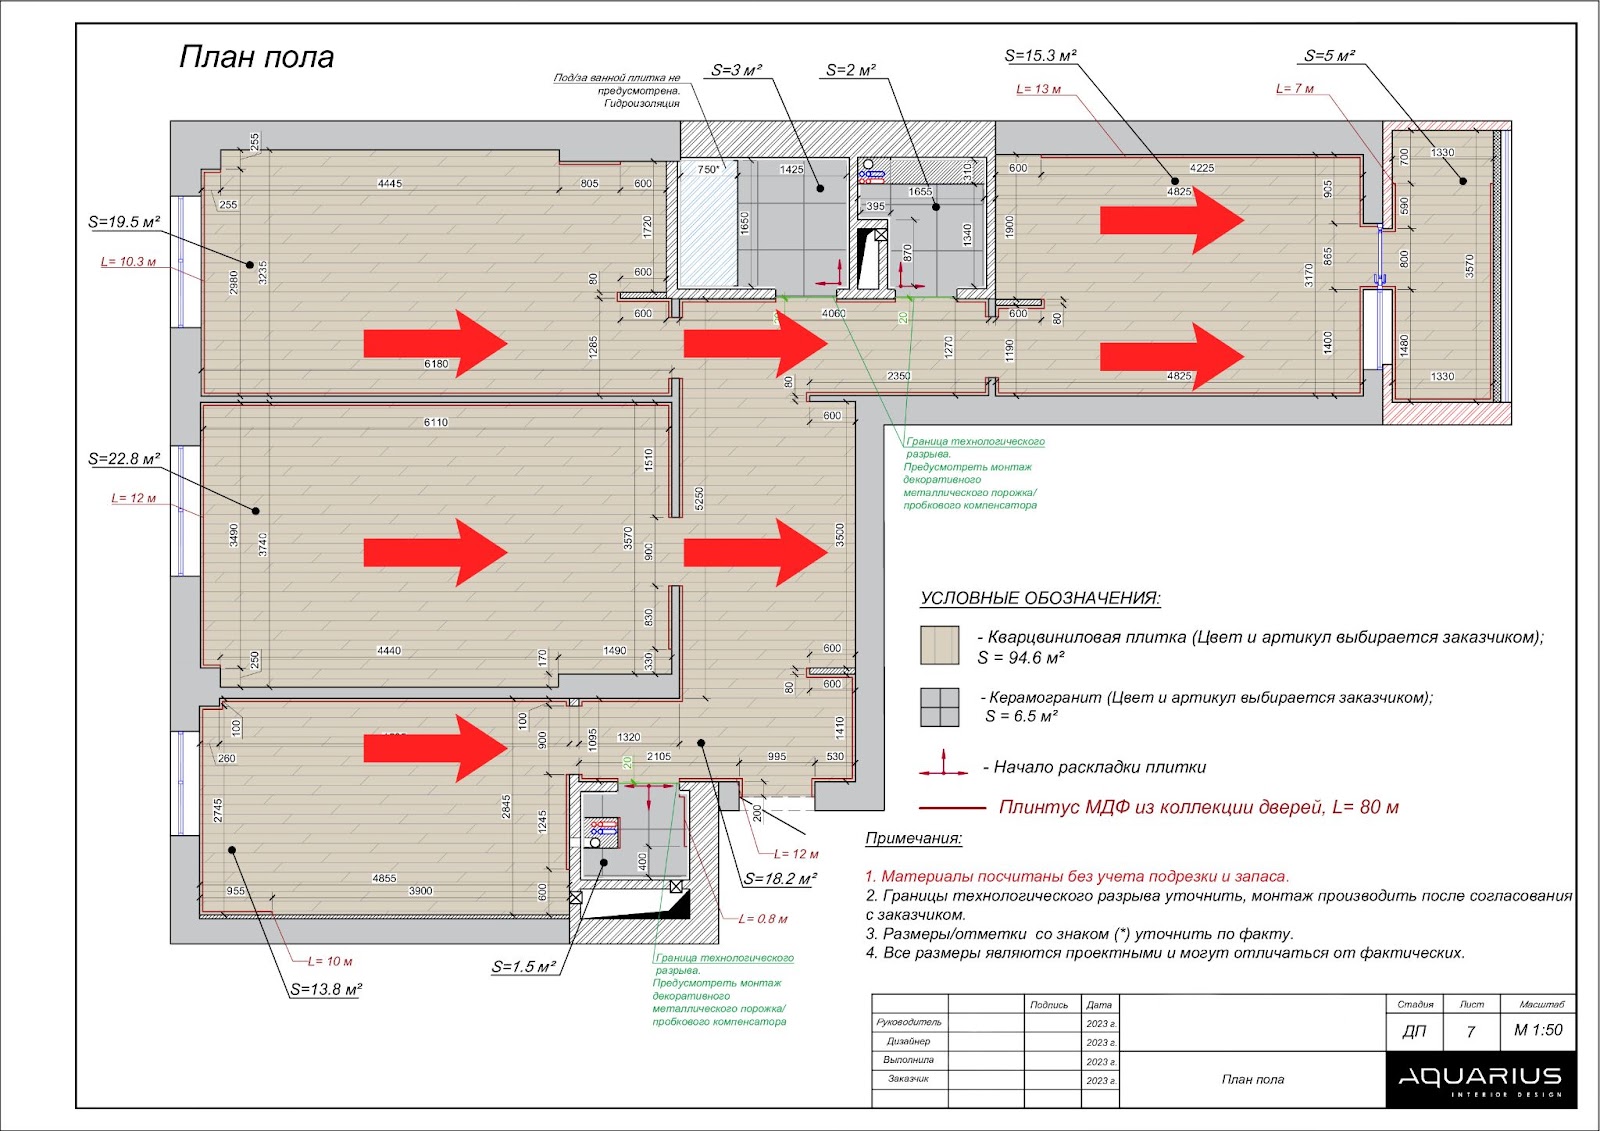
To know exactly how to arrange a quartzvinyl, professionals pre -draw a floor plan with the indication of the direction of the layout.
Photo: The plan indicates how to lay quartzvinyl
The styling should start from the most prominent place, so that the last row in the room with cut edges is under furniture and does not catch the eye.
Photo: Most often, laying is perpendicular to the window or door
If you need to install quartzvinyl in several rooms without thresholds, then the layout begins with the longest wall and go from the corridor to the room.
Photo: In each case, the laying of quartzvinil should be calculated so that in a prominent place there are whole tiles
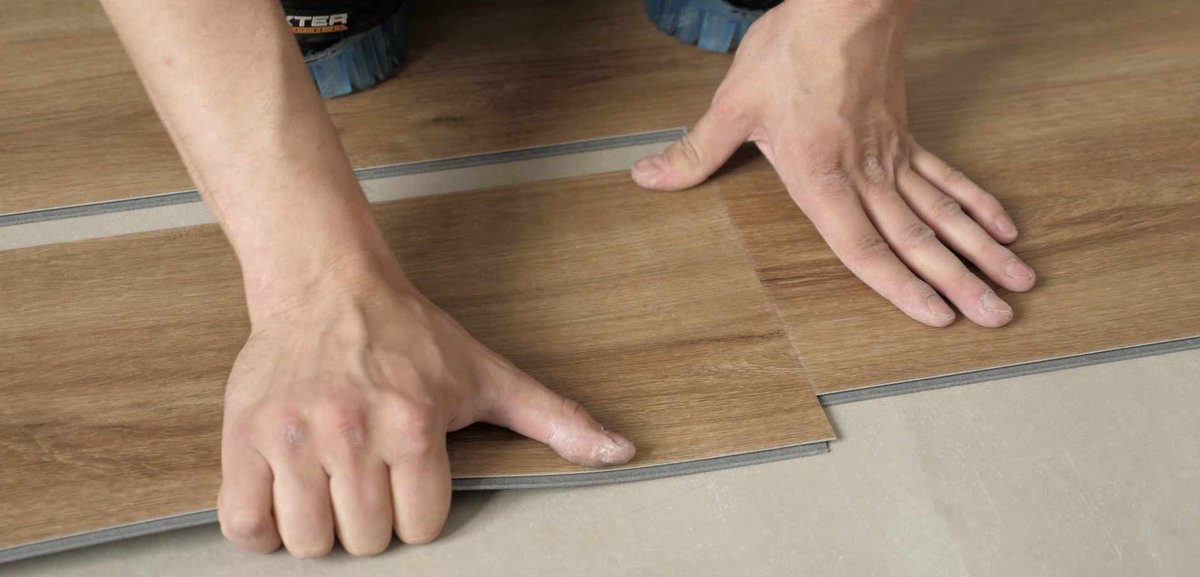
First, tiles are placed in a row and attached to each other.
Photo: The first row of quartzvinil
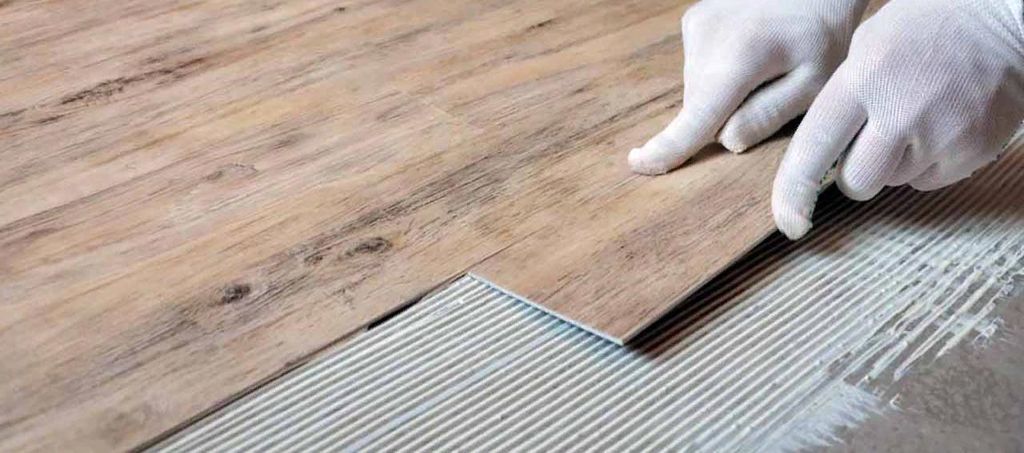
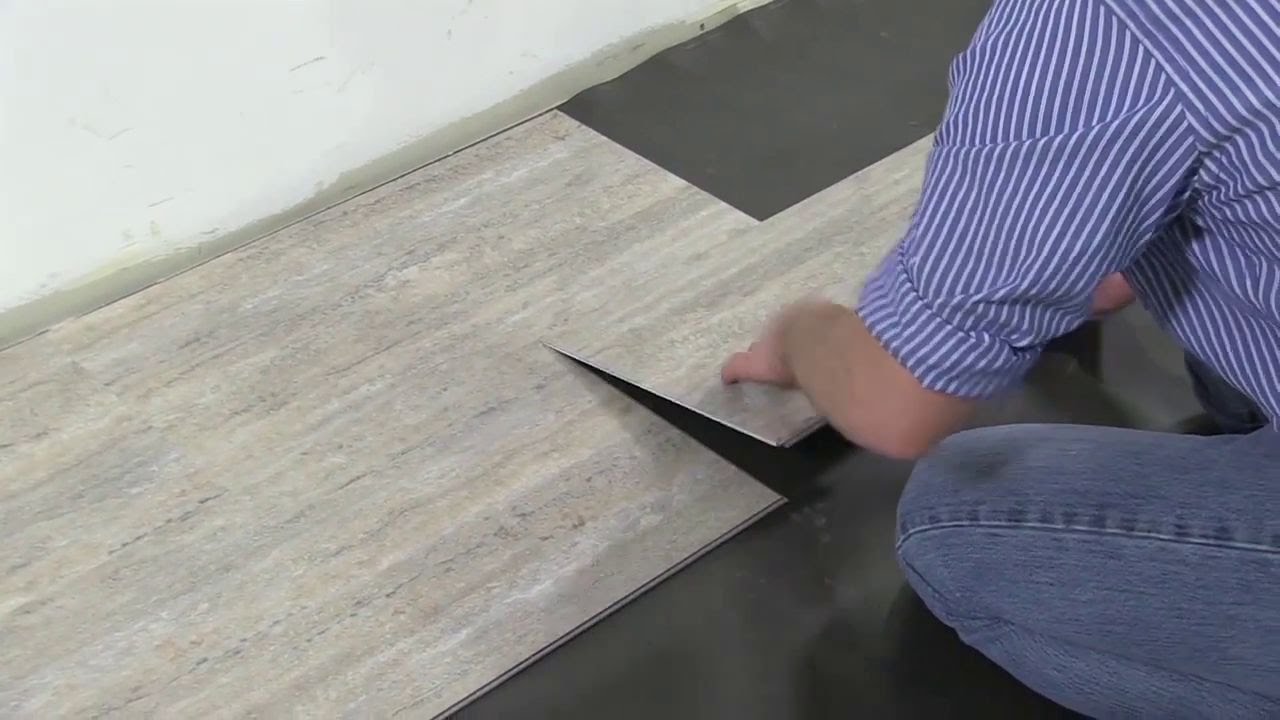
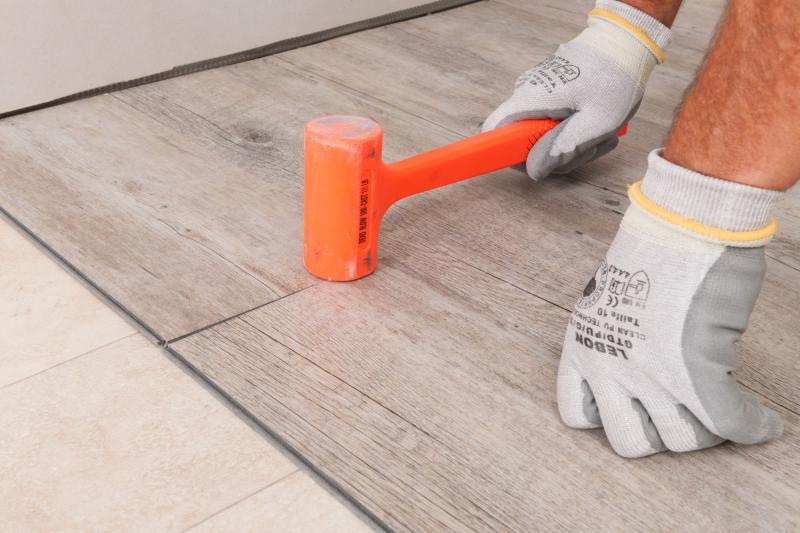
Next, a glue-fixer is applied to the base of the floor with a thin layer with a spatula. After a row, they are installed from quartzvinil on glue and pressed to the floor. To do this, you can roll quartzvinyl with a roller or knock on a rubber kiyanka. After 20 minutes, when the glue dries, you can start laying the next row.
Photo: Installation of the first rows of quartzvinil for reliability glued to the floor
The next row should begin not with the whole, but with half of the quartzvinil tile.
It can be ½ or ⅓ part of the dick. Quartzvinyl can be cut off using an office knife. To do this, make an incision along which the tile is broken and cut in a folded state.
Photo: perpendicular seams between quartzvinil should not intersect
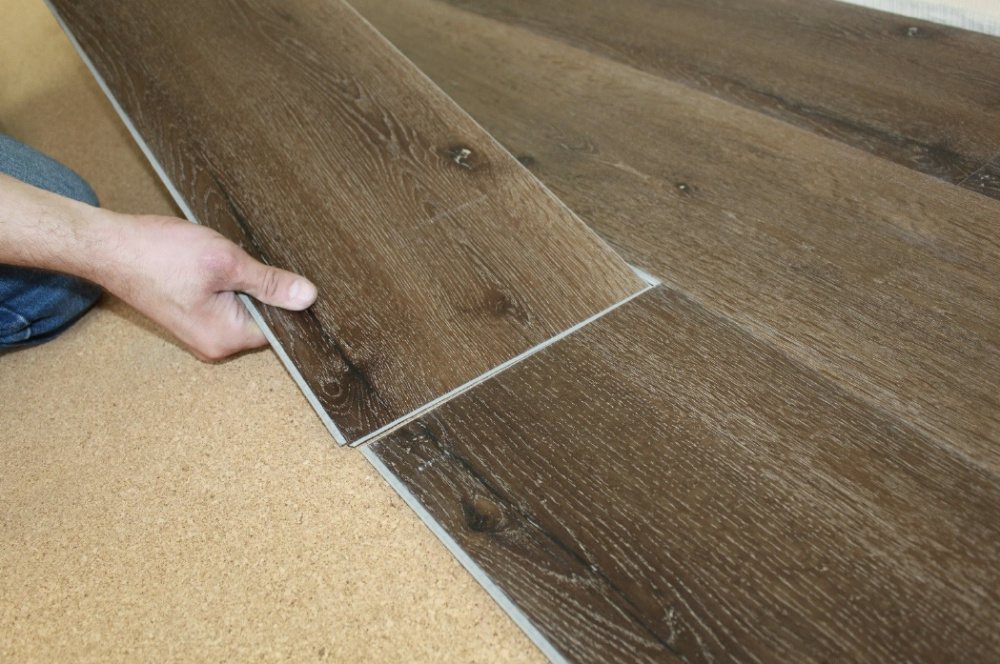
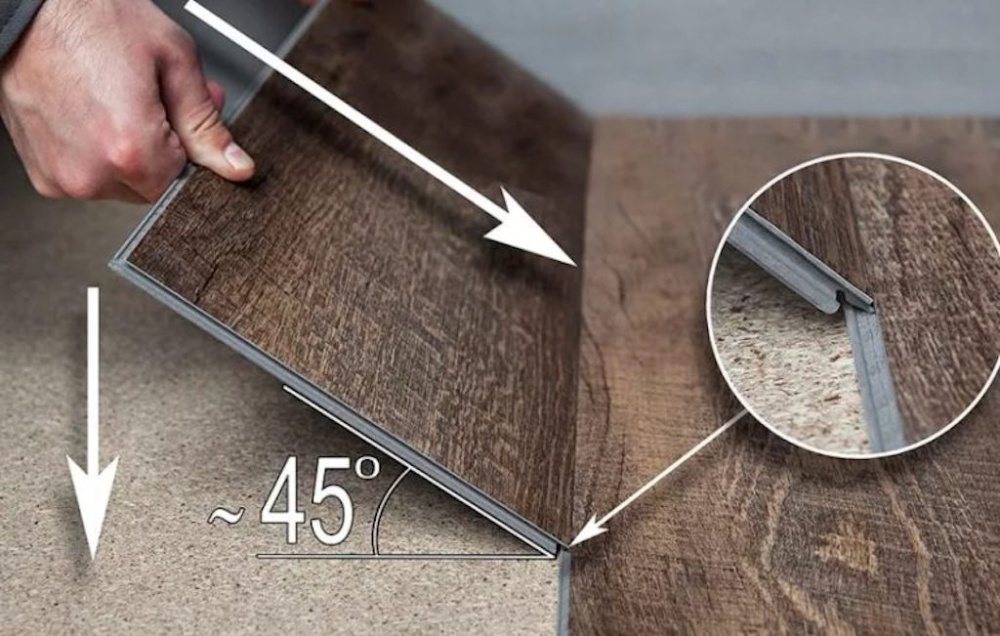
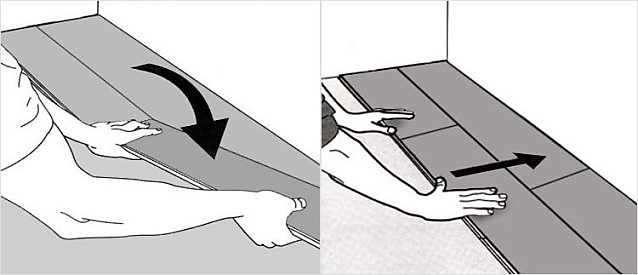
The tile is installed in the castle of the previous row at an angle of 45 degrees. Next, they knock on it with a kiyanka on the side so that the tile enters the groove tightly.
Photo: locks are joined if the quartzvinin is installed in the groove at an angle of 45 degrees
After that, the next dick in the row is mounted. It is connected not only with the previous row, but also with the first tile in a new row. Thus, every subsequent row is gathering.
Photo: installation of castle quartzvinil
By the way: Before laying quartzvinyl tiles, it is important to verify the quality of the lock. If the lock is broken or deformed, the seam can turn out to be uneven, and over time, the tile can disperse. Such tiles should be postponed and not used.
Photo: quartzvinyl with a flaw is also better not to install
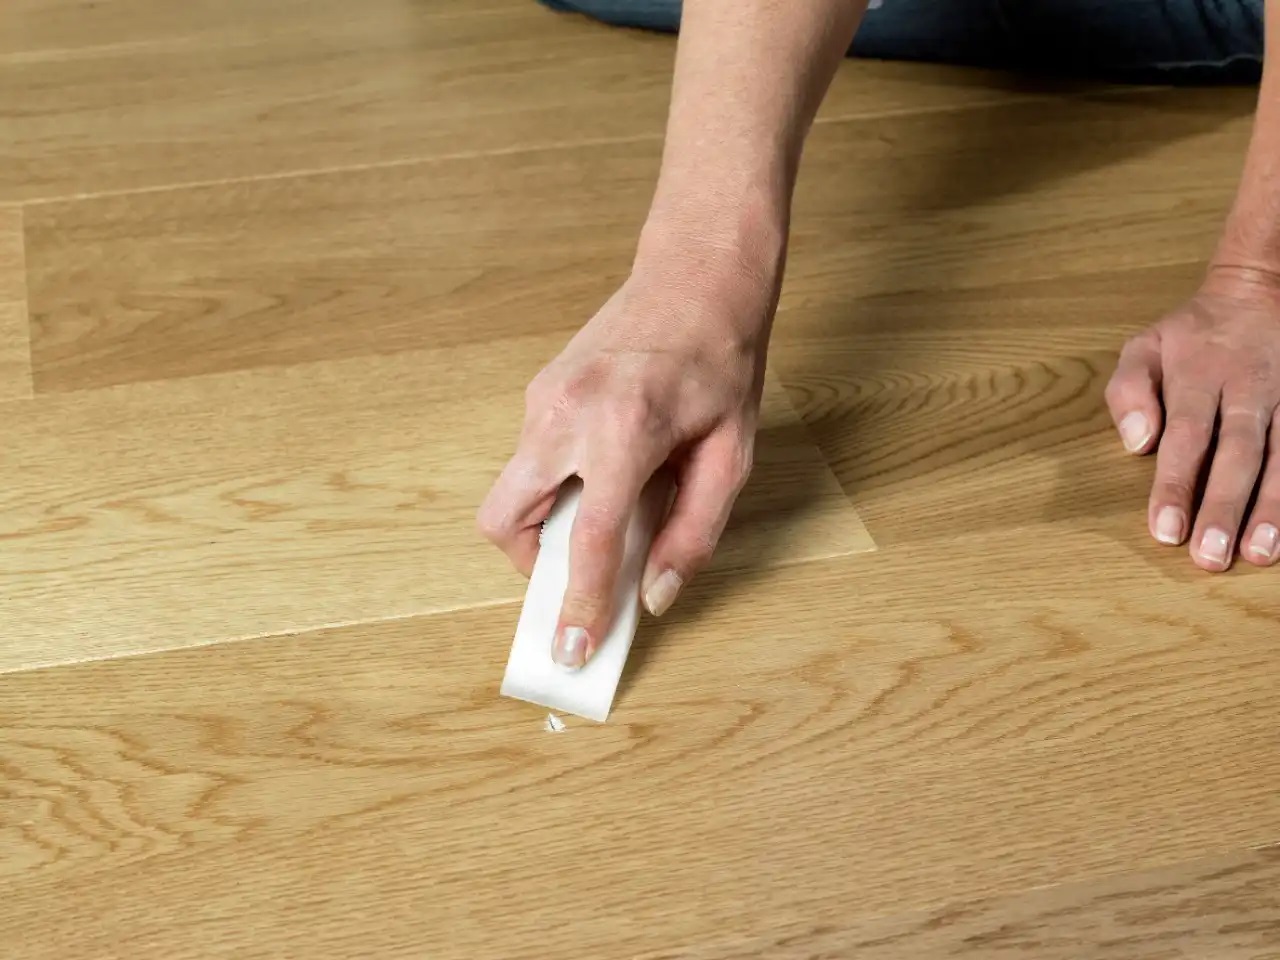
It is necessary to carefully check each row of quartzvinyl tiles for gaps. If such gaps are detected, they should be eliminated. To do this, you can carefully knock on the quartzvinil on the side so that the locks come together.
Photo: kiyanka taped quartzvinila
If after that quartzvinyl still does not get up tightly, perhaps the garbage is stuck in the castle between the tiles. In this case, you need to pull out the tile and check the lock for the presence of foreign objects.
Photo: locks should be checked before installation
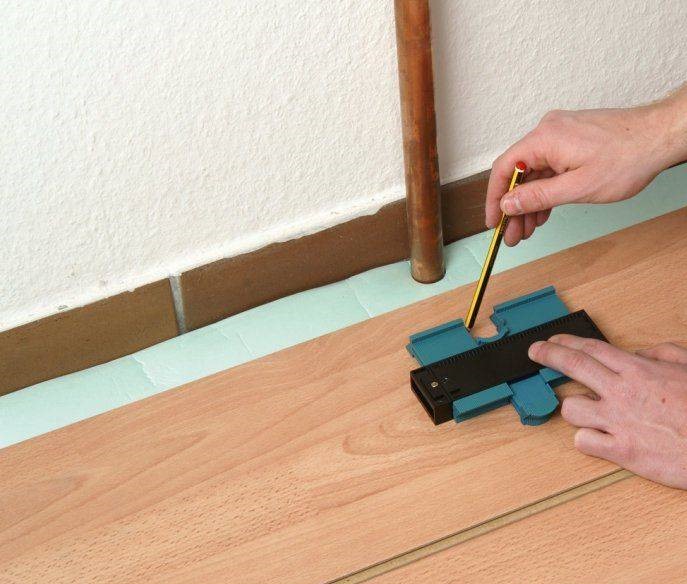
To cut quartzvinyl tiles to complex angles, pipes or other obstacles, first you need to make a paper template. According to this template, it will be possible to cut the tile.
Photo: you can use ready -made plastic templates
The last row in the room may not be as wide as the first, so the tiles will have to be cut along. To do this, it is important to fix it securely so that the cut is even.
Stage 3.
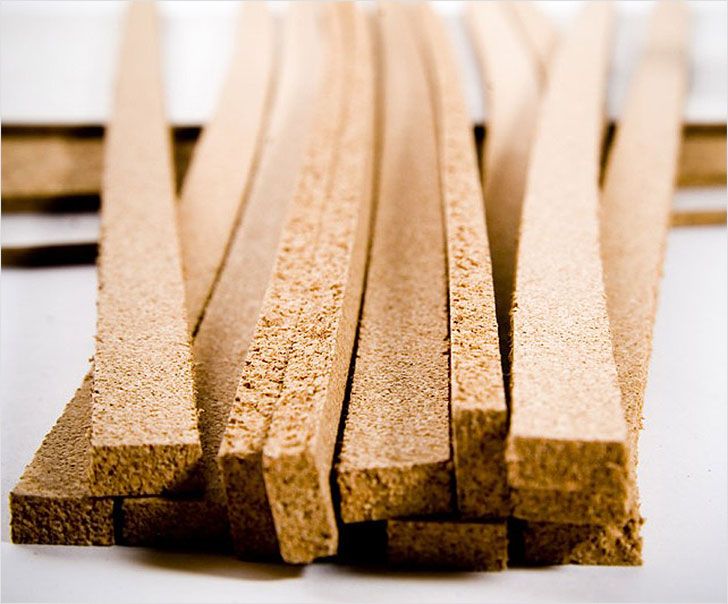
After laying the quartzvinyl coating, there should be no gaps between the tiles. It is important to check each row of the floor to make sure that there are no voids or hillocks. It is also necessary to check the technical seam at each wall to make sure that it did not deviate from the initial values. This seam is closed with a cork compensator.
Photo: cork compensator for quartzvinyl floor
Conclusion
- The castle quartzvinyl is not afraid of moisture, and it can be used with a warm floor.
- Outwardly, the castle quartzvinyl is similar to a laminate, but these are different materials, although they have a similar way of installation.
- Quartzvinil tiles are interconnected with locks. Castles should be even without flaws.
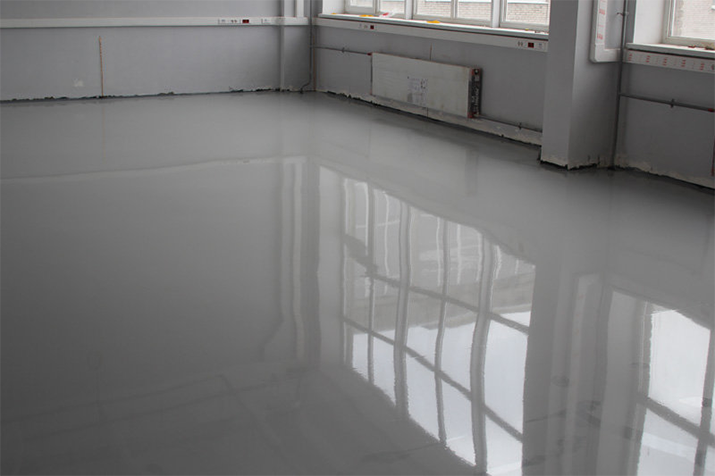
- Quartzvinyl is mounted on a screed or bulk floor.
- After the installation of the quartzvinyl floor, there should be no voids and gaps between the tiles.