When redevelopment of an apartment or house, sometimes you have to make new partitions. If you need to make a strong wall, then a brick is used as a material.
In the article, we consider what is needed for brickwork, how to make partitions from brick and make an accurate calculation of the materials, what tools you will need.
Content:
- Materials and tools for brickwork
- Brick masonry: Calculation of materials
- Brick partition masonry technology
Materials and tools for brickwork
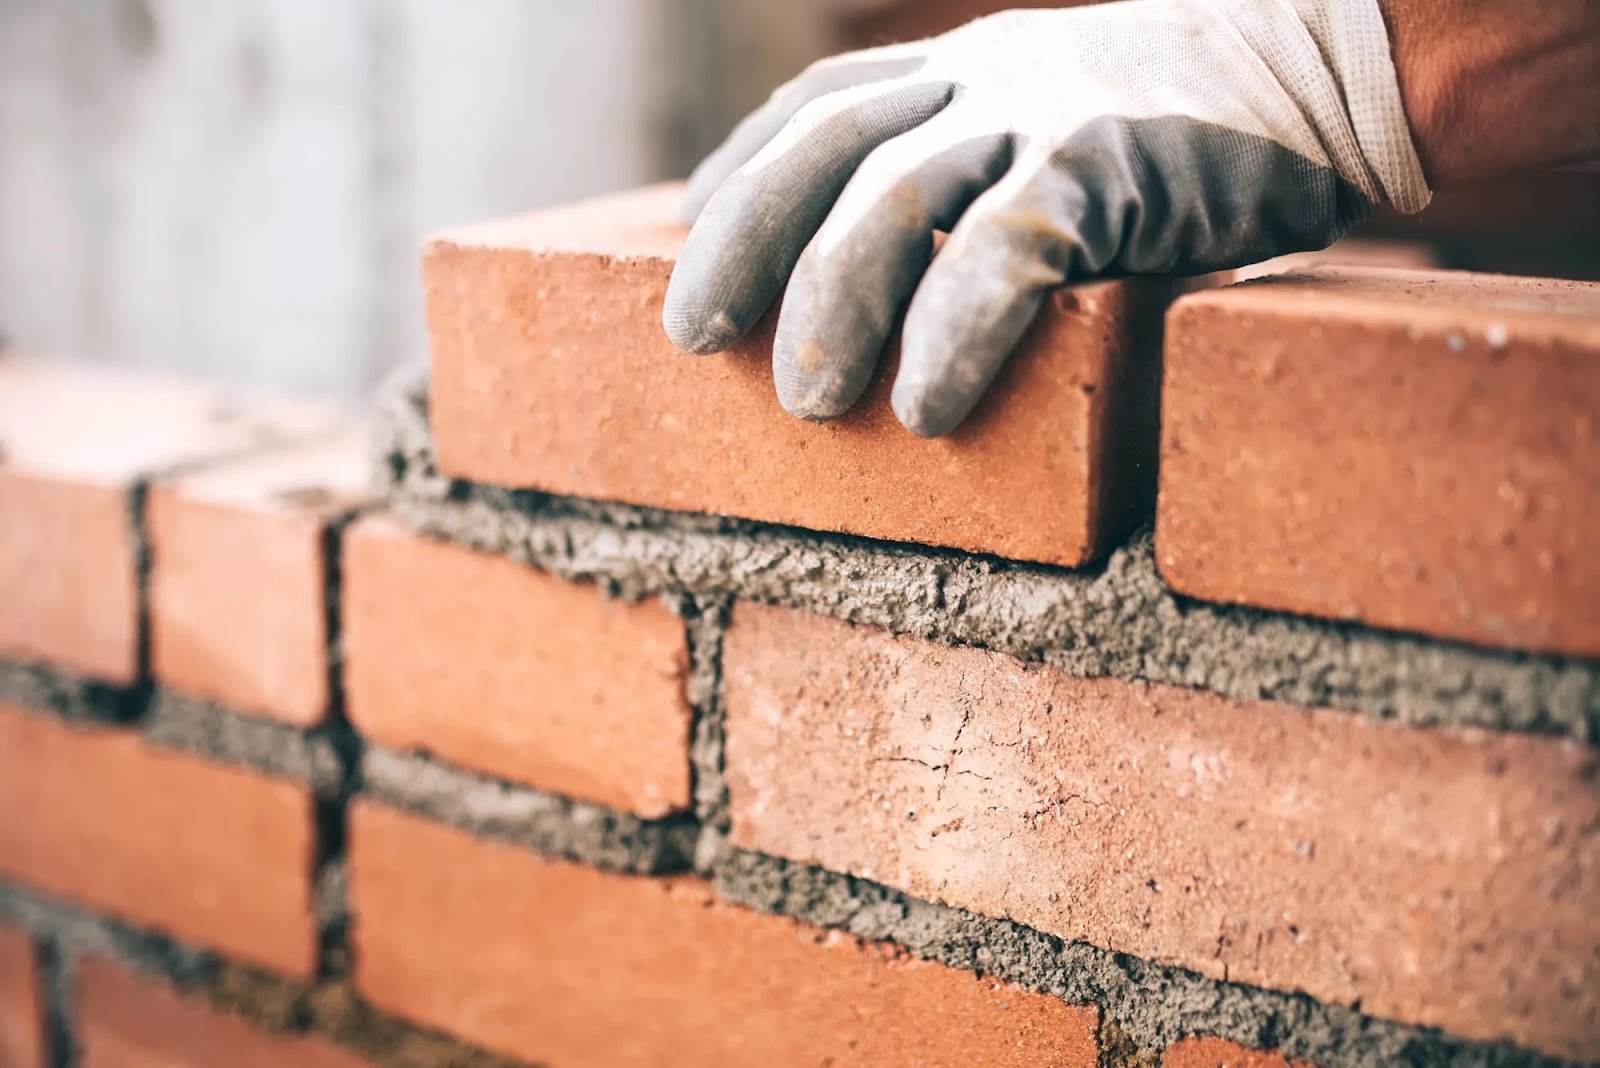
Brick masonry requires a master of certain professionalism, because you need to carefully adjust each brick so that the wall is flat. To comply with brickwork technology, suitable materials and tools are needed.
Photo: brickwork
Materials:
- Bricks are full -bodied or ceramic.
- Cement-sand mixture.
- Flexible connections (suspensions).
- Armature.
- Foam mounting.
- Reinforced concrete jumper for doorways.
- Boards.
- Self -tapping screws 42 mm.
- Anker-clinia.
Tools:
- Gloves.
- Hammer.
- Trowel.
- Spatula.
- Drill Mixer.
- Set of rules.
- Buckets, basins.
- Blade for a knife.
- Field.
- Bubble level or laser level.
Brick masonry: Calculation of materials
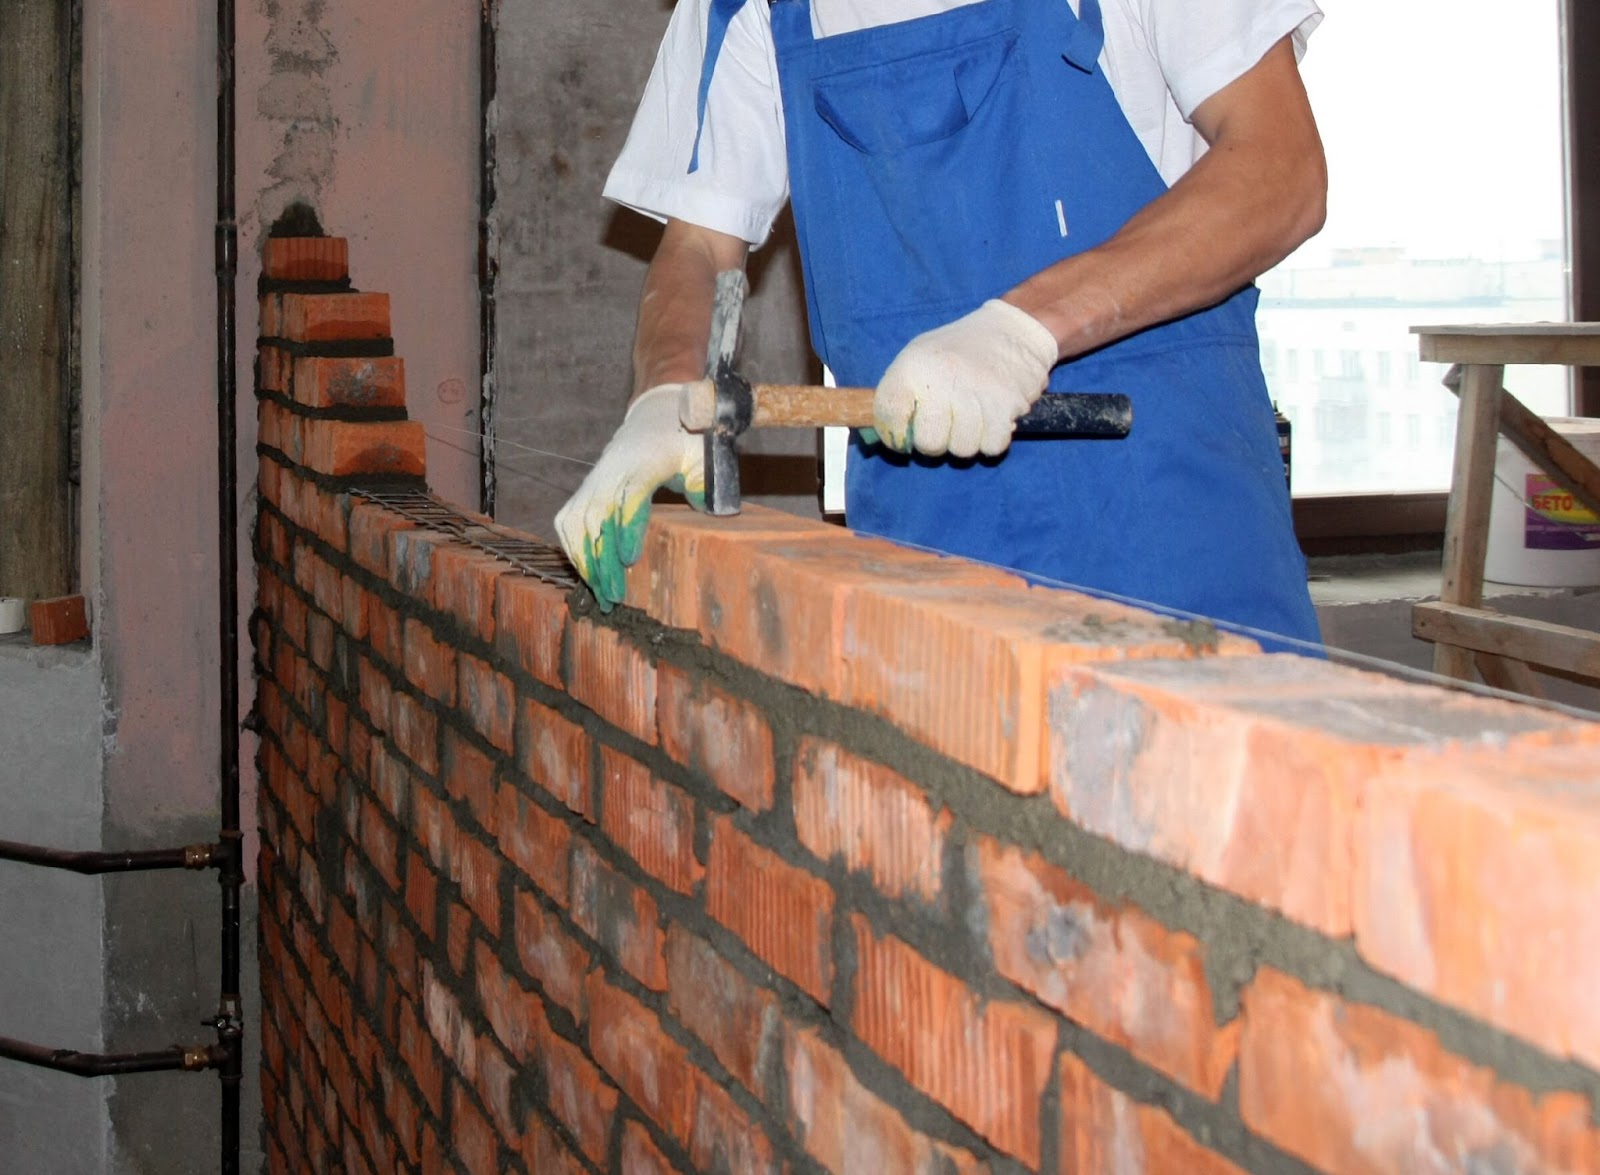
Before making brickwork, the calculation of the main materials should be calculated. Interior partitions are usually made with a thickness thickness.
Photo: In this case, bricks are laid longitudinally in a row
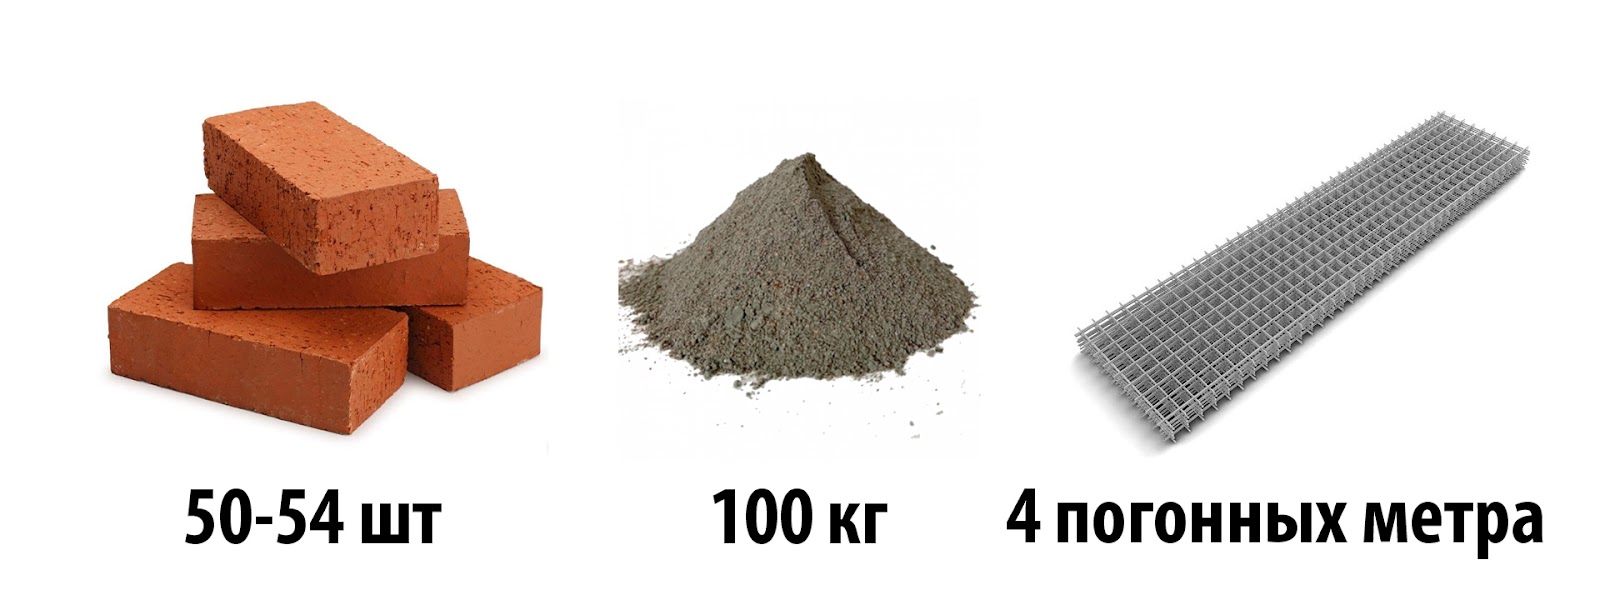
On an average of 50–54 ordinary full -bodied bricks and about 100 kg of dry solution, per meter of such a wall goes to one meter. You will also need a masonry mesh. It is advisable to put it every 3 rows, so on average 1 m² of walls, 4 linear meters of the grid go.
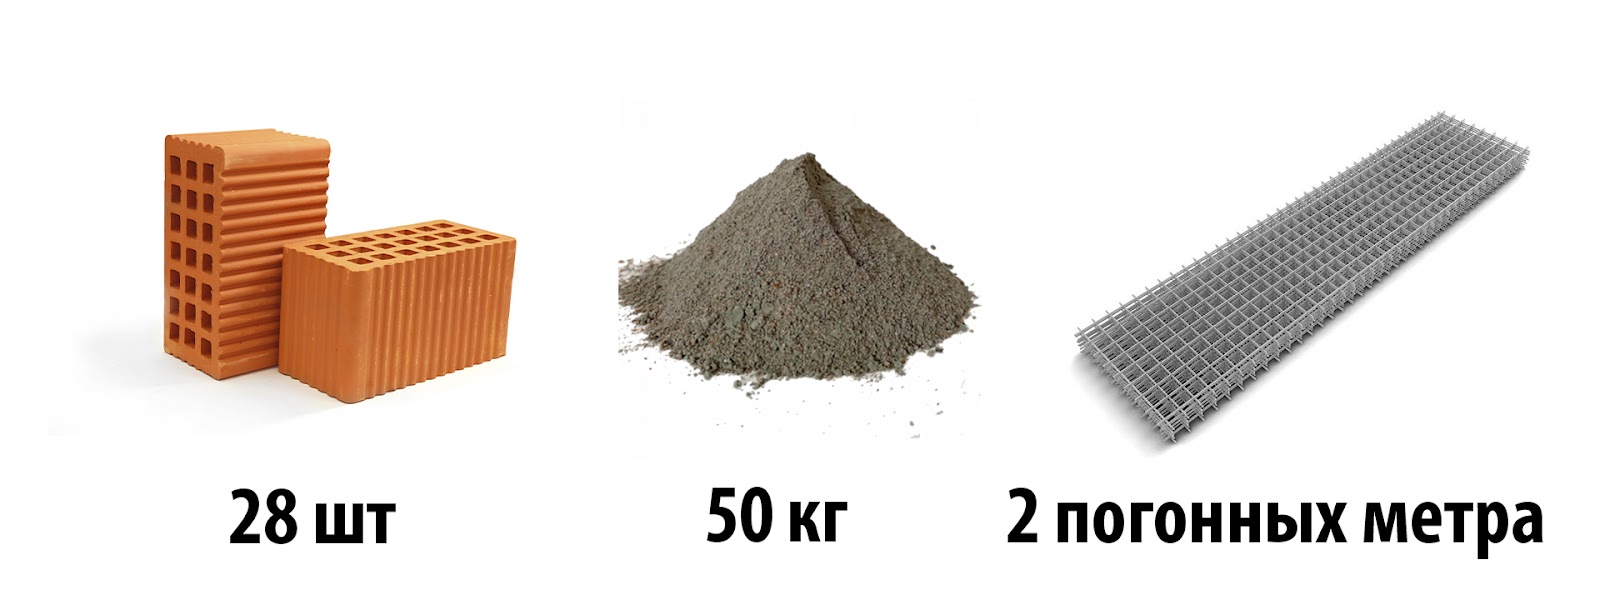
Photo: the number of materials per 1 m² of brick partition
Another option is to use a double ceramic brick instead of a standard fullness.
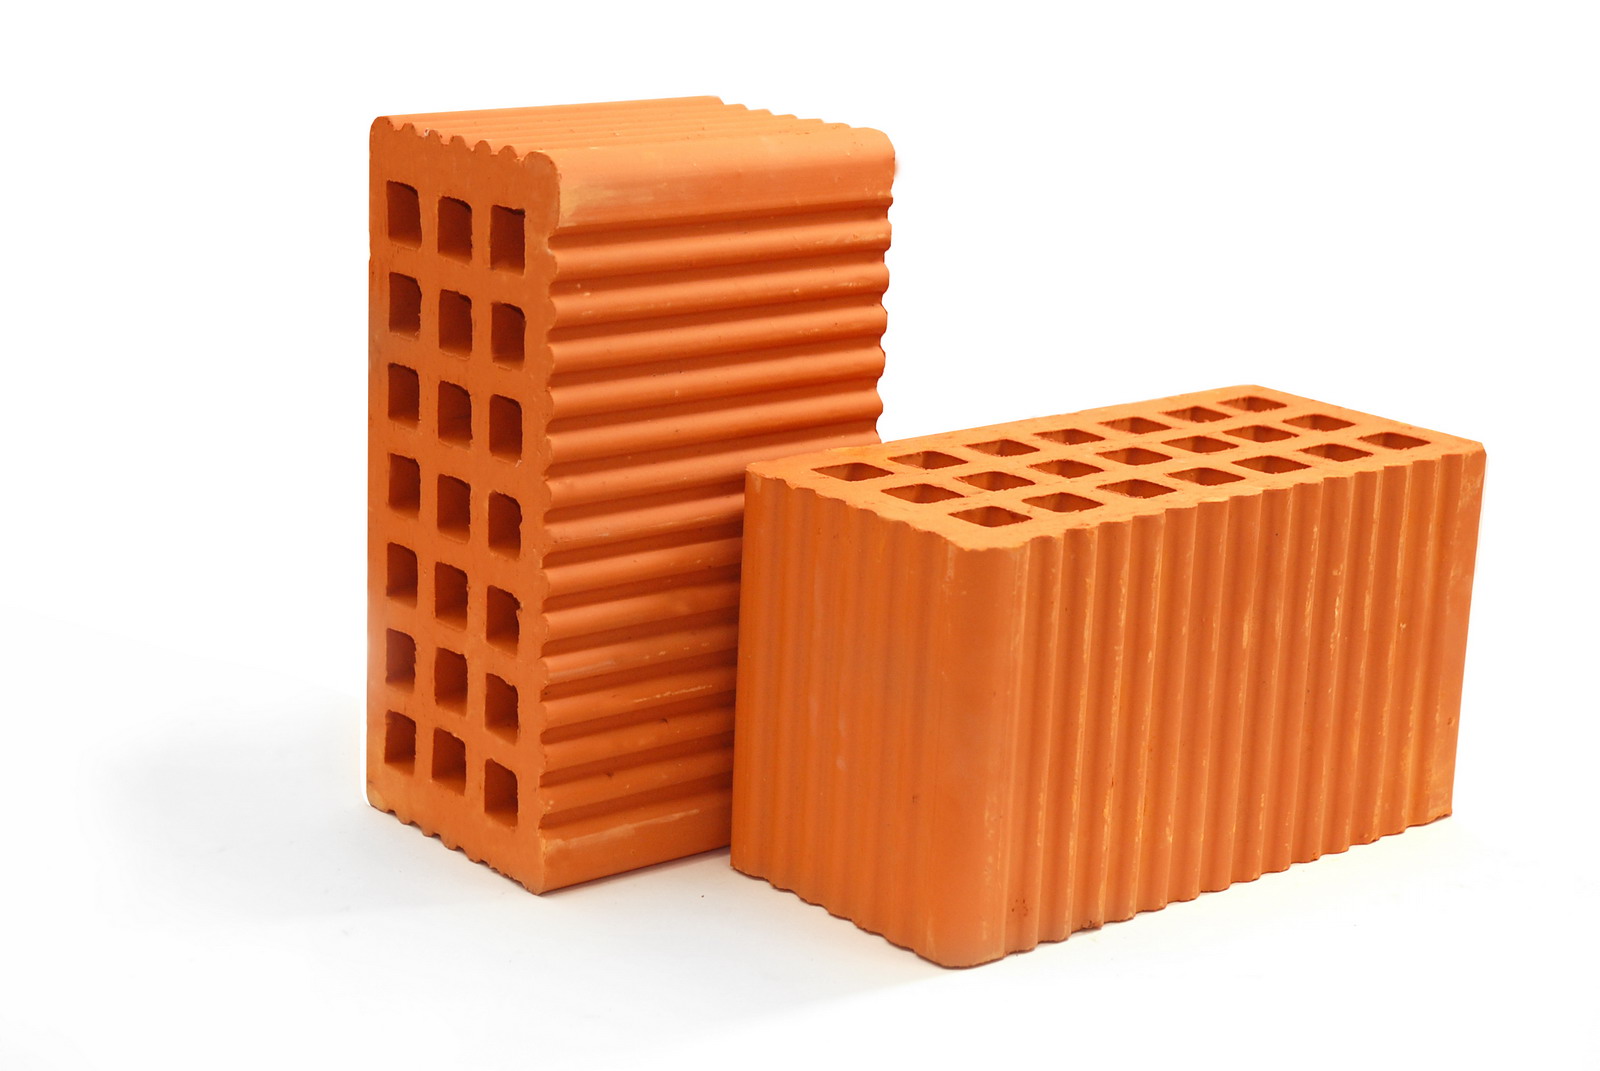
Ceramic blocks have a good sound, but they are easier, and it’s easier to work with them. Due to the smaller weight and the presence of a large number of voids, which include the solution, the laying of walls from ceramic blocks is faster.
For laying 1 m² of wall, approximately 28 ceramic blocks and 100 kg of solution will be required. This is 2 times less than when using ordinary full -bodied bricks, which means that such a wall will be cheaper.
Brick partition masonry technology
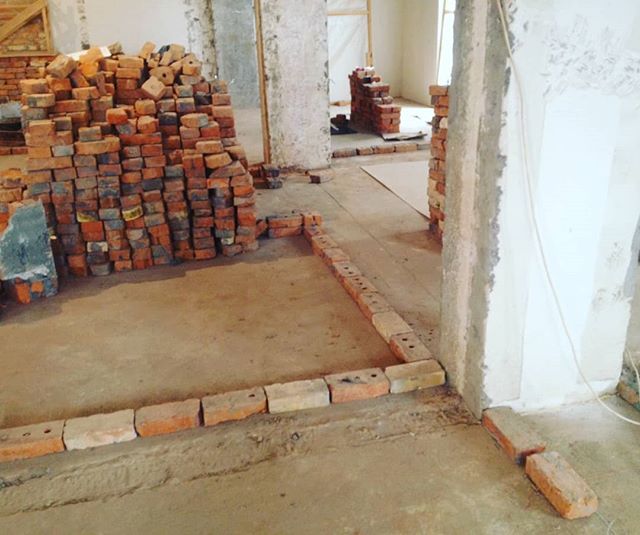
First you need to prepare the base of the floor. It is cleaned of dust and dried cement. Further, the place of the future brick wall is marked with a marker on the floor. On these marked lanes, a fishing line is carried out and it is stretched over the entire length of the partition. The fishing line is fixed on two bricks and they are placed opposite each other.
Photo: The first row of brickwork
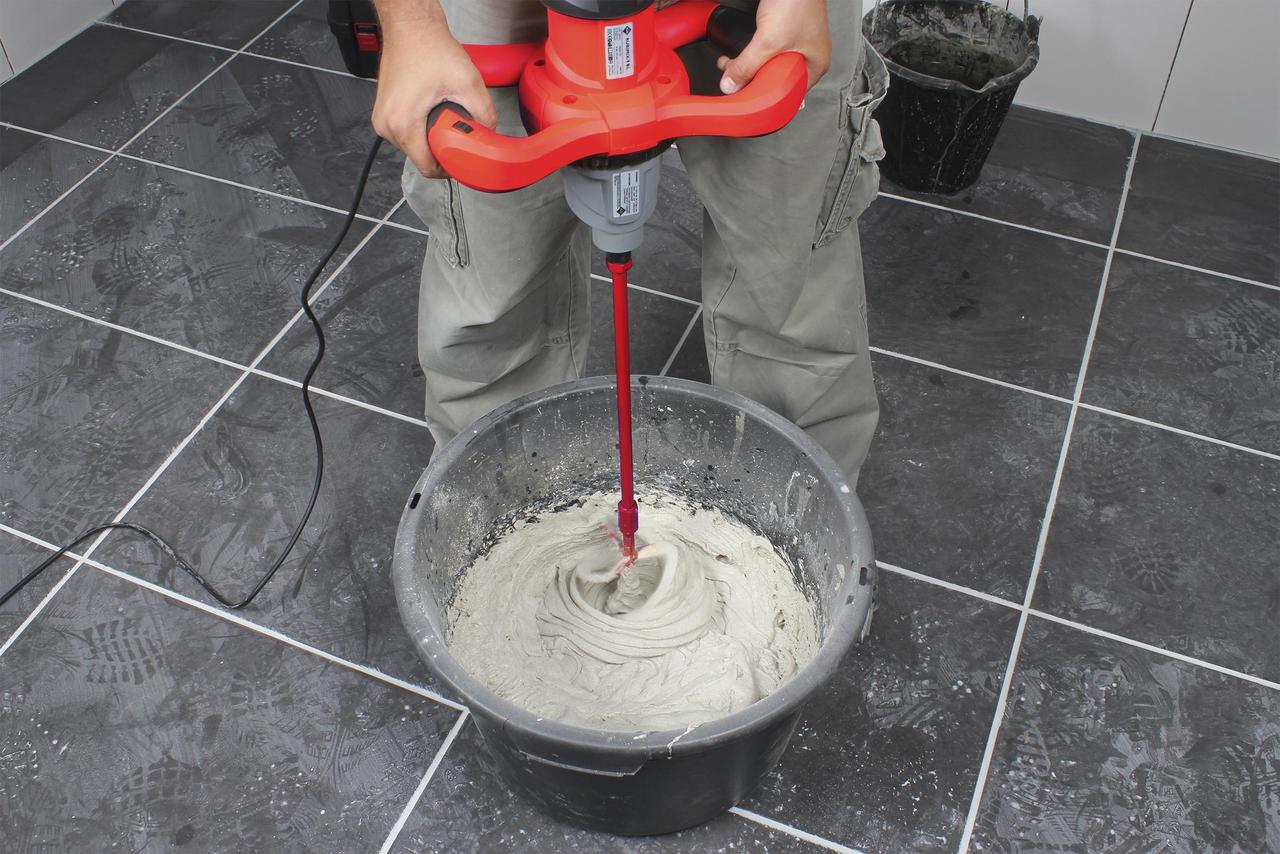
Then you need to prepare the solution. To do this, water water is added to the cement-sand mixture and stir it in a bucket using a mixer drill.
Photo: Using a mixer, you can knead the solution directly in the bucket
Next, a solution is placed on the floor base with a trowel, and bricks on top of it. The masonry should begin with two extreme bricks.
Photo: masonry schemes of brick partitions
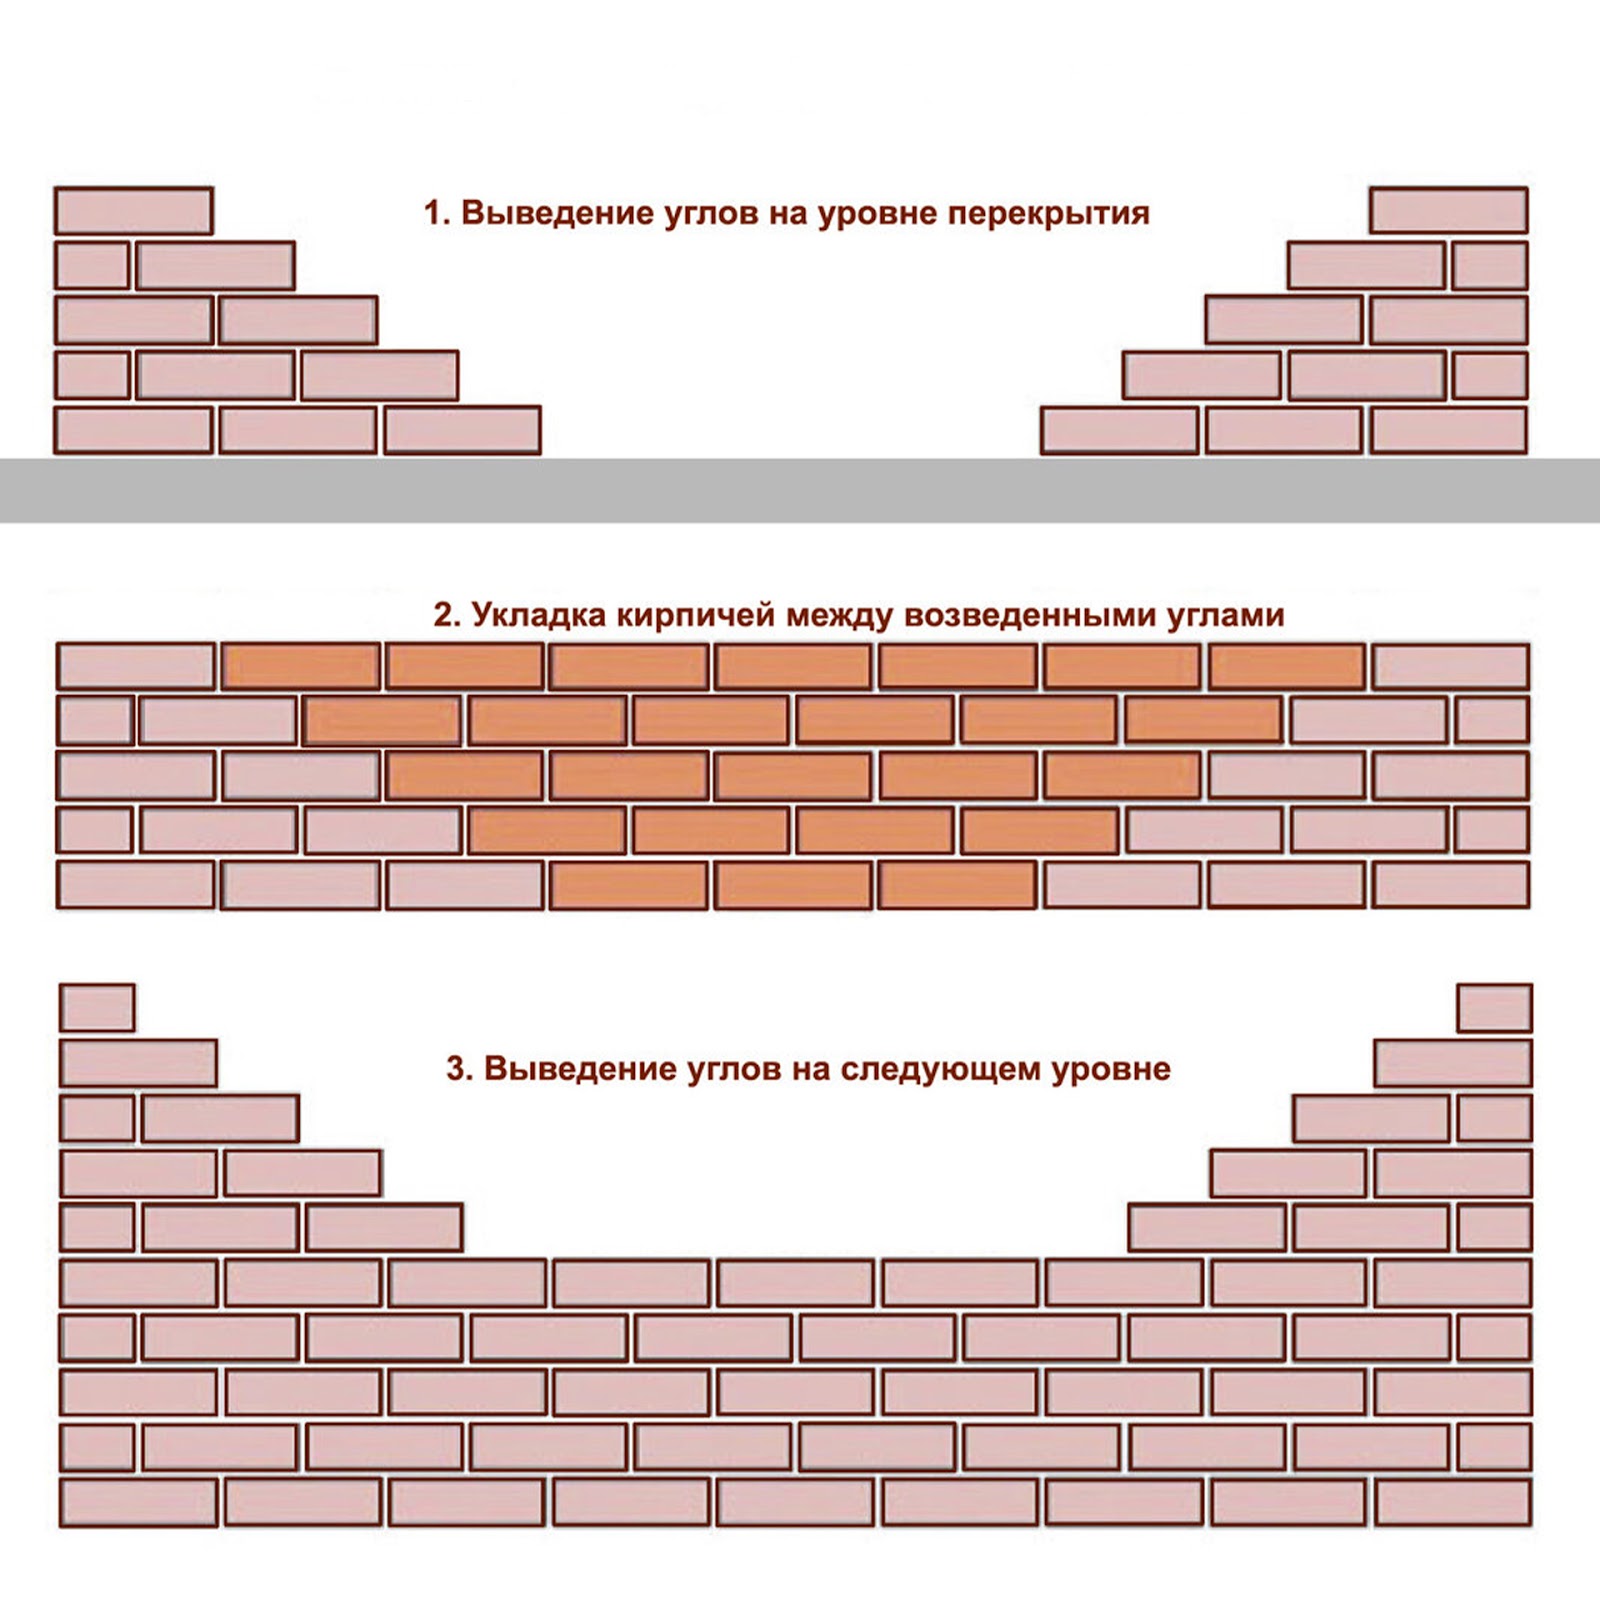
They are exposed on a bubble level and aligned with the help of a hammer from above and on the side. After which the place between them is filled with the rest of the bricks. When the first row of bricks is ready, it is left for a day to dry the solution. The receiving row can be checked using a long rule. Those bricks that do not coincide with a row are gently beaten to a rule.
Photo: Types of rules

The following rows are laid so that the brick in the middle overlaps the lower seam. The location of the brick with a hammer and a bubble level is equal. After laying each brick, you need to check its vertical and horizontal position so that it does not shift.
Photo: each brick must be checked using the level
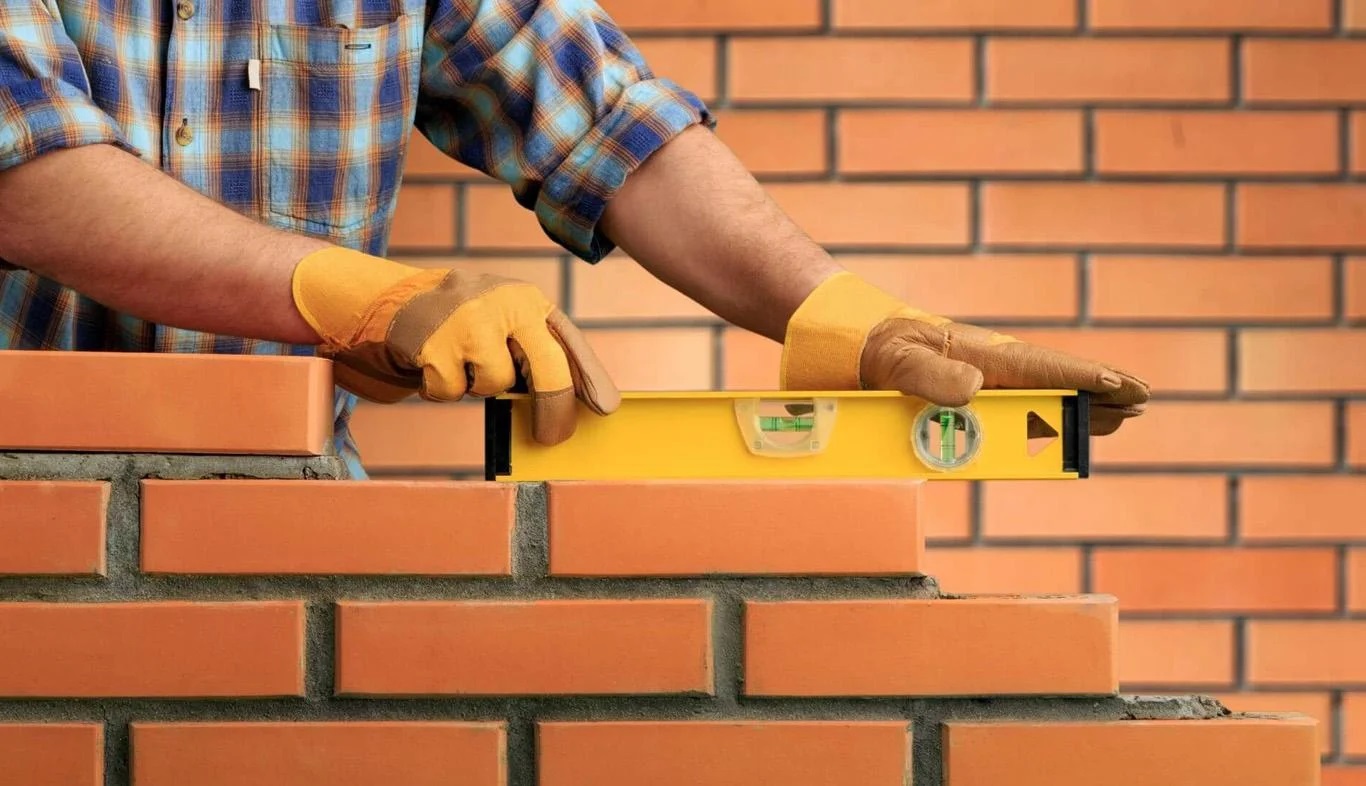
Important: Even the minimum deviation of one row can shift the axis of the wall a few centimeters and make it uneven.
To strengthen the wall, every 3 rows are placed in the partition in the partition. To do this, first put the solution, then the grid, and a new row of bricks on top.
Photo: Pantry mesh strengthens the brick partition
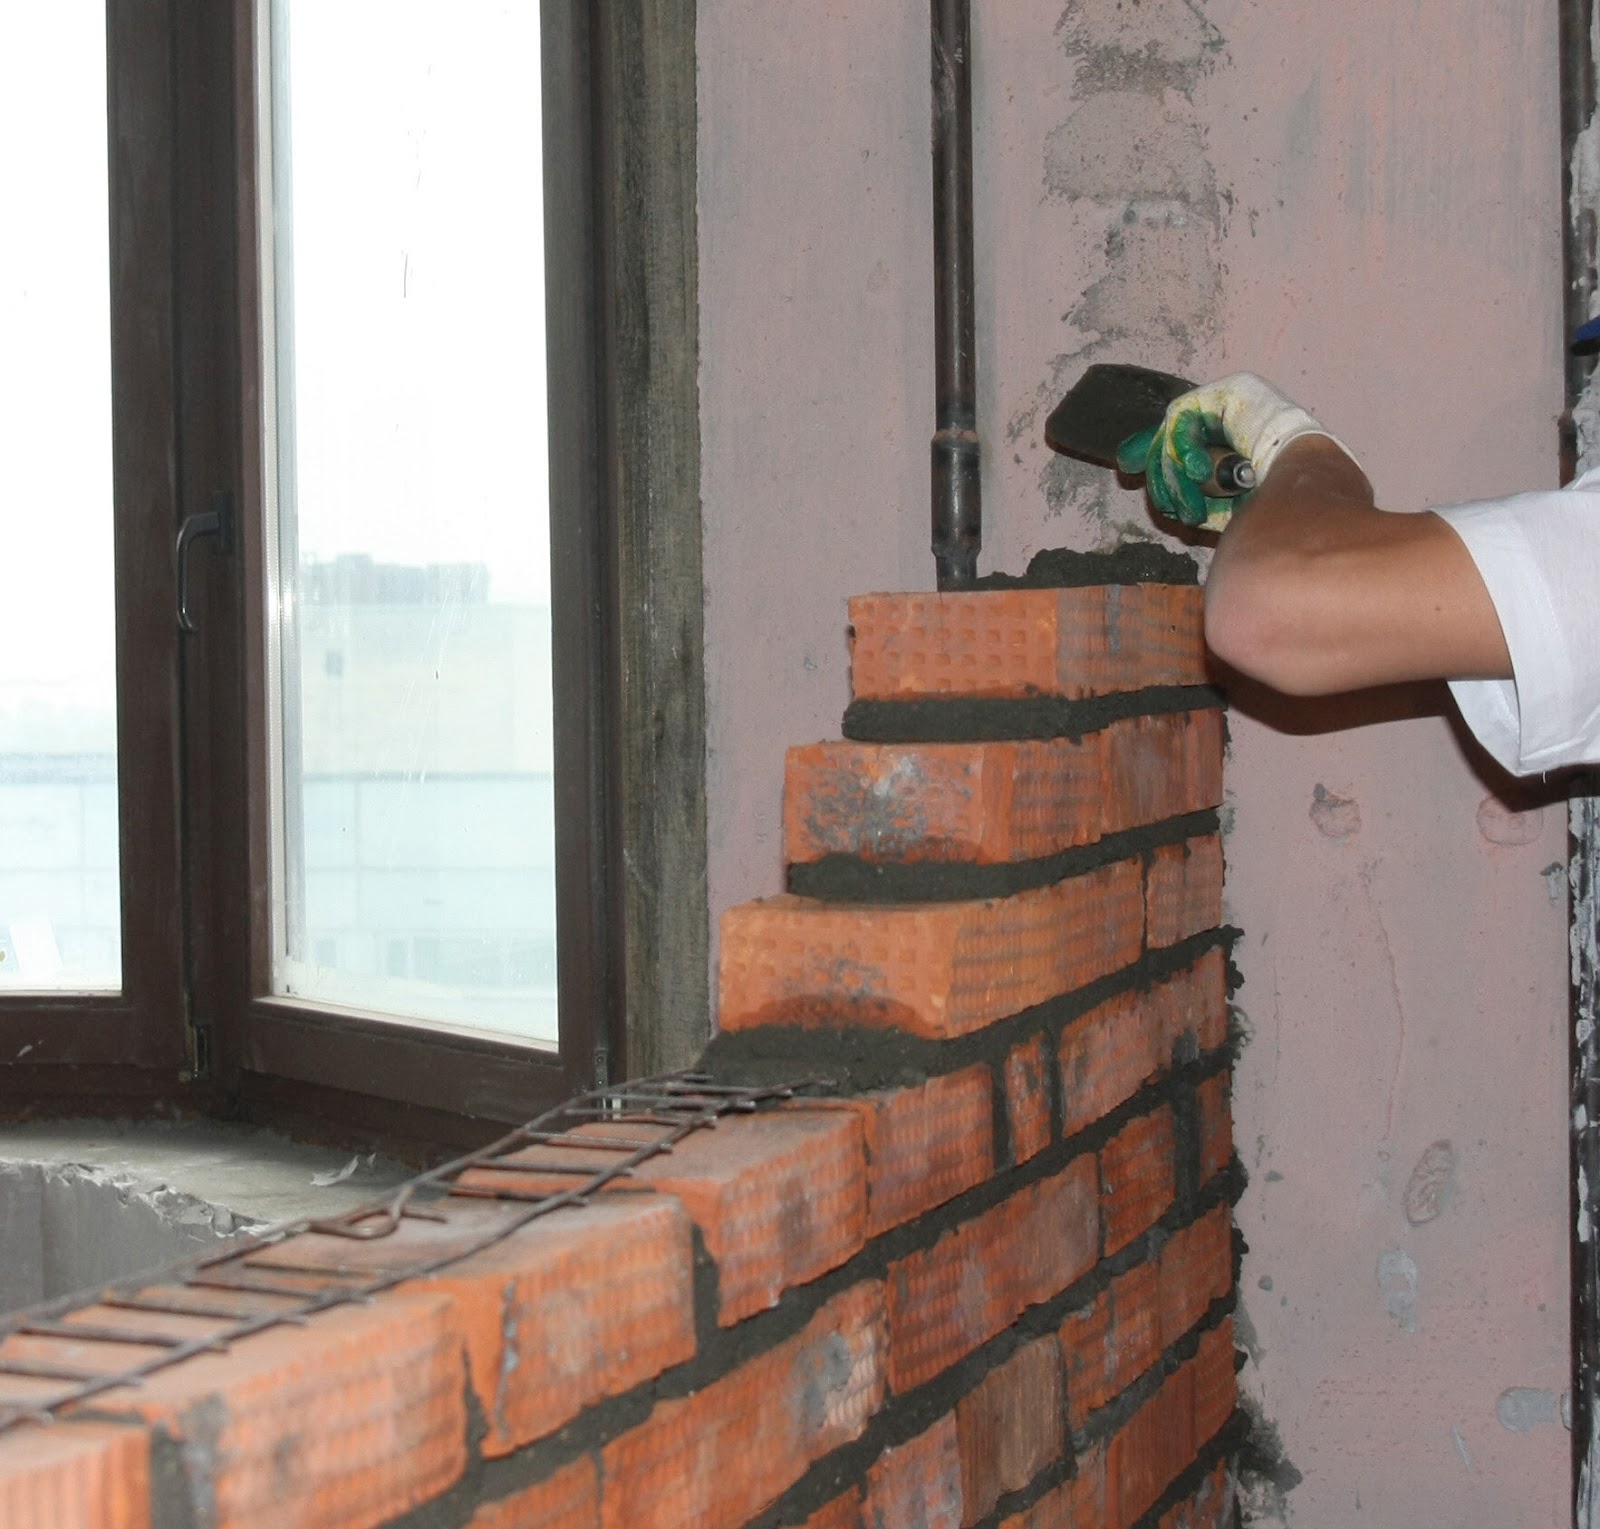
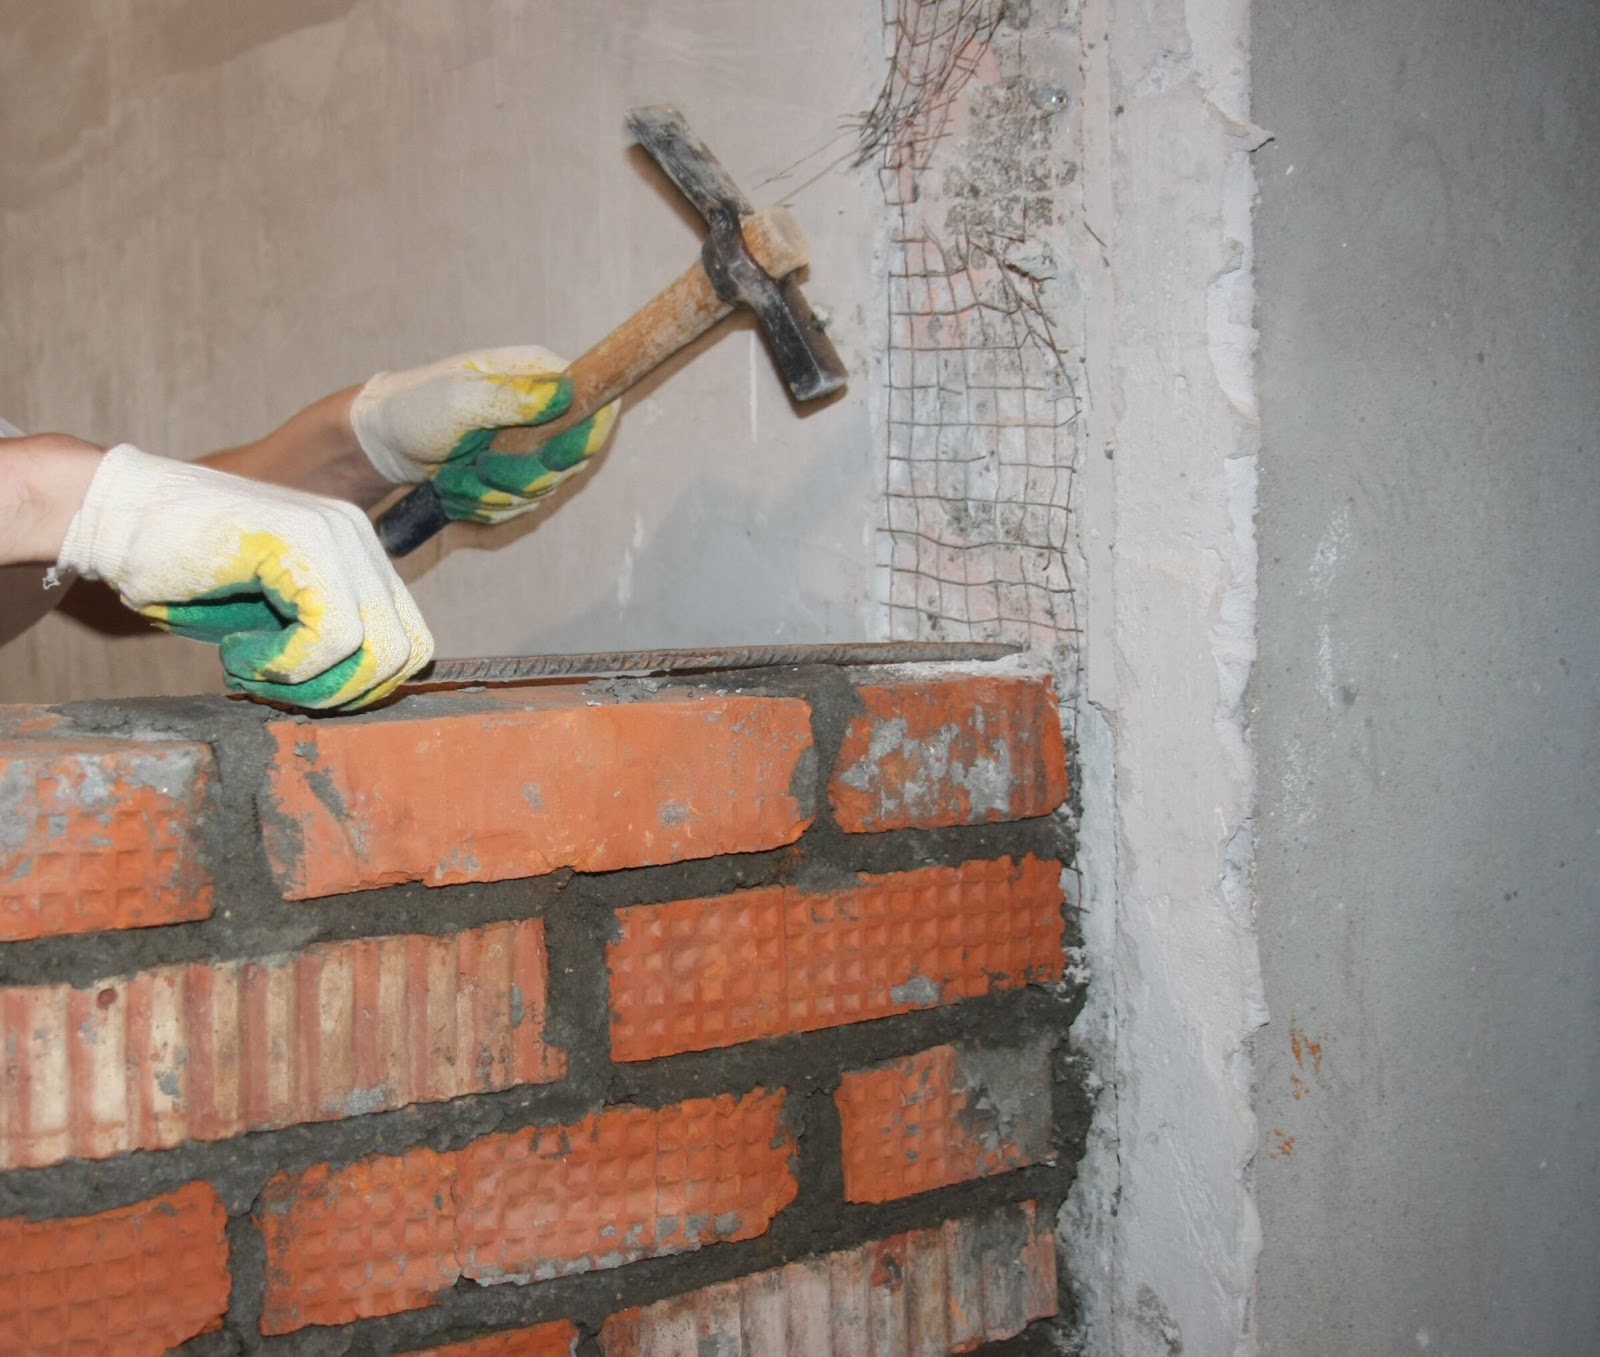
Still, in order to increase the reliability of the partition, it must be connected with the capital wall. To do this, reinforcing pins are driven into the wall at one end, and the other is trained in the masonry seam between bricks.
Photo: Carrying out the load -bearing walls and brick partitions with reinforcement
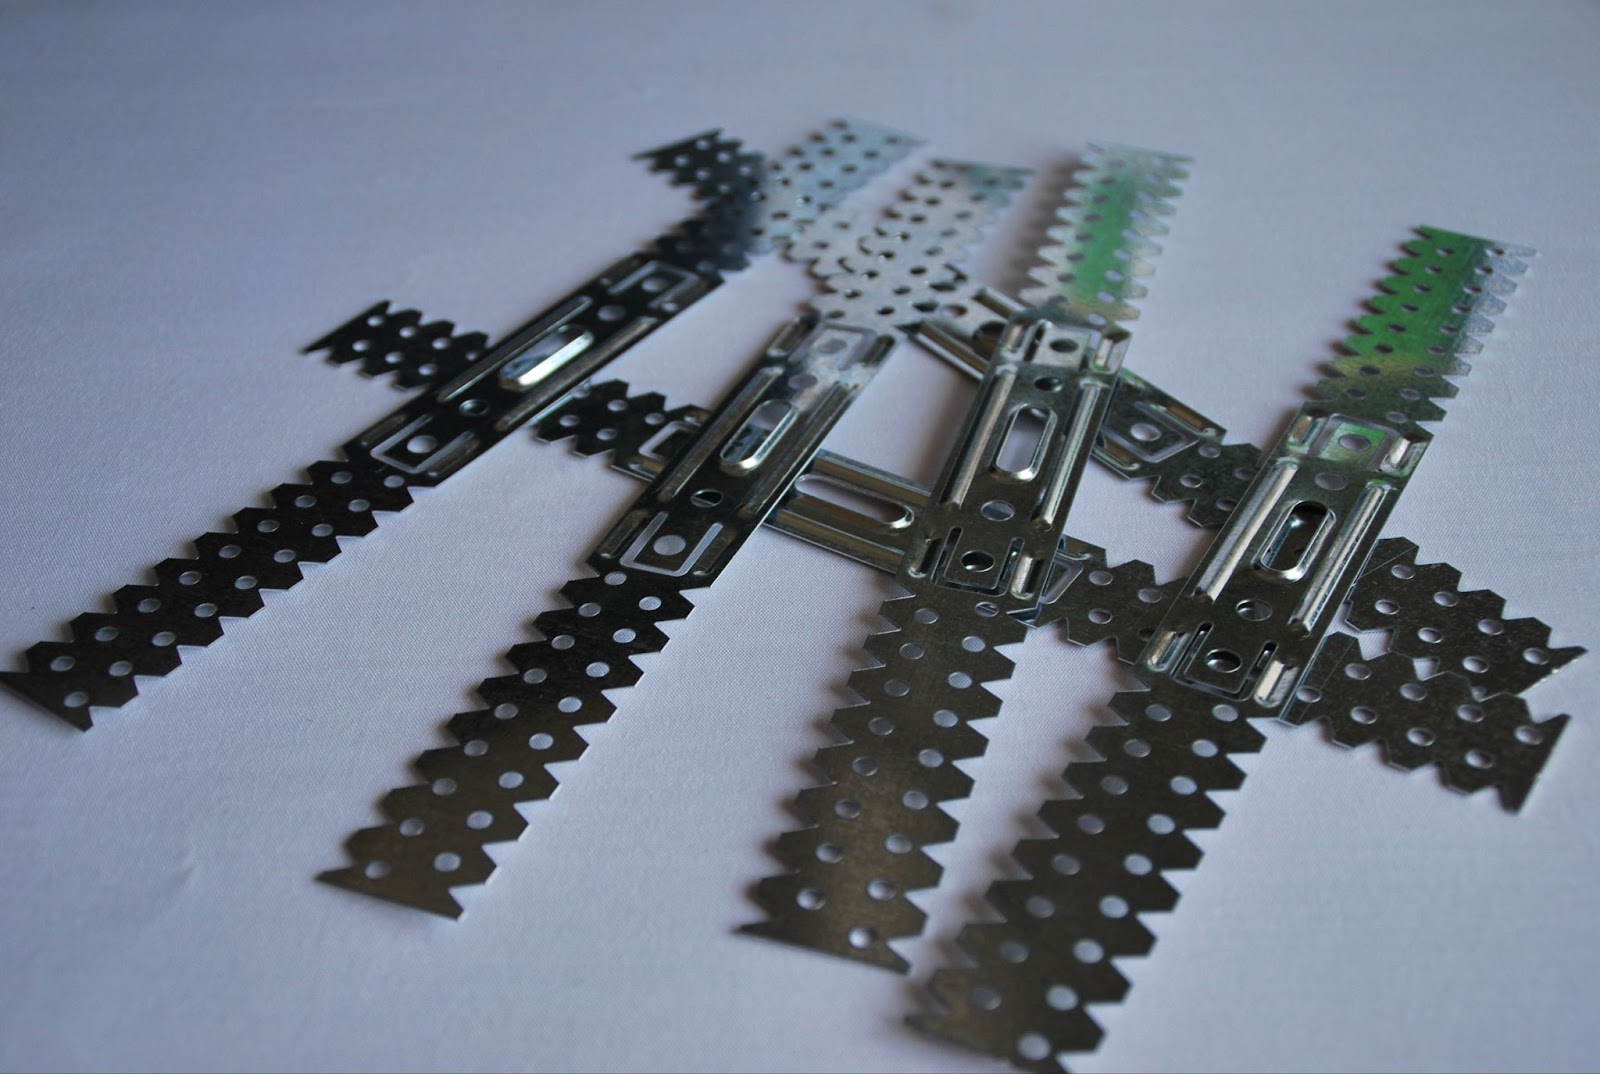
Instead of reinforcement, you can use suspensions. One edge is attached to the capital wall with the help of anchors, and the other end is trained in masonry.
Photo: suspensions – cheaper material than reinforcement
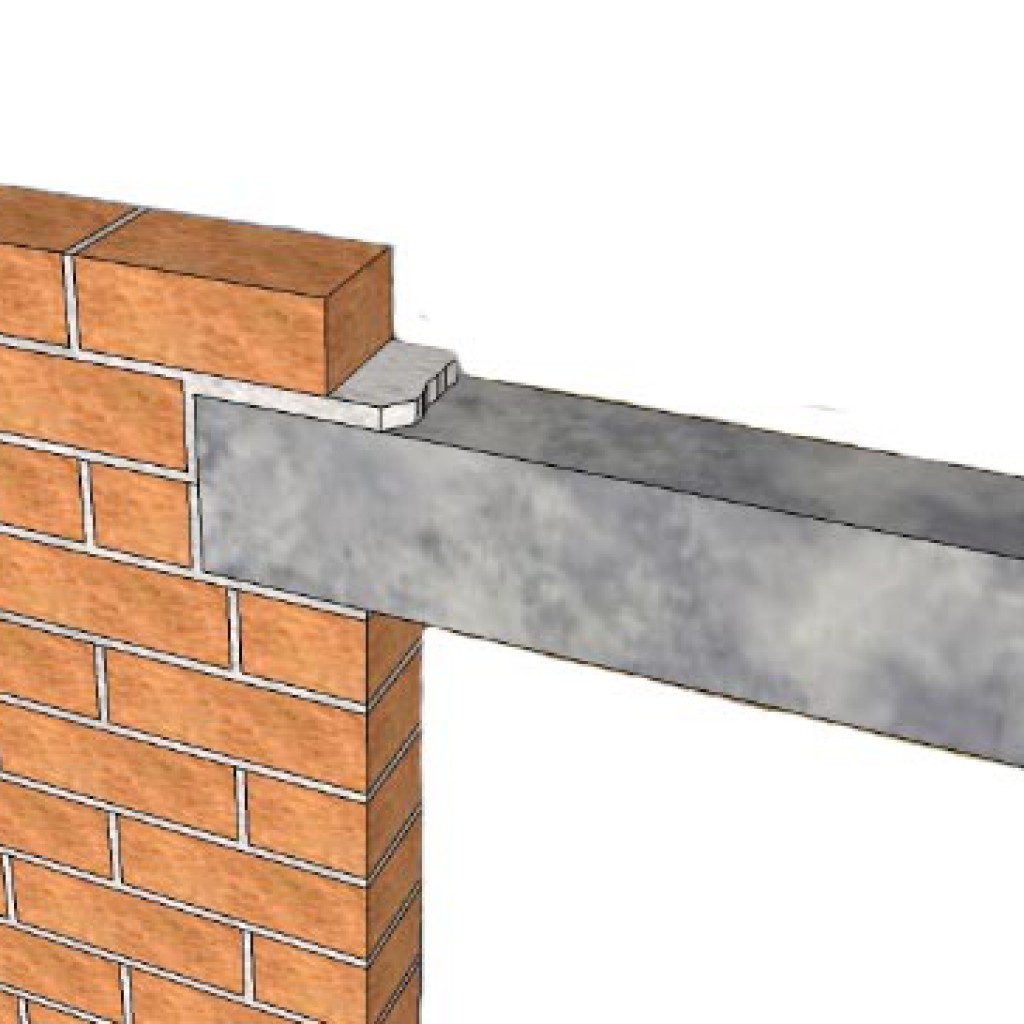
If the wall has a doorway wider than 80 cm, then a reinforced concrete jumper or iron channel is installed on top with a width of a brick. After installing the jumper on top, a row of bricks is placed on top.
Photo: reinforced concrete jumper for the doorway
You can make a temporary jumper of wooden boards. They are fastened with a P-shaped form and fixed to the wall. Next, bricks are placed on top. After a couple of days, the jumper can be removed.
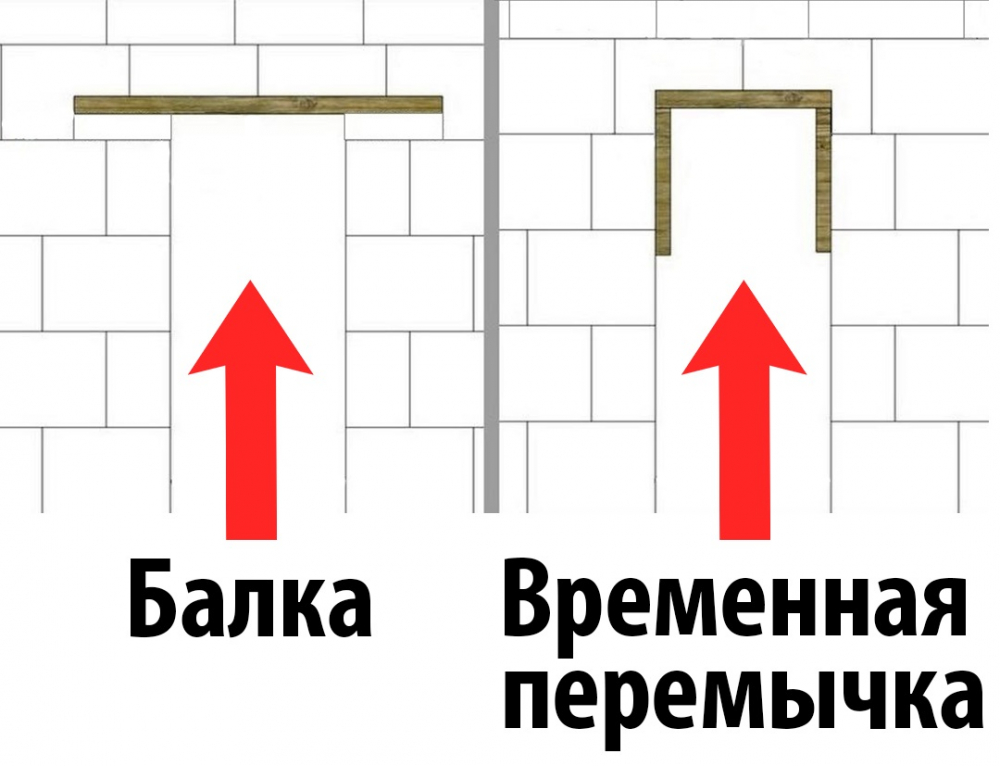
Photo: Differences in installing a temporary jumper and beam
To reduce shock noises, between the last row the walls and the ceiling leave a place that is filled with mounting foam.
Photo: The last row is closed on top with foam

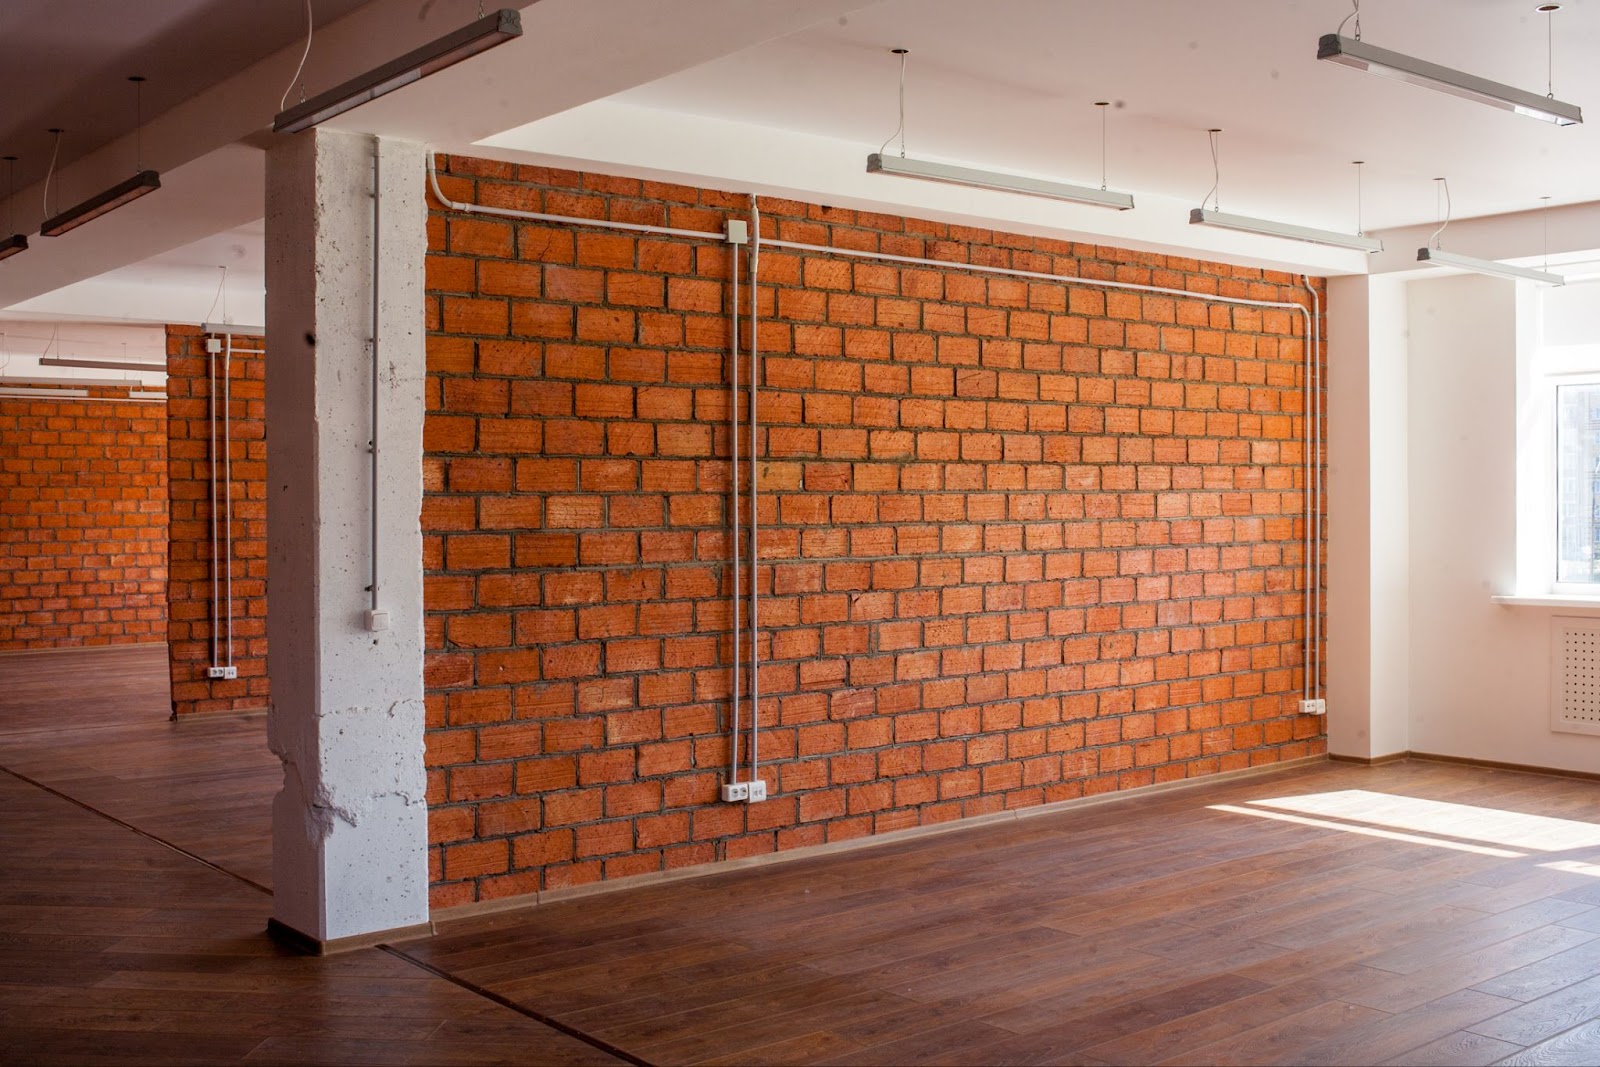
If the partition is part of the interior design and is not closed by putty on top, then all seams need to be cleaned during masonry. It is best to do this before the solution dries, otherwise it will be difficult to remove it later.
Photo: brick walls can be an interior element
Conclusion
- Brick masonry is a complex process, because you need to monitor the position of each brick.
- On average, 52 bricks are needed per 1 m² of wall.
- Deviations even several millimeters can make an uneven wall.
- The position of bricks is regulated using a bubble level and a hammer.
- Every 3 rows in the wall are laid a pantry. This is done in order to strengthen and fasten the ranks among themselves.
- The last row should not be adjacent to the ceiling. The gap is closed with mounting foam to reduce shock noises in the room.