A putty white ceiling or drywall ceiling may crack over time from the shrinkage of the house or materials. To prevent this from happening, glass chloride is glued to the ceiling. In the article, we consider what glass chloride is and how to glue it on the ceiling.
Content:
- What is a fiberglass for the ceiling?
- How to choose a fiberglass for the ceiling?
- How to glue glassholst on the ceiling according to stages
- Materials
- Tool
- Preparation of the base of the ceiling
- Gluing the first row of fiberglass on the ceiling
- Gluing the second and subsequent rows of fiberglass
What is a fiberglass for the ceiling?
Wheel chopper is a thin non -woven material that is made of small fiberglass threads. These threads are so thin that they look like a web. The thickness of the fiberglass is the same as that of a sheet of paper, but this material is quite strong to break, so it fastens the surface and does not allow microcracks and chips to form.
By the way: There are no glue, resins and other harmful substances in the fiberglass, this is an absolutely environmentally friendly material from quartz sand, soda and dolomite. However, while working with it, you need to use protective equipment, since threads can enter the skin or respiratory tract and cause irritation.
How to choose a fiberglass for the ceiling?
The glass chlower is produced with rolls 1 meter wide and 20, 50 or 100 meters long. The main characteristic of the fiberglass is its density. The lower the density, the cheaper, thinner and lighter material. Fiberglass is a density of 20 to 120 g/m². For ceilings, it is better to use fiberglass with a density of 40 g/m². It is more difficult to glue more dense fiberglass, as it, due to its weight, will constantly slide from the ceiling.
How to glue glass chloride on the ceiling according to stages?
Fiberglass can be glued to putty, drywall or GKL. For work, the following materials and tools will be needed:
Materials
- Glassholst
- Acrylic primer
- Glue
- Serpsy grid
- The putty is muffled
Tool
- A roller with a long pile
- Brush
- Maular bath
- A glue bucket
- Drill or screwdriver with a mixer nozzle for mixing
- Chancellery knife
- Roulette and pencil
- Plumb, bubble level or laser
- Gloves, respirator
- The spatula is plastic
- The spatula is wide metal
Stage 1. Preparation of the base of the ceiling
If repeated repairs are made in the apartment, then first you need to remove the paint from the ceiling so that only the putty layer remains.
Cracks or chips may appear on the ceiling – they must be shown with putty and sanded with sandpaper.
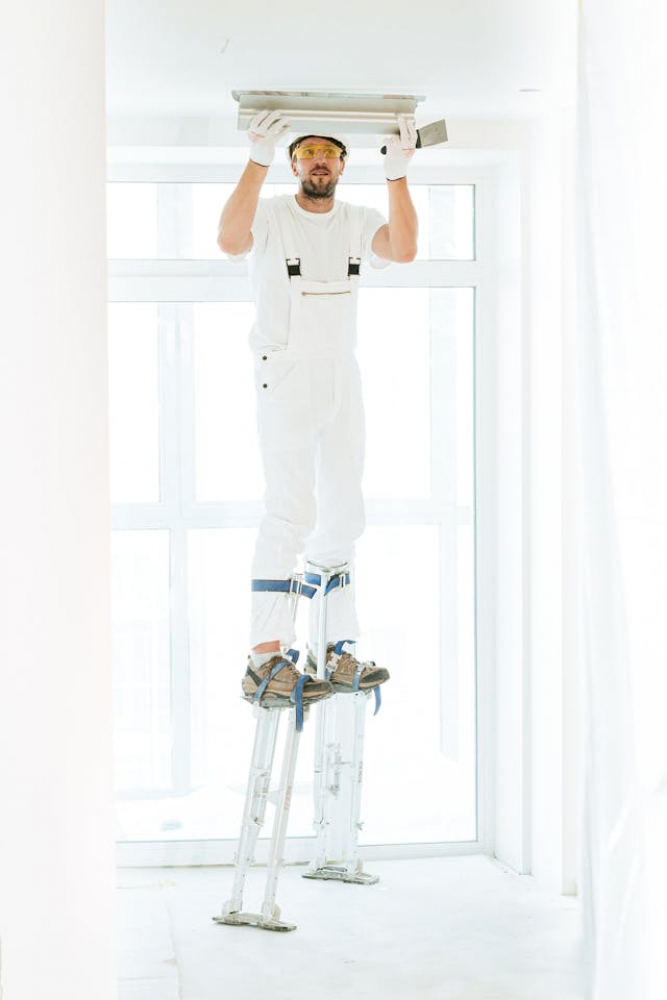
Photo: all cracks need to be thrown
After that, the ceiling should be covered with a primer with a roller or brush.
In the bathroom or bathroom, it is recommended to use a primer with an antiseptic for wet rooms to prevent the appearance of the fungus in the future.
If drywall is installed on the ceiling, then it is cleaned of dirt and dust and covered with a primer.
Important: The joints between drywall or gypsum-fiber slabs should be plunged and reinforced with a net grid.
Stage 2. Shpping of the first row of fiberglass on the ceiling
Important: It is worth working in masks, closed clothes and gloves. There should be no drafts in the room, and the temperature can be in the area of +18–25 degrees. It is desirable that straight rays of the sun do not fall on the ceiling so that the glue dries evenly.
First, glass chloride is divided into stripes of the desired size. It is advisable to cut off several cm larger than the length of the room itself. During cutting, it is important not to crush glasshold, otherwise it will lose its strength.
The dry composition is diluted with water to make a jelly -like mass similar to jelly.
Then the glue is applied to the ceiling with a brush or roller. It is important to evenly distribute the glue over the entire surface, including corners and joints, so that there are no unprocessed areas.

Photo: not the entire ceiling is covered with glue, but only a part where the first row of glass chick will be
Next, glass chisels are glued to the place with glue. It must be glued so that the front side looks down. The glue should be on the wrong side.
The glass chlorver is neatly pressed into glue using a plastic wallpaper spatula. The spatula must be smoothed out of glass chloride, moving from the center to the edges to avoid the appearance of bubbles. Excess glue is removed with a spatula and a wet towel.
Important: With glue, you need to smear only the area that will capture one strip of glass chick. The entire ceiling does not need to be immediately covered with glue, as it dries quickly.
Stage 3. Shpping of the second and subsequent rows of fiberglass
Before gluing the second and subsequent rows, the ceiling is also coated with glue in the desired area. After that, glass chloride is glued to the end, or with a small overlap on the previous row. If you glue it, you need to skip the surface of the joint after the glass chlorst dries. The width of the joint between the sheets should not exceed 5 mm. The joint at the end must be smeared with glue on top with a spatula.
Important: The joints of the fiberglass should not intersect with the joints of drywall, otherwise there is a risk of cracks.
After the entire ceiling was glued with a glass -chip, it is once again a spatula to press the fiberglass into the glue. On average, glassolt dries for about a day.
Conclusion
Fiberglass is a material that allows you to strengthen the base of the ceiling and prevent it from cracking. It is absolutely environmentally friendly and produced from compressed glass threads.
For the ceiling, it is recommended to use glass chloride with a density of about 40 g/m². To fix it on the surface, it is necessary to use special glue. The spatula should be carefully pressed to the fiberglass into the glue, moving from the center to the edges.
It is important that the joints between the rows of glasshold are tightly pressed against each other or have a width of not more than 5 mm. On average, glassolt dries for about a day. After that, a layer of putty can be applied from above.