A stretch ceiling is a modern and stylish solution for the interior, but it is not able to isolate the room from external sounds. To improve the sound insulation of the apartment, you need to install an additional layer of sound insulation under the stretch ceiling.
In this article, we will consider which materials are best suited for soundproofing the ceiling and how to properly perform the sound insulation of the stretch ceiling in the apartment.
Content:
- Materials and tools for sound insulation of a stretch ceiling
- Installation of sound insulation under a stretch ceiling
- Preparation of the ceiling
- Installation of a sound insulation system
- Gluing noise insulation seams and installing a stretch ceiling
Materials and tools for sound insulation of a stretch ceiling
Materials:
- Tekesound membrane 2FT80.
- Clay Bautger (Bautger) canister.
- Dowel-gvo plate (10x70mm).
- Reinforced tape (50m x 50 mm).
- Vibro -insulating silicone sealant.
Tools:
- Perforator.
- Bour of concrete 10x160mm.
- Brush.
- Roller.
- Gloves.
Installation of sound insulation under a stretch ceiling
As a sound insulation under the stretch ceiling, you can use the soundproof membrane “Texound”.
Photo: sound insulation for a stretch ceiling
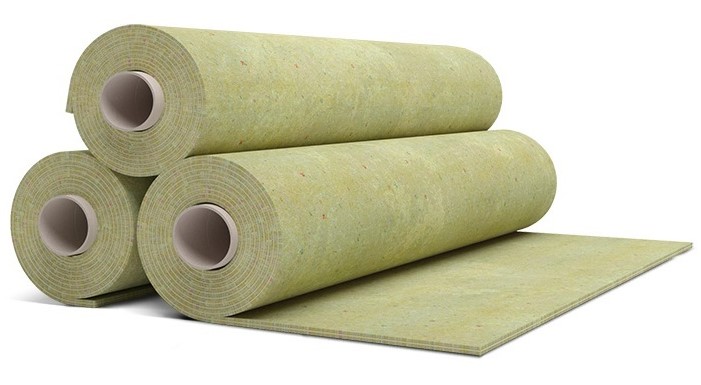
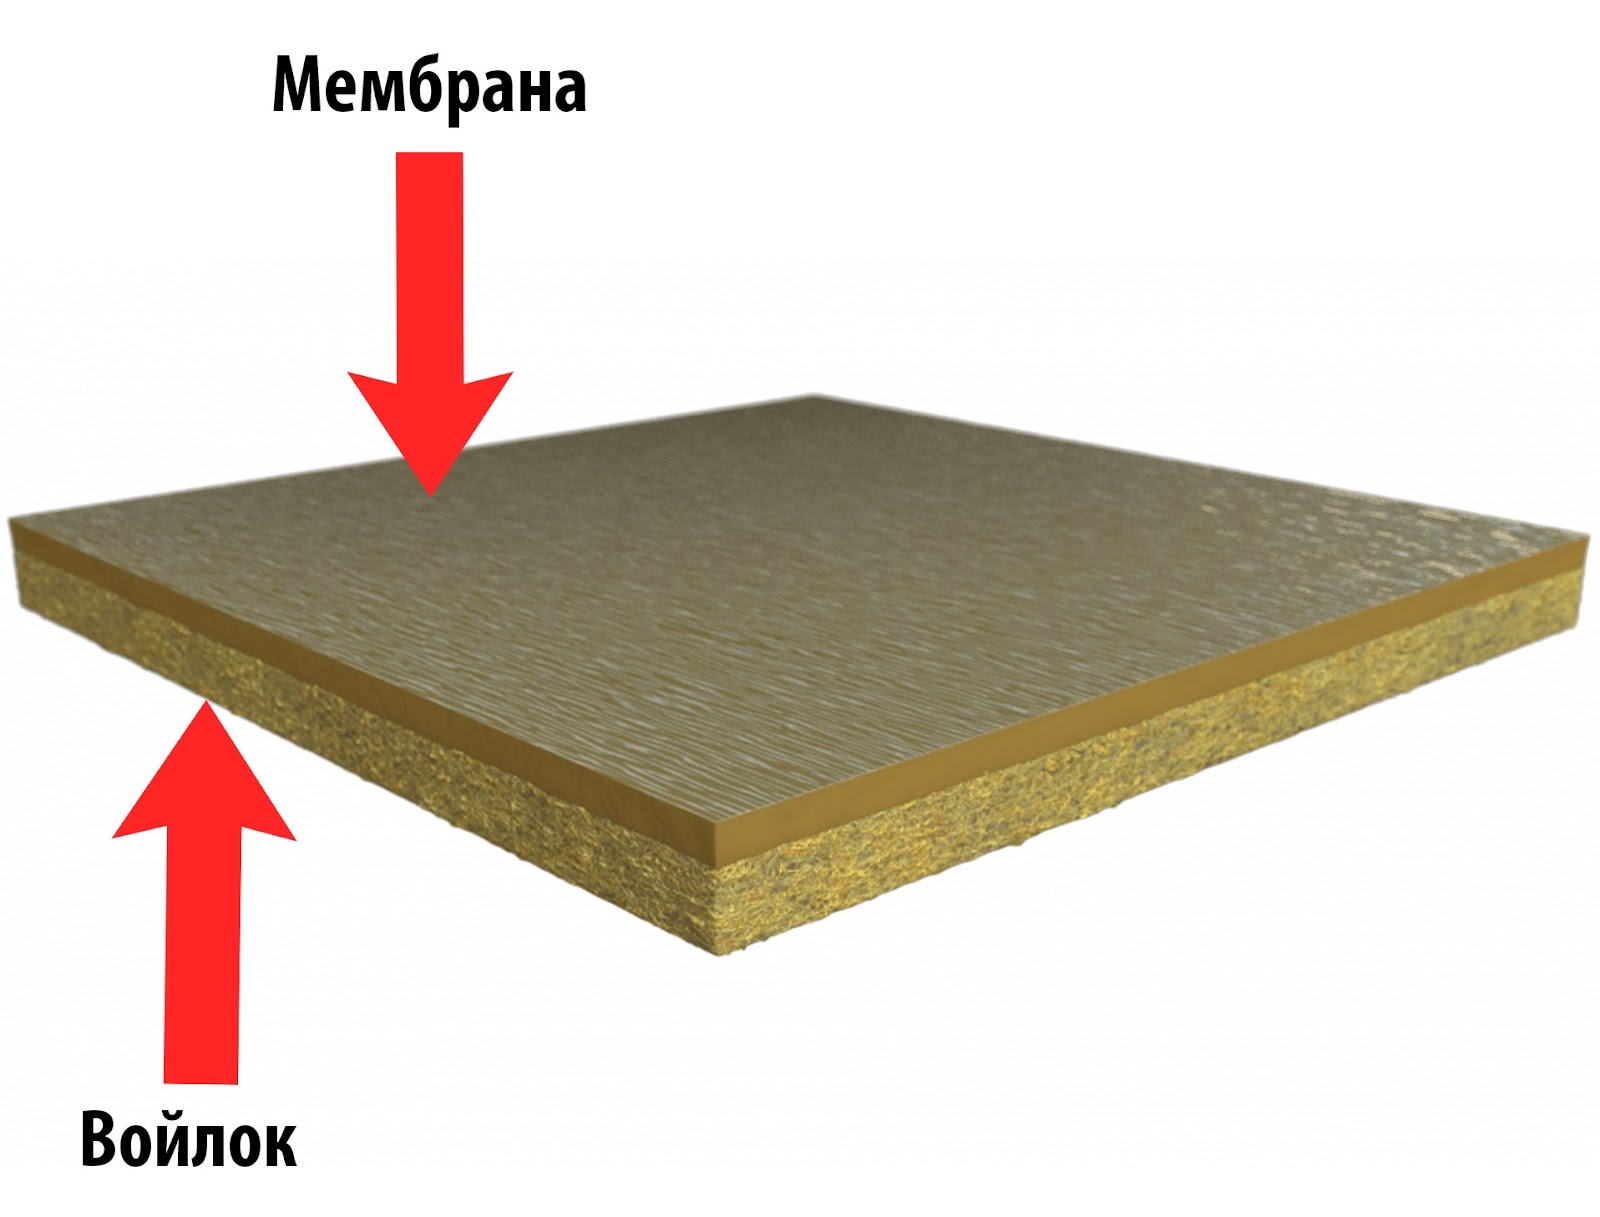
This is a multi -layer material with a thickness of 20–40 mm. Two layers are made of felt, and the third from a dense membrane.
The felt stops the average noise, like conversations and barking dogs, and the membrane due to density reflects shock noises.
Photo: noise insulation layers for stretch ceiling
Noise insulation under the stretch ceiling is sold with rolls with dimensions of 5500x1200x24 mm. One roll is enough for 6.5 m². This option of sound insulation under the stretch ceiling allows you to muffle common noises, such as conversations, the sound of an alarm clock, an end in animals and children. They will be heard by about 50%. You can completely get rid of all sounds from the apartment from above only with the help of frame multi -layer sound insulation.
Stage 1. Preparation of the ceiling
First of all, the concrete base is cleaned of dirt and dried cement. If there are cracks between concrete floors, they are closed with mounting glue or putty.
By the way: An electrician on the ceiling can be carried out before or after sound insulation.
- If you need convenient access to the wires, then the electrician is made on the top of sound insulation. In this case, to get to the electrician, it will be enough to just remove the canvas of the stretch ceiling.
- It is more convenient to carry out an electrician first, and then close the ceiling with sound insulation on top. Sound insulation remains intact, without unnecessary holes and better stops noise.
Stage 2. Installation of the sound insulation system
To make sound insulation with your own hands, you need 2-3 people.
Before installation, you need to cut sound insulation into strips of the required size. Sound insulation can be mounted both along and across the room. After the soundproofing has been cut, you need to apply an uniform layer of glue to the ceiling with a roller, brush or brush.
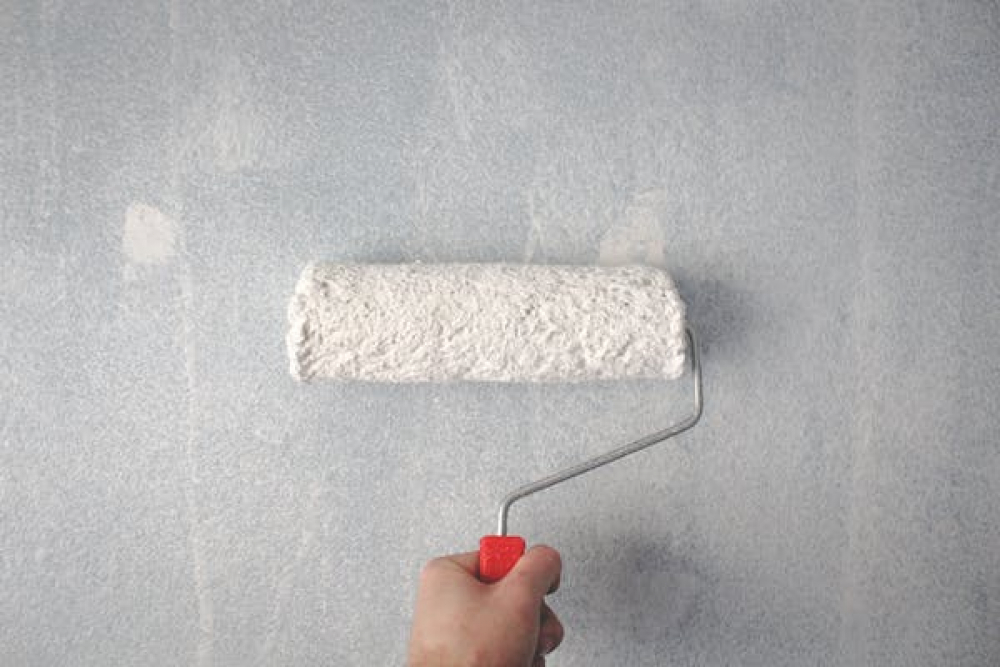
Photo: glue is applied with a brush, roller or brush
While one person sticks noise insulation to the ceiling, the other at this moment must maintain sound insulation, and the third one should make holes with a perforator to fix the sound insulation with dowels-gearboxes. If only 2 people work, then you will need stops for soundproofing. It can be thin boards with a height of more than three meters.
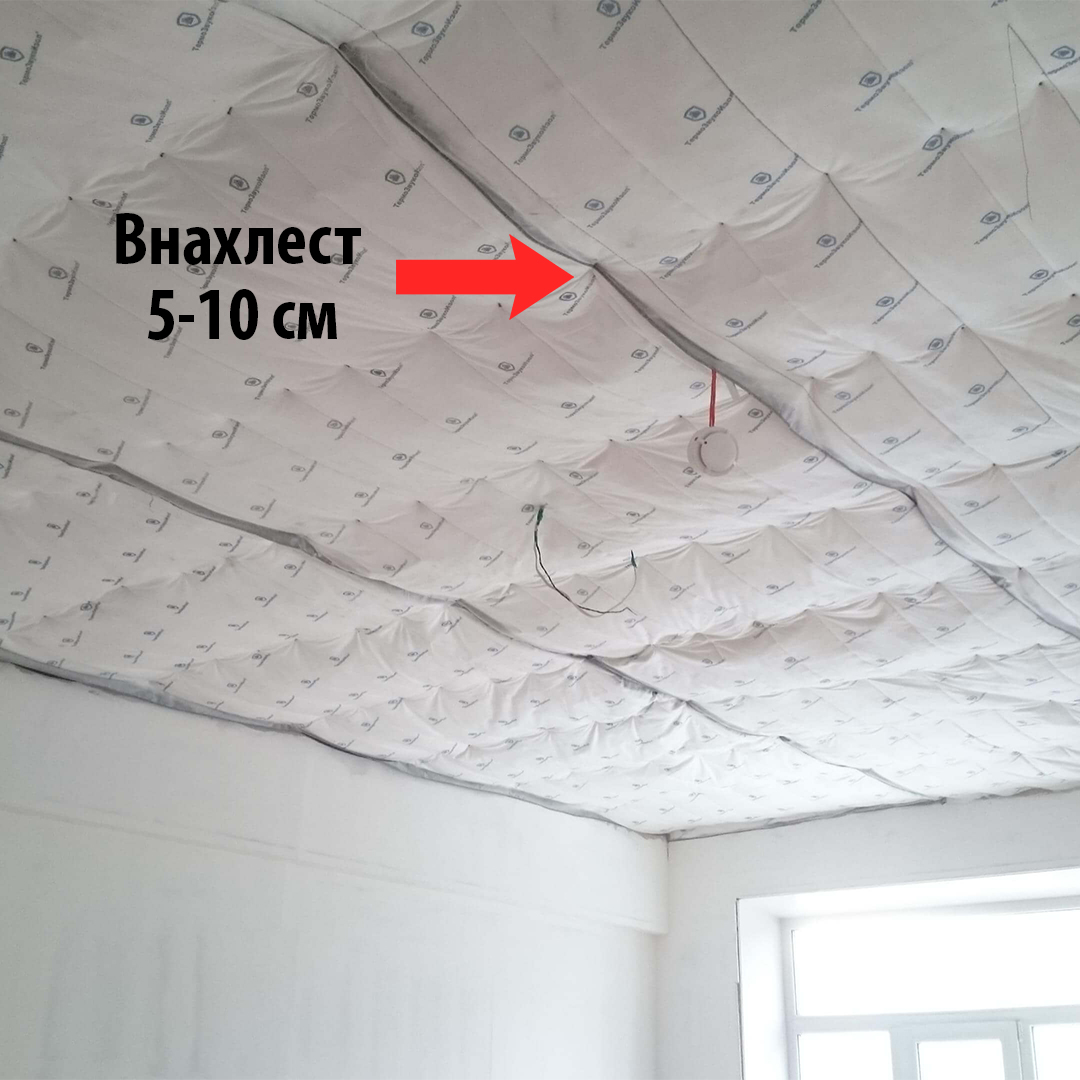
The next row of noise insulation is placed on the previous one. Noise insulation should go to the previous layer of 5-10 cm. This is done so that the noise does not pass through the seams of sound insulation. The fungi must be nailed every 50 cm to prevent sagging. On the edges of the ceiling, noise insulation is sealed with a sealing ribbon.
Photo: gaps between layers should not be
Stage 3. Prospecting of soundproofing seams and installing a stretch ceiling
After the sound insulation has been fixed on the ceiling, all the seams glue a soundproof ribbon.
The fungi are smeared with vibro -acoustic sealant to improve protection from shock noise. After that, you can install a stretch ceiling.
Photo: Vibroacoustics reduces shock noises

Important: Before installing the stretch ceiling, you need to check so that parts or pieces of the membrane do not pour from noise insulation. Otherwise, after installing the stretch fabric, a piece of sound insulation will fall on the stretch ceiling and this will be visible. To eliminate the defect, you will have to remove the ceiling.

Photo: Even small shavings will be visible on a stretch ceiling if it is not removed
Conclusion
- To make the noise insulation of the stretch ceiling, you can use the soundproof membrane “Texound”. It is thin and does not take excess space.
- Noise insulation is glued to the ceiling and fixed with plastic fungi.
- Layers of noise insulation should be laid out so that the materials cover each other by 5-10 cm.
- All seams should be closed with a soundproofing tape, and the fungi is covered with a vibro -acoustic sealant.